How to Post an Event
Link: https://support.brilliantdirectories.com/support/solutions/articles/12000002335-how-to-post-an-event
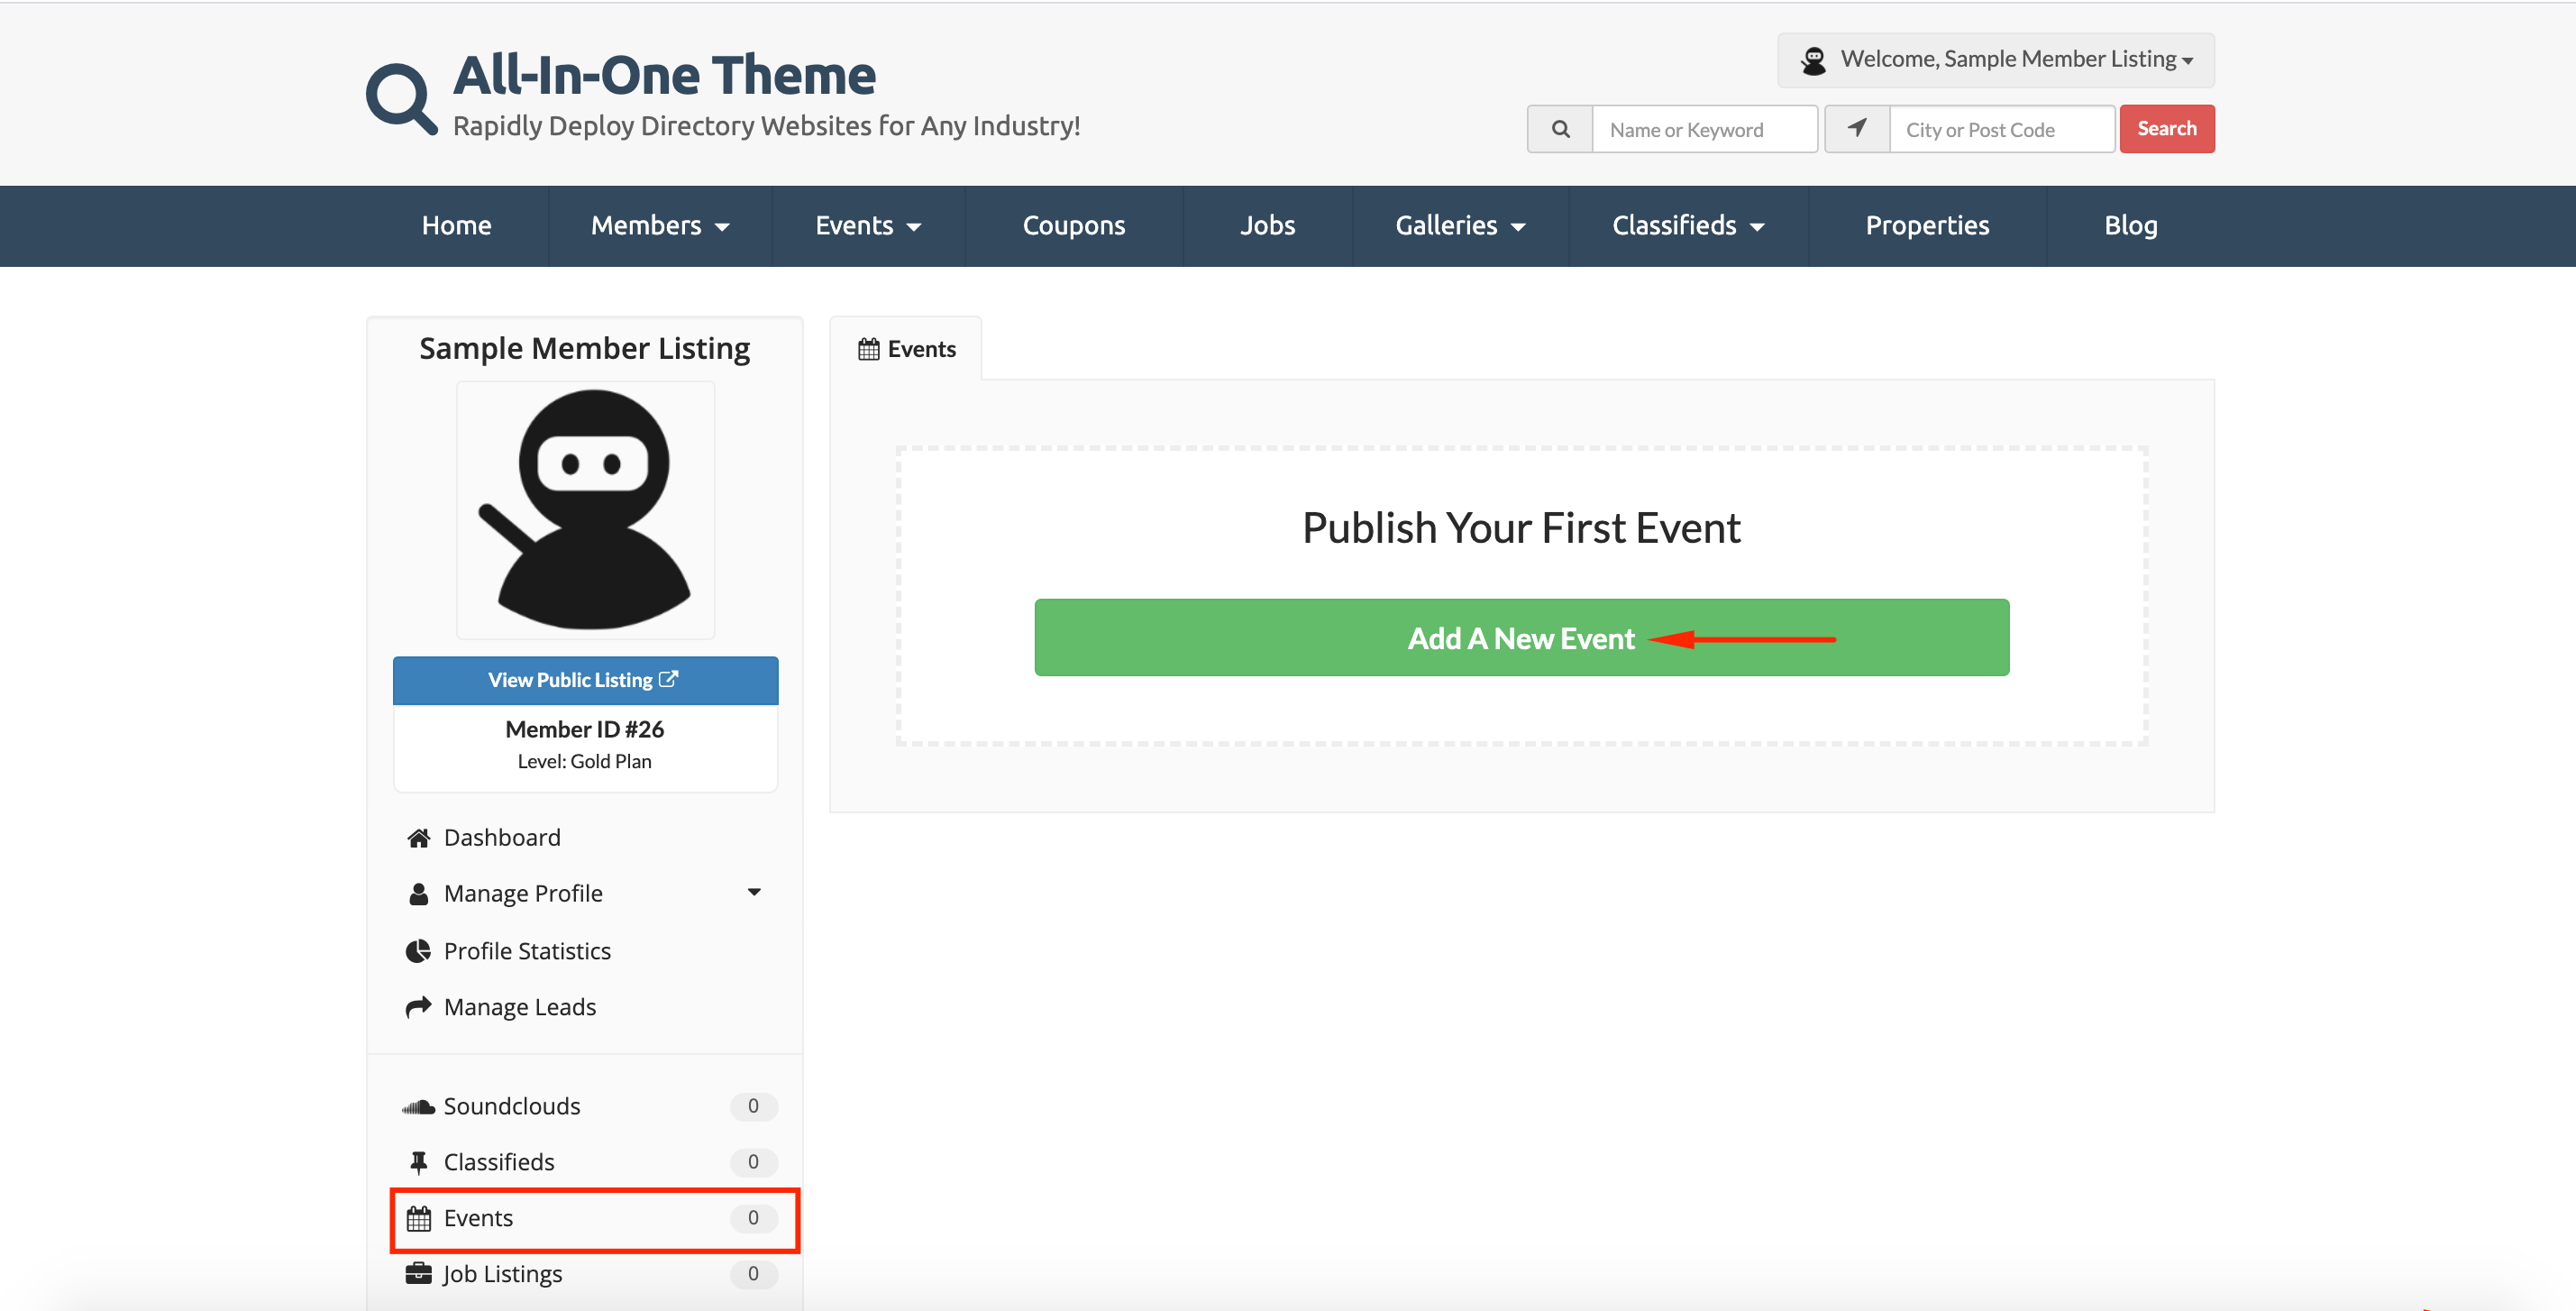
Access the Member Dashboard, on the left sidebar find the Events post type. Click on it to add a new post.
Add some content to the post, for example a title, description, image and more as explained below:
1. Publish content on the site or save it as a draft.
2. Add the Title of the Event.
3. Add an image to the Event.
4. Select the Event's Category that applies.
5. Auto-Recurring Events Add-On Needed
6. Click on "Select Start Time" for the time Dropdown to choose the start time.
7. Click on "Select End Time" for the Time Dropdown to choose the end time.

8. Click on "Start Date" for the Calendar to select the start date
9. Click on "End Date" for the Calendar to select the end date
10. Add the Cost to Attend the Event
11. Add an External Link if necessary.

12. Add the Venue Name.
13. Add the address of the Event.
14. The Complete address will be auto-populated by typing it in point #13.

15. Enter keywords that apply. Separate with a comma.
16. Enter the Description of the Event.

Once the Event Post has been created, it will display the current Status (Published, Draft, Expired).
The number of views and Bookmarks will only show if the correspondent add-ons are active on the site. Click Here to learn more.

Click on the Actions button to View, Edit, Clone, or Delete the post:

Member Dashboard Options
Different options are available in this section. For more information, please refer to the image and points shown below:

1. Events: This will show all the events and display the amount of events in the account.
2. Add a New Event: Click to add a new event. It will not display if the limit of posts has been reached.
3. Entries per page: Click on the dropdown to choose how many entries will show per page (5, 10, 25 or 50 entries).
4. Order of the Posts on the Page: Newest, Oldest, Updated (first), Updated (last), Start Date (first), Start Date (last).
5. Filter by Status: Published, Draft or Expired.
6. Filter by Keyword: Enter a desired keyword to display all event posts that contain it.
Lastly, all Post Types have a designated search results page:
EG: http://yourbrilliantdomain.directoryup.com/events

Events Expiration
To show expired events in the search resilts page above, go to My Content >> Edit Post Settings >> Events >> Edit:

Then go to the Search Results Design tab and click on "Additional Settings":

Scroll down to this setting "Display Expired Posts in Search Results" and select "Yes":

NOTE: Any events that do not have an expiration date specified should be treated as having an expiration date the same day as the start date if the setting above is set to "No".
If marked as "Yes," posts that have expired before the search time or within the searched date range will appear in the search results.
Recurring Events add-on:
To enhance events functionality, consider the auto-recurring events add-on which includes the ability to display events in search results even after their initial start date has begun.
