Member Leads » Lead Settings » Form Settings
Link: https://support.brilliantdirectories.com/support/solutions/articles/12000008053
To edit the general settings of the Leads Module, Navigate to Interactions » Member Leads » Lead Settings. This opens the Edit Lead Settings Basic page


If the Automatic Lead Matching Add-On is active on the site, these settings will appear inside the lead action module. Click Edit to open the form settings:


Lead Settings (Basic)

- Maximum Acceptances
Set the maximum number of members who can accept or purchase each lead after it has been matched to them. This includes members matched directly or automatically.). - Maximum Lead Inquiries Per Day
Set the maximum number of lead inquiries a visitor can submit per day. Enter 0 for unlimited submissions. This limit is based on the visitor’s IP address.
After the limit has been reached by a visitor, it will show an alert “Daily Submission Limit Reached”

This alert is a text label:
Daily Getmatched Limit Reached
Database Variable: daily_getmatched_limit_reached

Automatically Match Leads to Qualified Members
* This will only appear if the site has the Automatic Lead Matching Add-On *
Form Settings

Enable "Get Replies from more members?" Option

Select "Yes" to display "Get Replies from more members?". Only applies for Lead forms on the profile pages:

Hide Field Labels

| OFF (Show Field Label) | ON (Hide Field Label) |
|---|---|
 |  |
Note: When field labels are hidden, the system automatically displays the word Required for required fields. This text can be edited from the corresponding text label.
Display Location Fields & Make Location Fields Required?
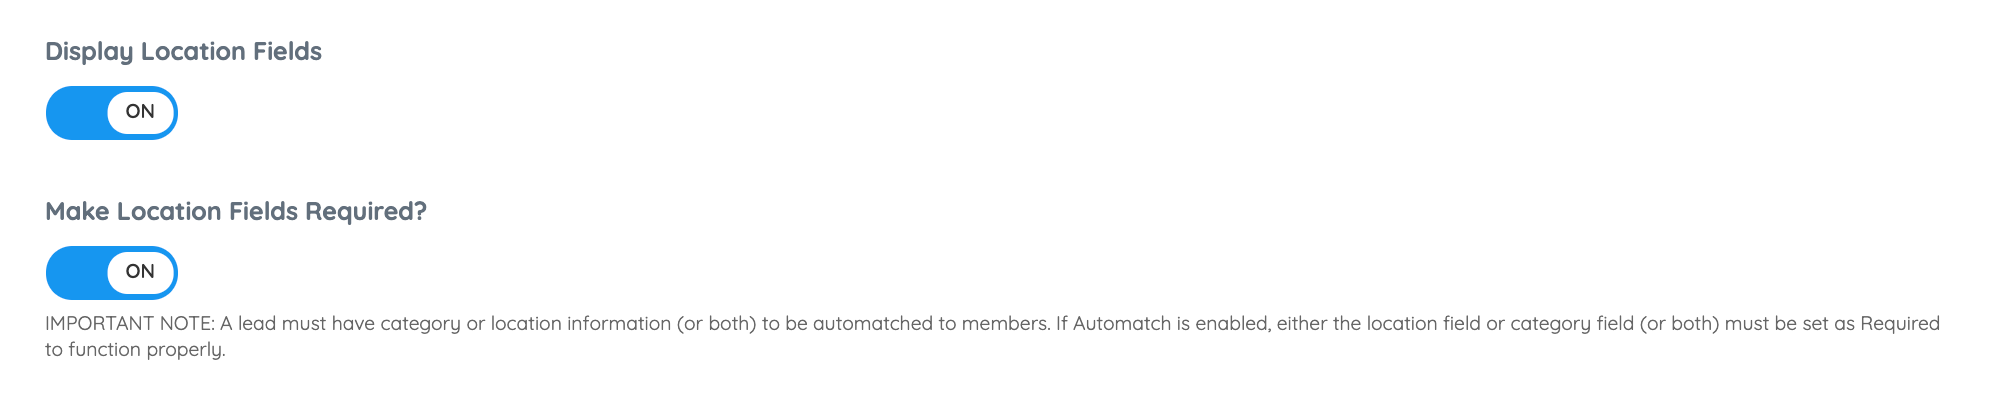
Choose whether to display location fields on the lead form, and whether those fields should be required.
IMPORTANT NOTE: For automatching to work, a lead must include category information, location information, or both. If automatching is enabled, at least one of these fields should be required
Map Display Options

Default | Only Map | Only Input |
 |  |  |
Display Preferred Reply Day & Time


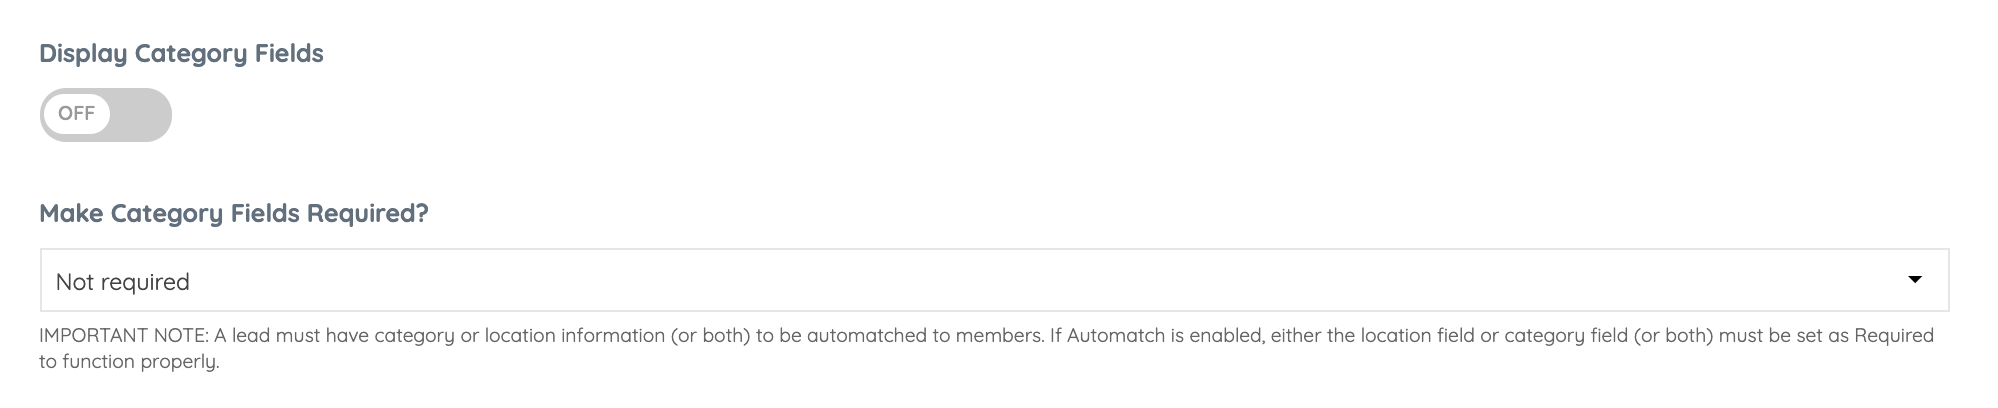
Make Category Fields Required?

Category Display Options

Select which category levels should appear on the lead form.
When selecting the "Only Sub Level Categories" or "Sub & Sub-Sub Categories" options, it's possible to select the top-level categories of the sub-level categories that will display:

* Limit sub-categories that will be included. Leave all unchecked or check all to include sub-categories from all top-level categories.
Note: If the member hasn't selected a Top, Sub, or Sub-sub category the specific category dropdown fields would be hidden.
Pre-Selected Categories
Select which categories should be pre-selected or available in the lead form for top-level, sub-level, and sub-sub-level categories.

This setting will preselect the categories that display in the form:

The category fields will respect the order assigned to the categories using the "Default Category Sort Order" setting:

Share Form Settings: Profile Pages & Website Pages
* This will only appear if the site has the Automatic Lead Matching Add-On *

Turn this setting ON to use the same lead form settings for both profile pages and website pages. Turn it OFF to configure separate settings for website pages.

