Database Administration
Link: https://support.brilliantdirectories.com/support/solutions/articles/12000000583
The MySQL Database Manager allows direct access to the website database for querying, updating, and deleting records.
Important
Changes made directly to the database are permanent in most cases. Before executing any SQL statement, create a complete database backup and verify that the query targets the intended records.
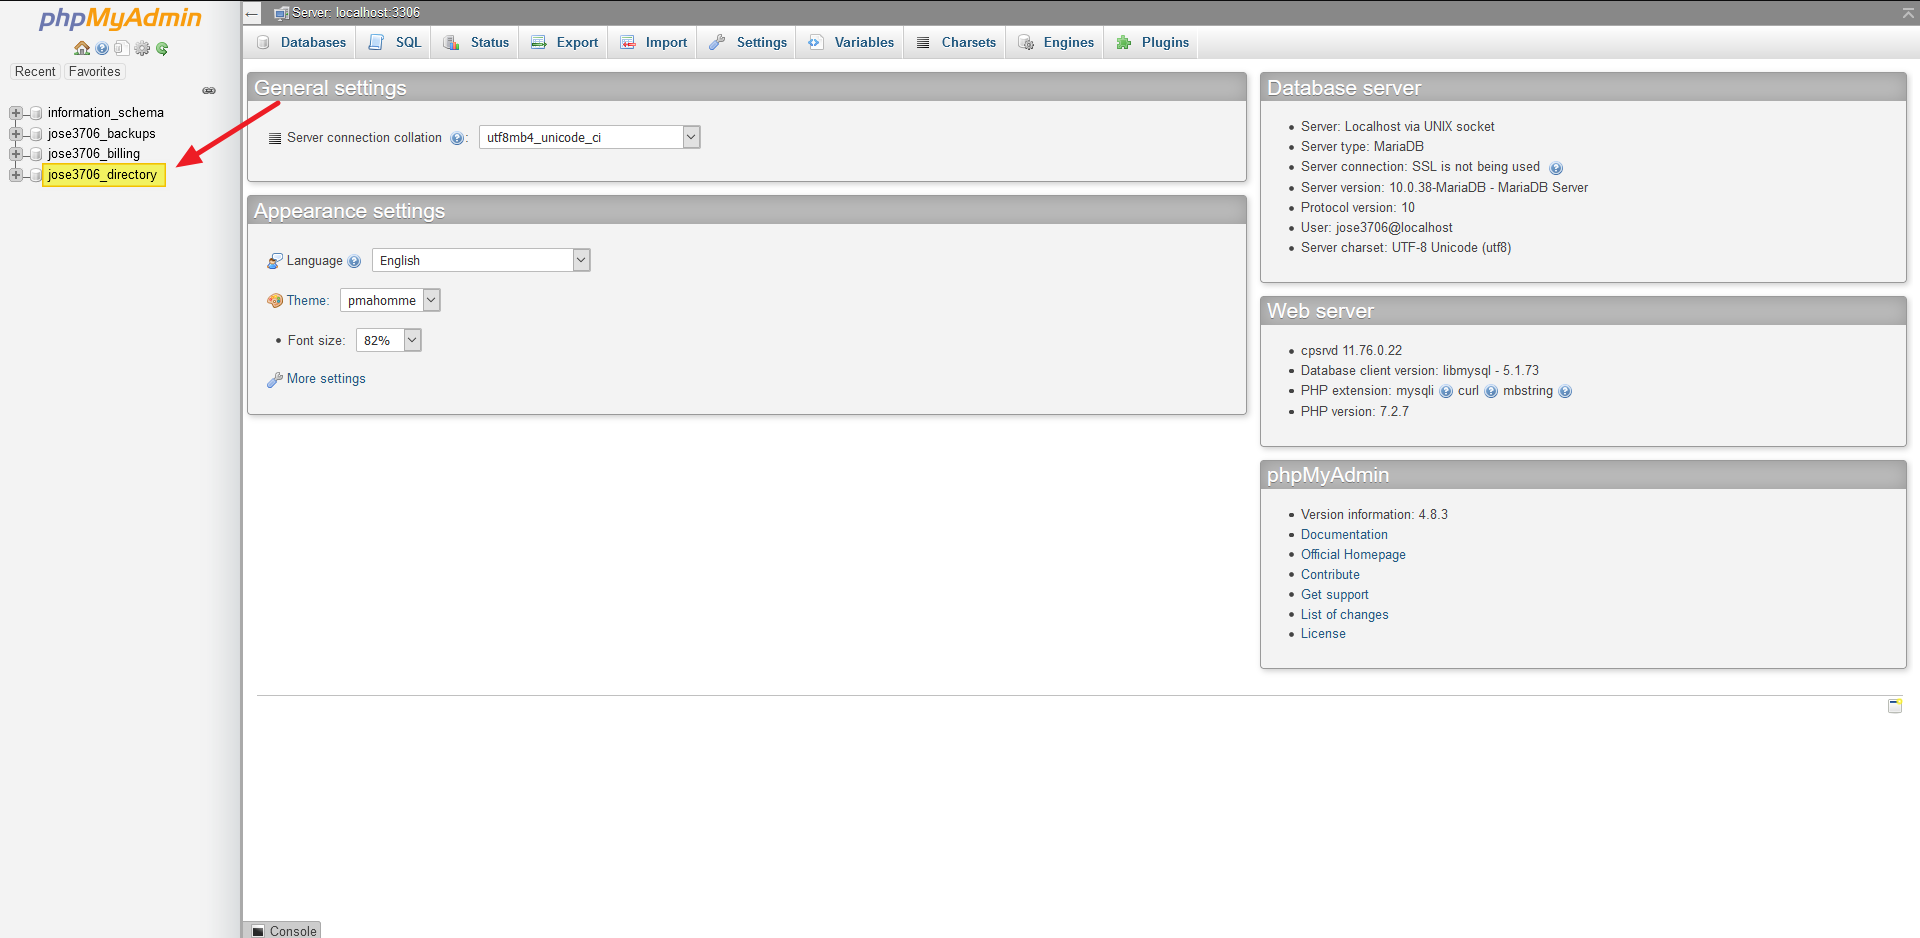
Access the Database Manager
- Navigate to Developer Hub.
- Select MySQL Database.

- Select the desired database from the left navigation panel.
- Select the table to query.
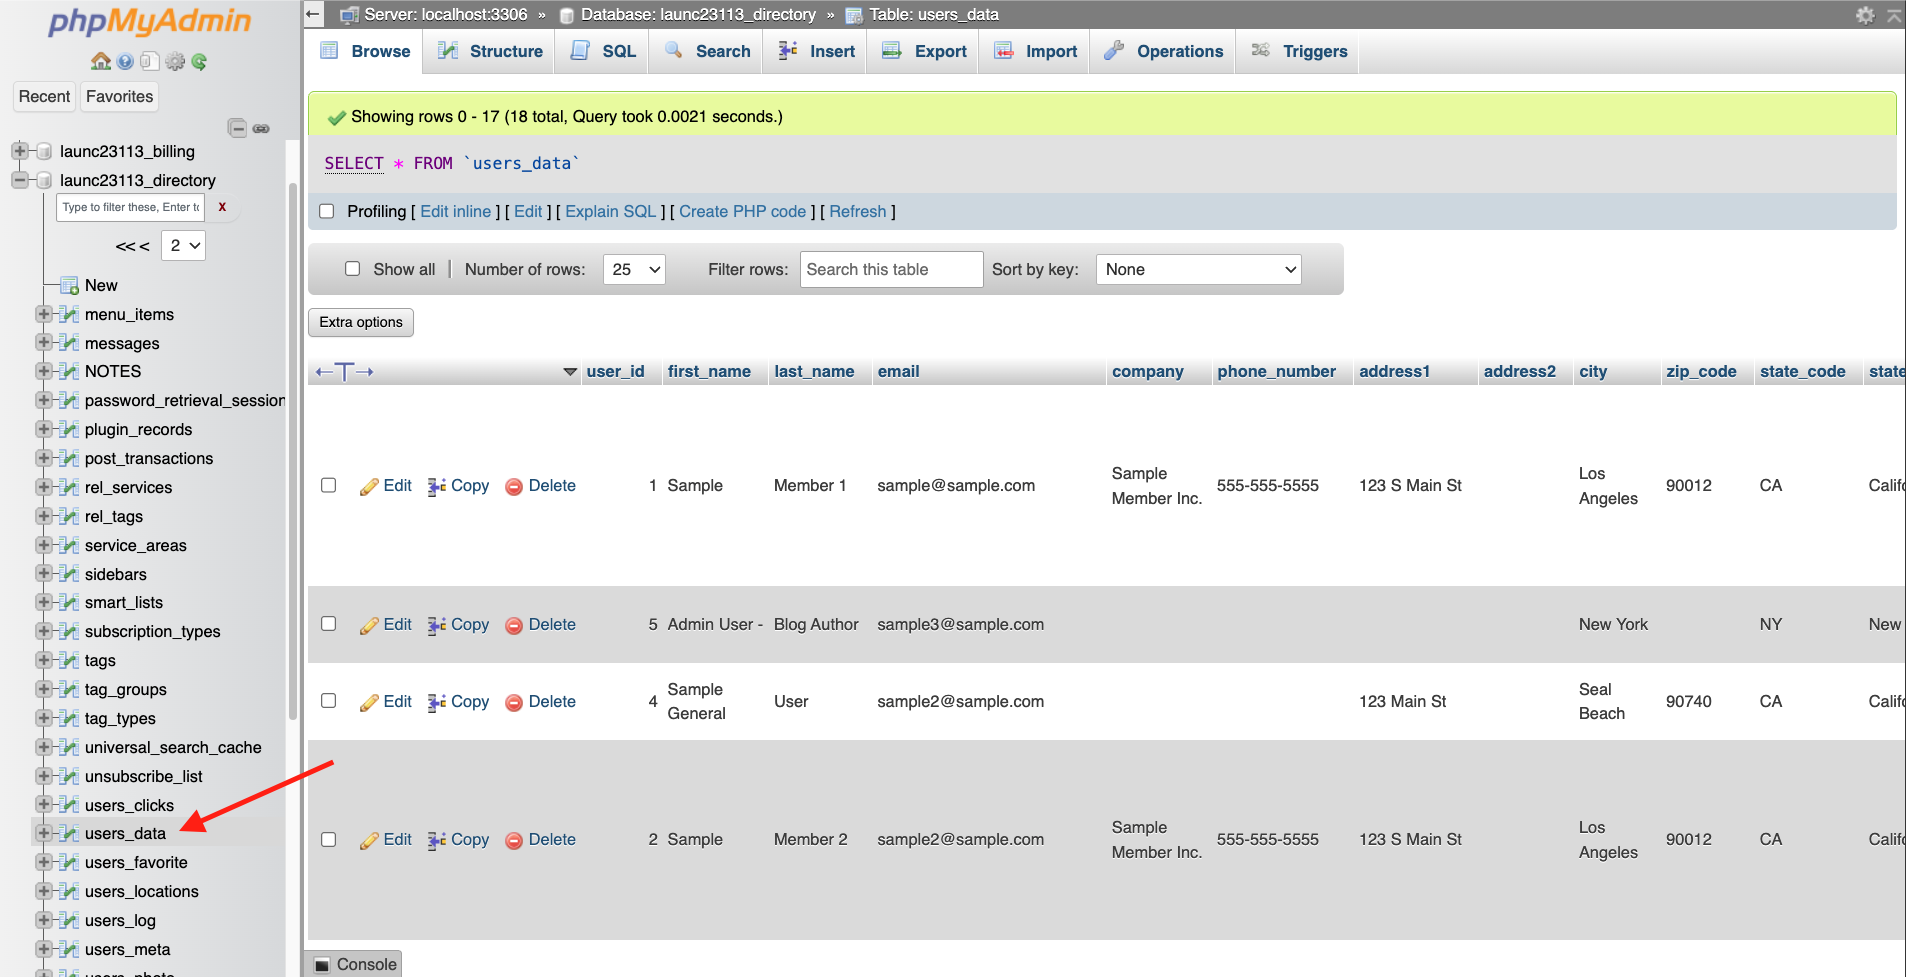
- Select the SQL tab.
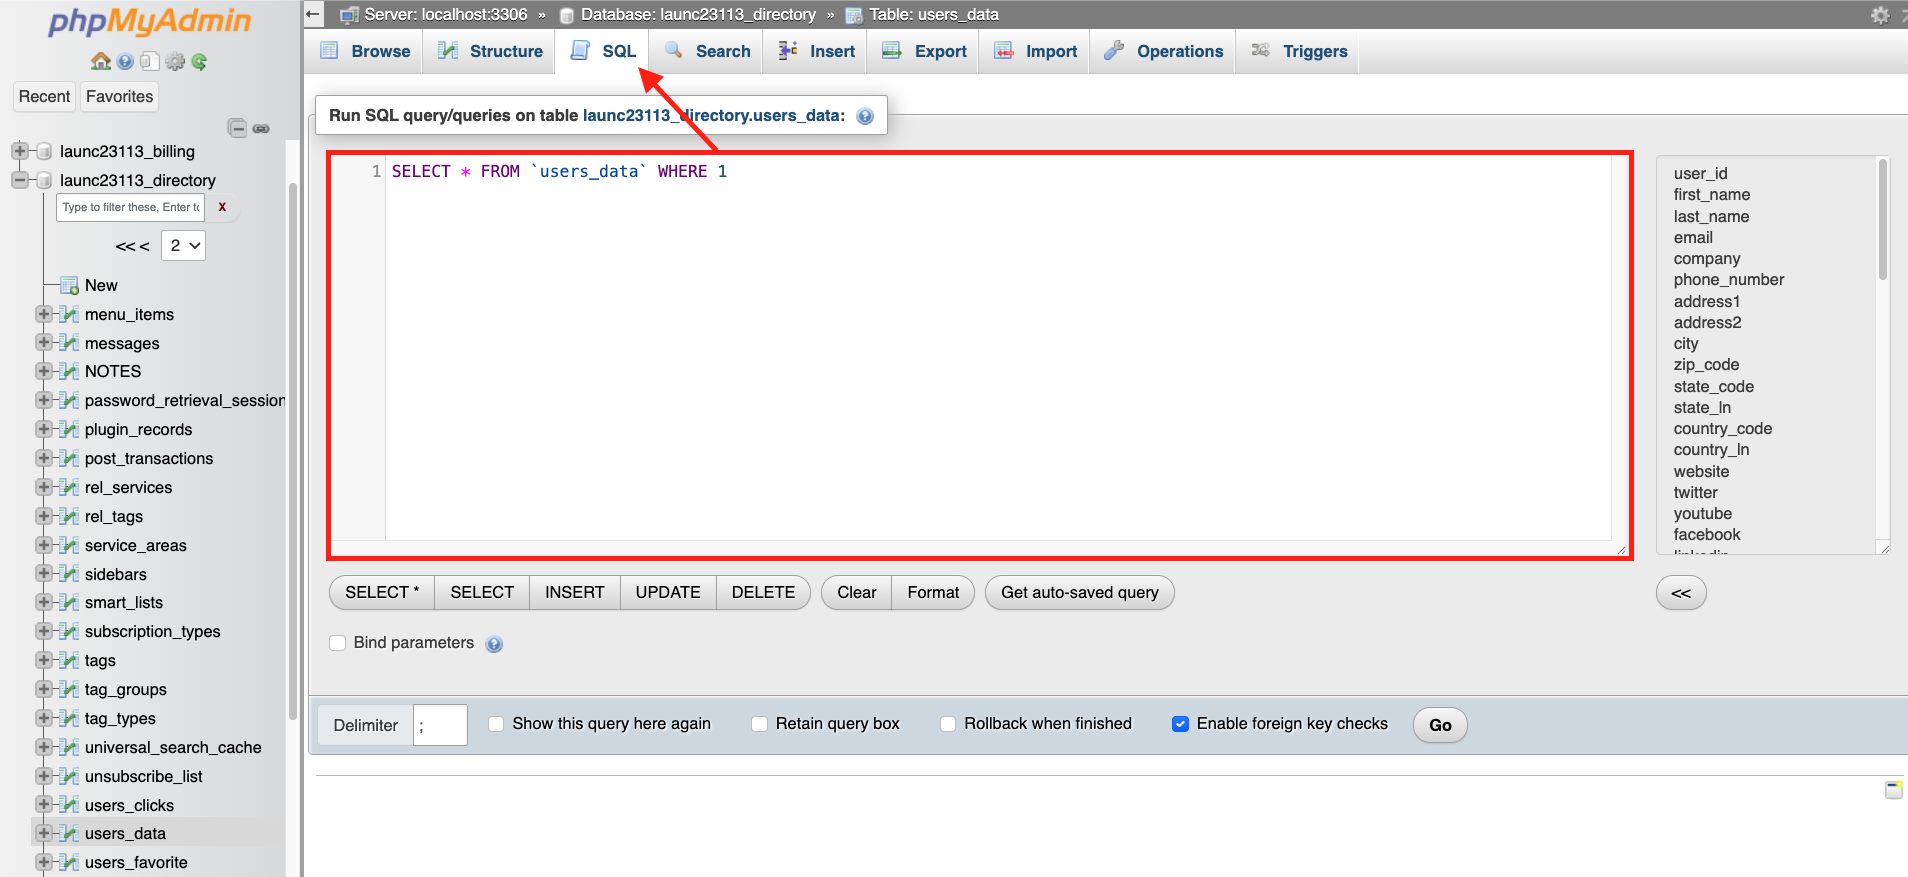
- The SQL editor is now ready to execute queries.
Retrieve Data
The SELECT statement retrieves information without modifying the database.
Retrieve all members
SELECT * FROM users_data;
The asterisk (*) returns every column in the selected table.
Retrieve specific columns
SELECT first_name, last_name, email FROM users_data;
Only the selected columns are returned.
Filter results with WHERE
Retrieve members assigned to membership level 1.
SELECT first_name, last_name, email FROM users_data WHERE subscription_id = 1;
Filter multiple conditions with AND
Retrieve active members assigned to membership level 1.
SELECT first_name, last_name, email FROM users_data WHERE subscription_id = 1 AND active = 2;
Exclude values with NOT
SELECT first_name, last_name, email FROM users_data WHERE NOT subscription_id = 1;
The same result can be achieved using:
SELECT first_name, last_name, email FROM users_data WHERE subscription_id != 1;
Match one of multiple values with OR
SELECT first_name, last_name, email, subscription_id FROM users_data WHERE subscription_id != 1 OR active = 2;
Retrieve a range with BETWEEN
SELECT first_name, last_name, email FROM users_data WHERE subscription_id BETWEEN 1 AND 4;
This query returns members assigned to membership levels 1 through 4.
Match specific values with IN
SELECT first_name, last_name, email FROM users_data WHERE subscription_id IN (1,2,3,4);
The IN operator is useful when matching several specific values.
Update Data
The UPDATE statement modifies existing records.
Update membership levels
The following example changes every member assigned to membership level 1 to membership level 2.
UPDATE users_data SET subscription_id = 2 WHERE subscription_id = 1;
Update records matching multiple conditions
The following example updates only active members.
UPDATE users_data SET subscription_id = 3 WHERE subscription_id = 0 AND active = 2;
The same filtering operators used with SELECT (WHERE, AND, OR, IN, and BETWEEN) can also be used with UPDATE.
Delete Data
The DELETE statement permanently removes records.
Delete members from a membership level
DELETE FROM users_data WHERE subscription_id = 5;
Delete records matching multiple conditions
DELETE FROM users_data WHERE subscription_id = 5 AND active != 2;
Only records matching every condition are removed.
Summary
The SQL statements most commonly used for database administration are:
| Statement | Purpose |
|---|---|
SELECT | Retrieve data |
UPDATE | Modify existing records |
DELETE | Permanently remove records |
Always verify the affected records with a SELECT query before executing an UPDATE or DELETE statement.
