
Developer Hub » Image Settings » Profile Photos, Logos & Cover
Link: https://support.brilliantdirectories.com/support/solutions/articles/12000019275
IMPORTANT NOTE: Unless the site has heavy customizations to the underlying code of the website's design, there is no need to touch these settings as they will already be optimized for use around the website.
This article will cover the image settings for the following:
- Profile Photo for Website
- Profile Photo for Social Media Sharing
- Profile Logo for Website
- Profile Logo for Social Media Sharing
- Profile Cover
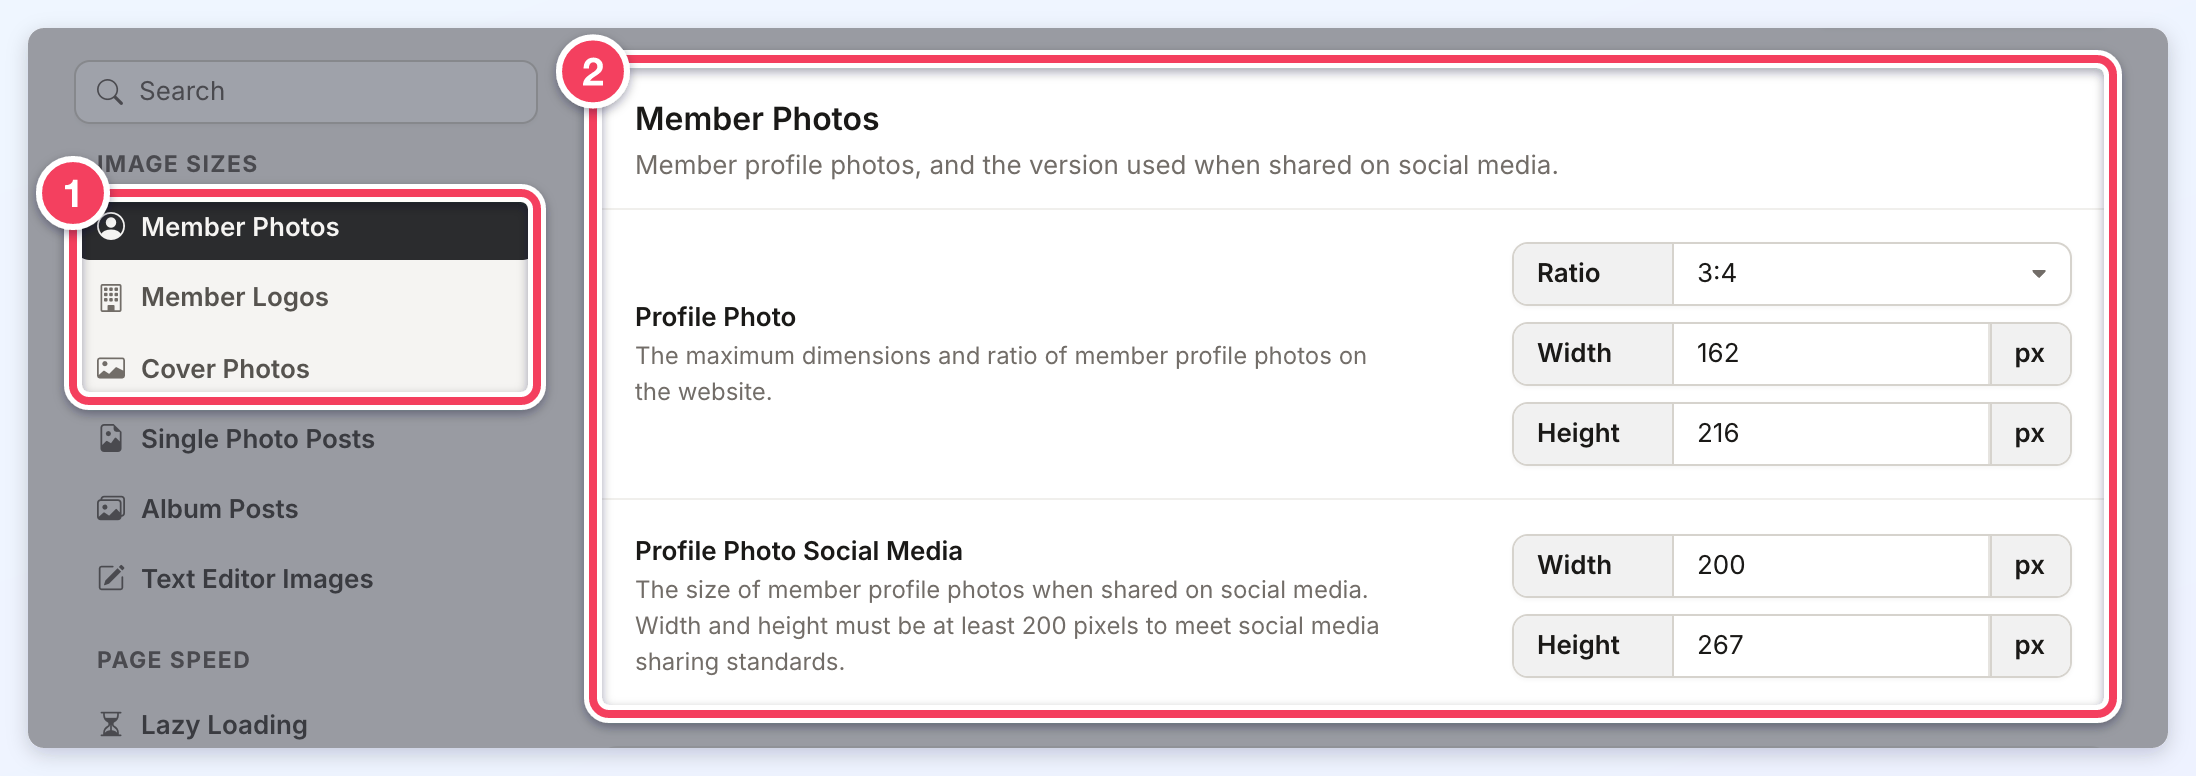
1 — the Member Photos, Member Logos and Cover Photos sections in the side menu. 2 — the settings of the selected section.
Profile Logo Settings
Here are some things to know regarding editing Profile Logo:
- The profile logo can be set to either an “Open” ratio or a fixed aspect ratio of 3:4 or 1:1. More details on how aspect ratios work can be found here.
- When selecting the “Open” option, members are not restricted to a specific shape. This means they can upload images that are square, wider than they are tall, or taller than they are wide.
- With the ratio set to “Open”, the Width and Height values act as maximum limits rather than fixed dimensions. For example, if both values are set to 200px and a member uploads a 2000px × 2000px image, the system will automatically resize it to 200px × 200px. The image’s original proportions are preserved, but it is scaled down so it does not exceed the defined limits. This resizing helps ensure that images remain optimized for performance, allowing pages to load faster and improving the overall browsing experience across the website.
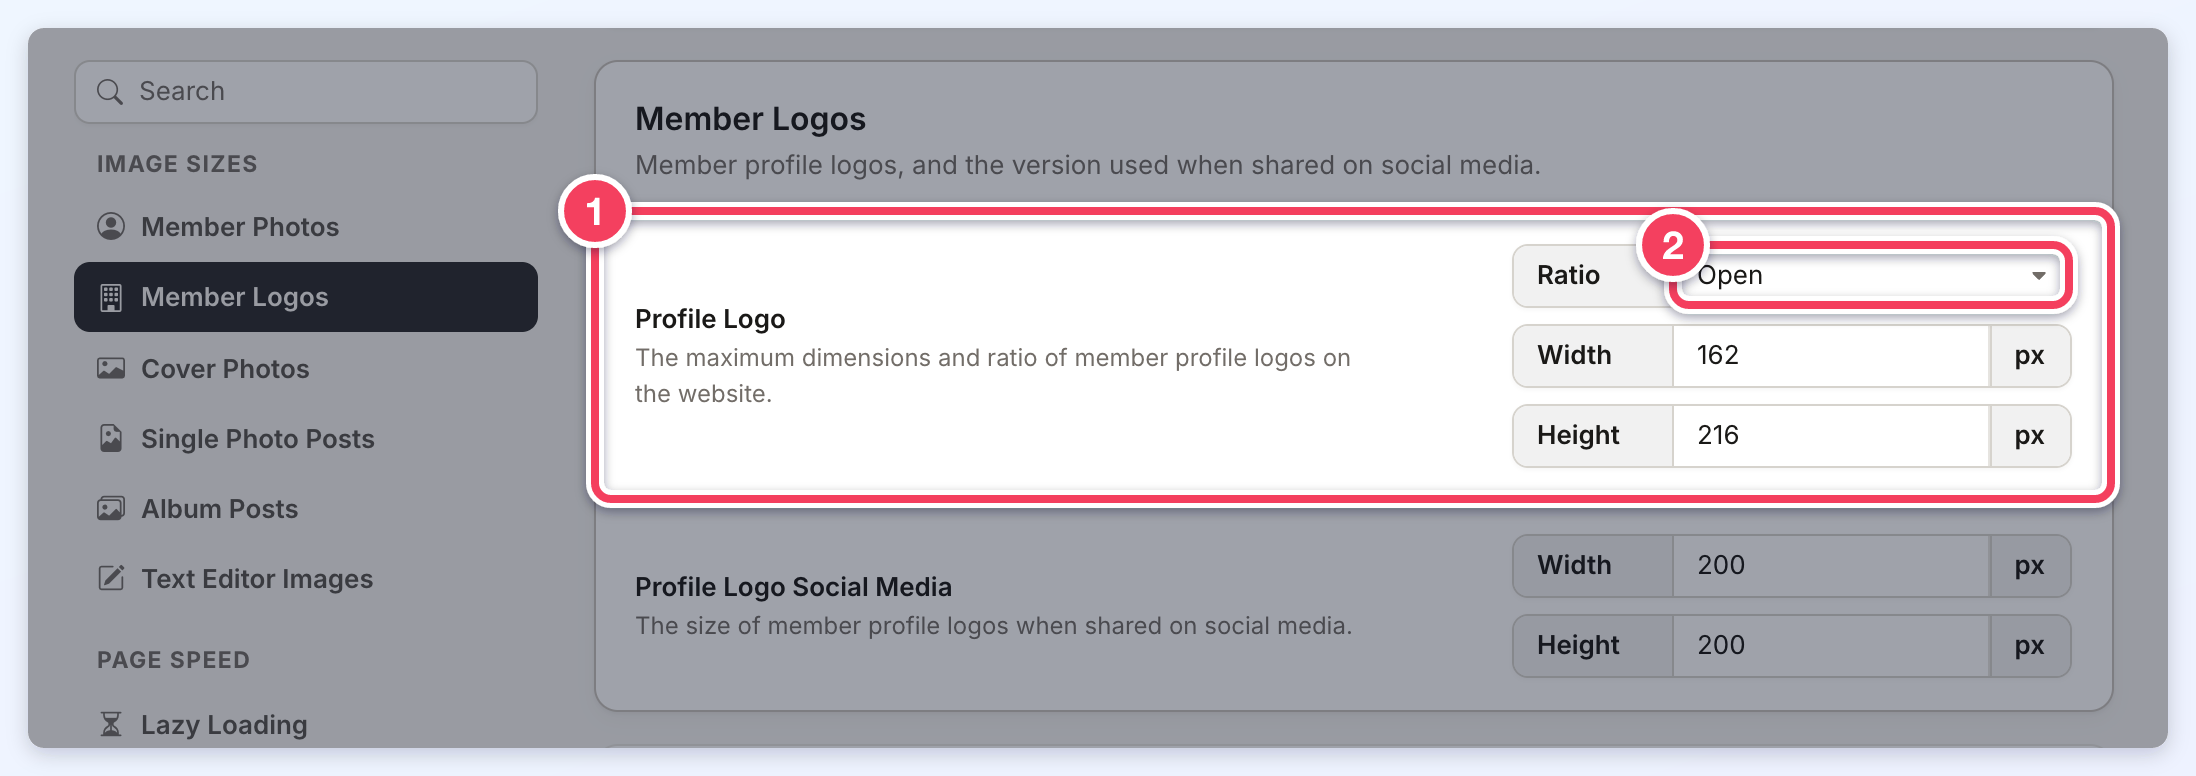
1 — the Profile Logo setting. 2 — its Ratio, which can be Open, 1:1 or 3:4.
- Entering a "Profile Logo" width of less than 162px shows a Warning message, and the width is reset to 162px:
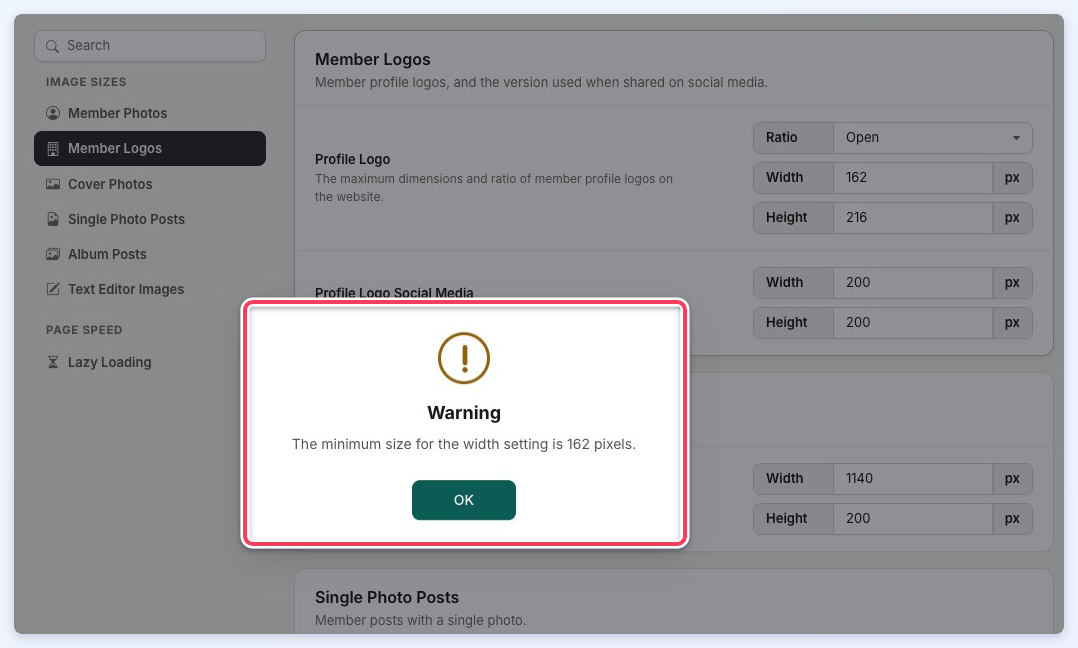
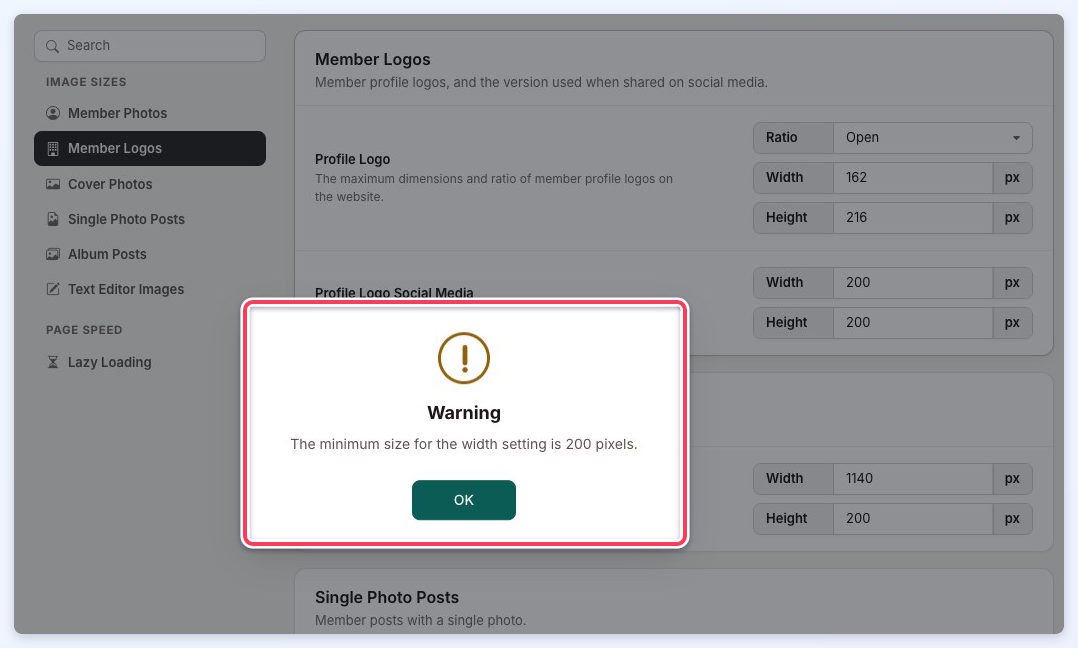
*This is done to make sure that large images are resized to dimensions that will look relatively uniform in the various areas of the website where profile logos are used. - Entering a "Profile Logo Social Media" width or height of less than the required 200px shows a Warning message, and the value is reset to 200px:
Profile Photo Settings
The Profile Photo Settings function much like the Profile Logo Settings, with one key difference; Profile Photos allow you to set an aspect ratio of 3:4 or 1:1.
This helps ensure that profile images fit properly across different areas of the website where they are displayed.
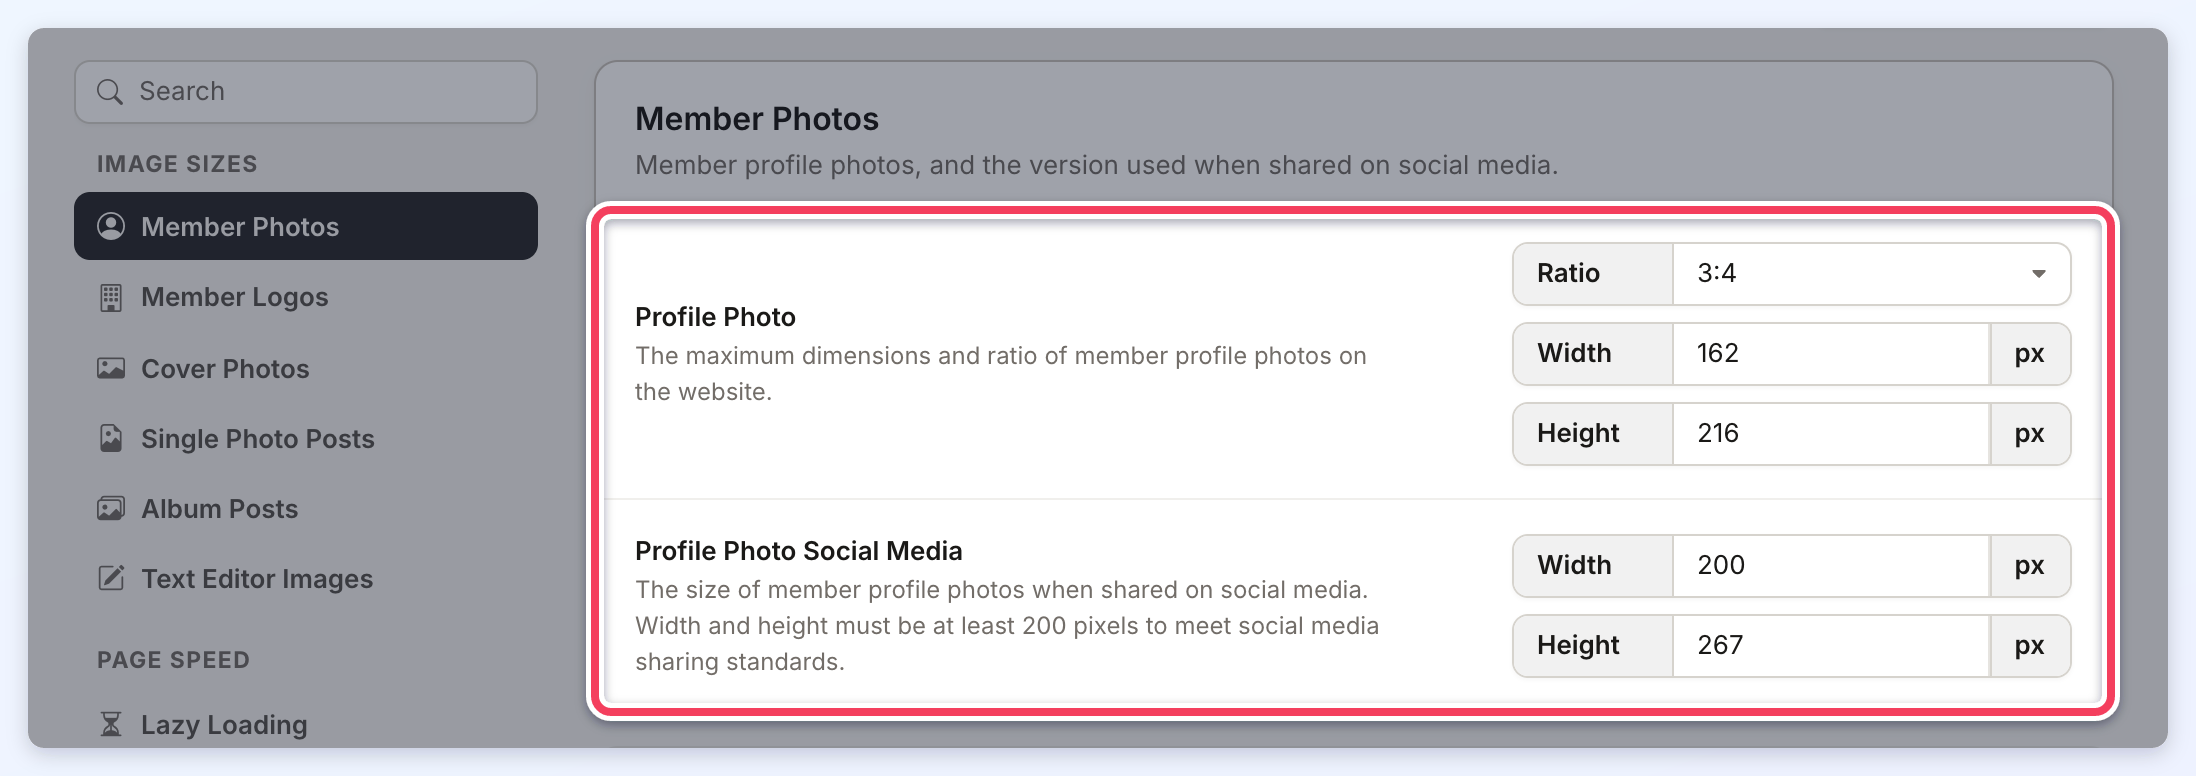
Please note: Changing the default Aspect Ratios is possible, but not recommended. Doing so would require customizing the design of the website significantly in order to accommodate a different aspect ratio for these images around the website and should only be requested by Advanced Users of the software that have significant experience in customizing the design of Brilliant Directories websites.
Profile Cover Settings
Here are some things to know regarding editing Profile Cover:
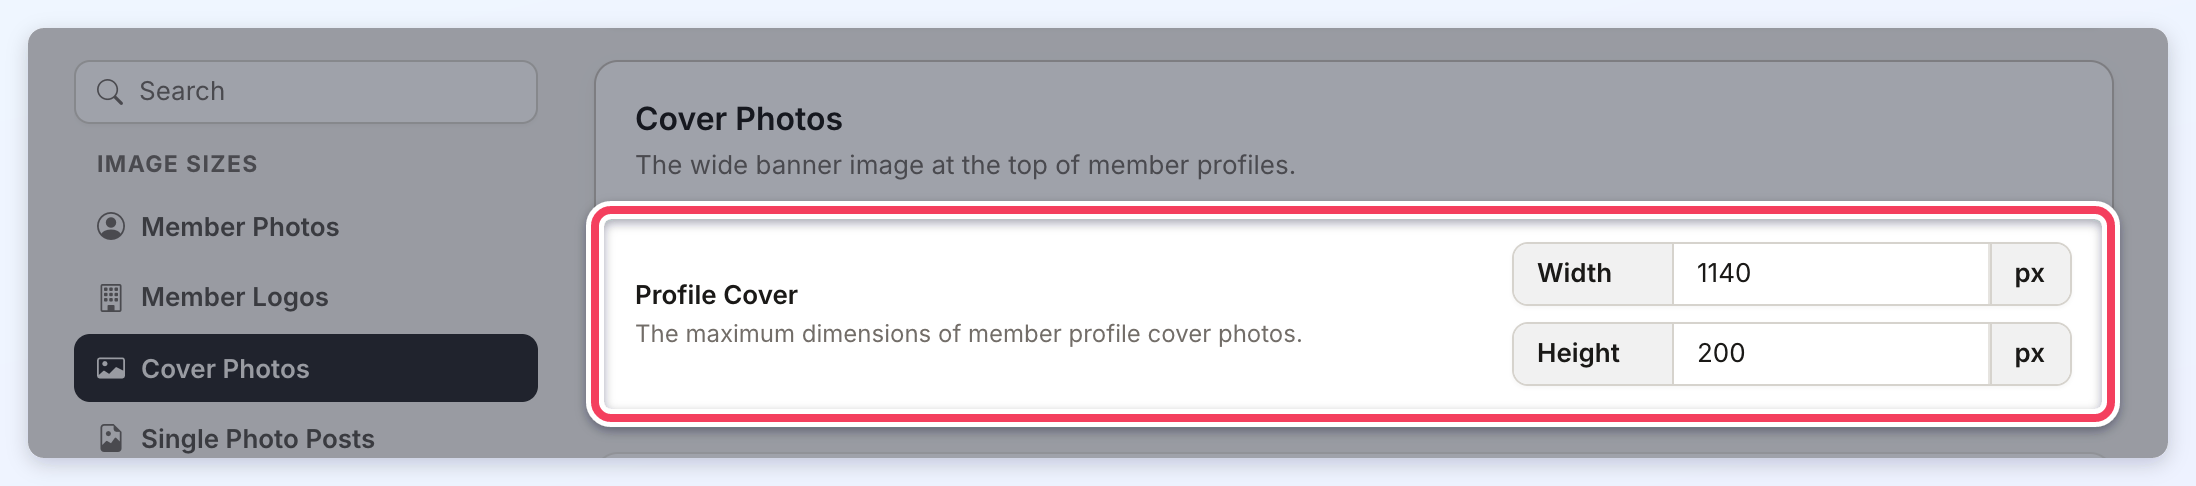
- The ratio of the Profile Cover will always be "Open" so members are not forced to upload an image that is a certain shape - wider than it is tall, or taller than it is wide.
- Since the ratio is always "Open", the "Width" and "Height" numbers serve as limits for the maximum width and height of the image. For example, if the Width and height are set to 1200px x 500px, and a member uploads an image that is 2000px wide x 800px tall, the final image will be resized to be 1200px wide x 500px tall, maintaining the same aspect ratio of the original image, but downsizing it to be no more than the limit. This helps ensure that the website loads these images as quickly and efficiently as possible, thus reducing the overall time to load all of the website's pages as much as possible.
How To Upload Logo Images As A Member
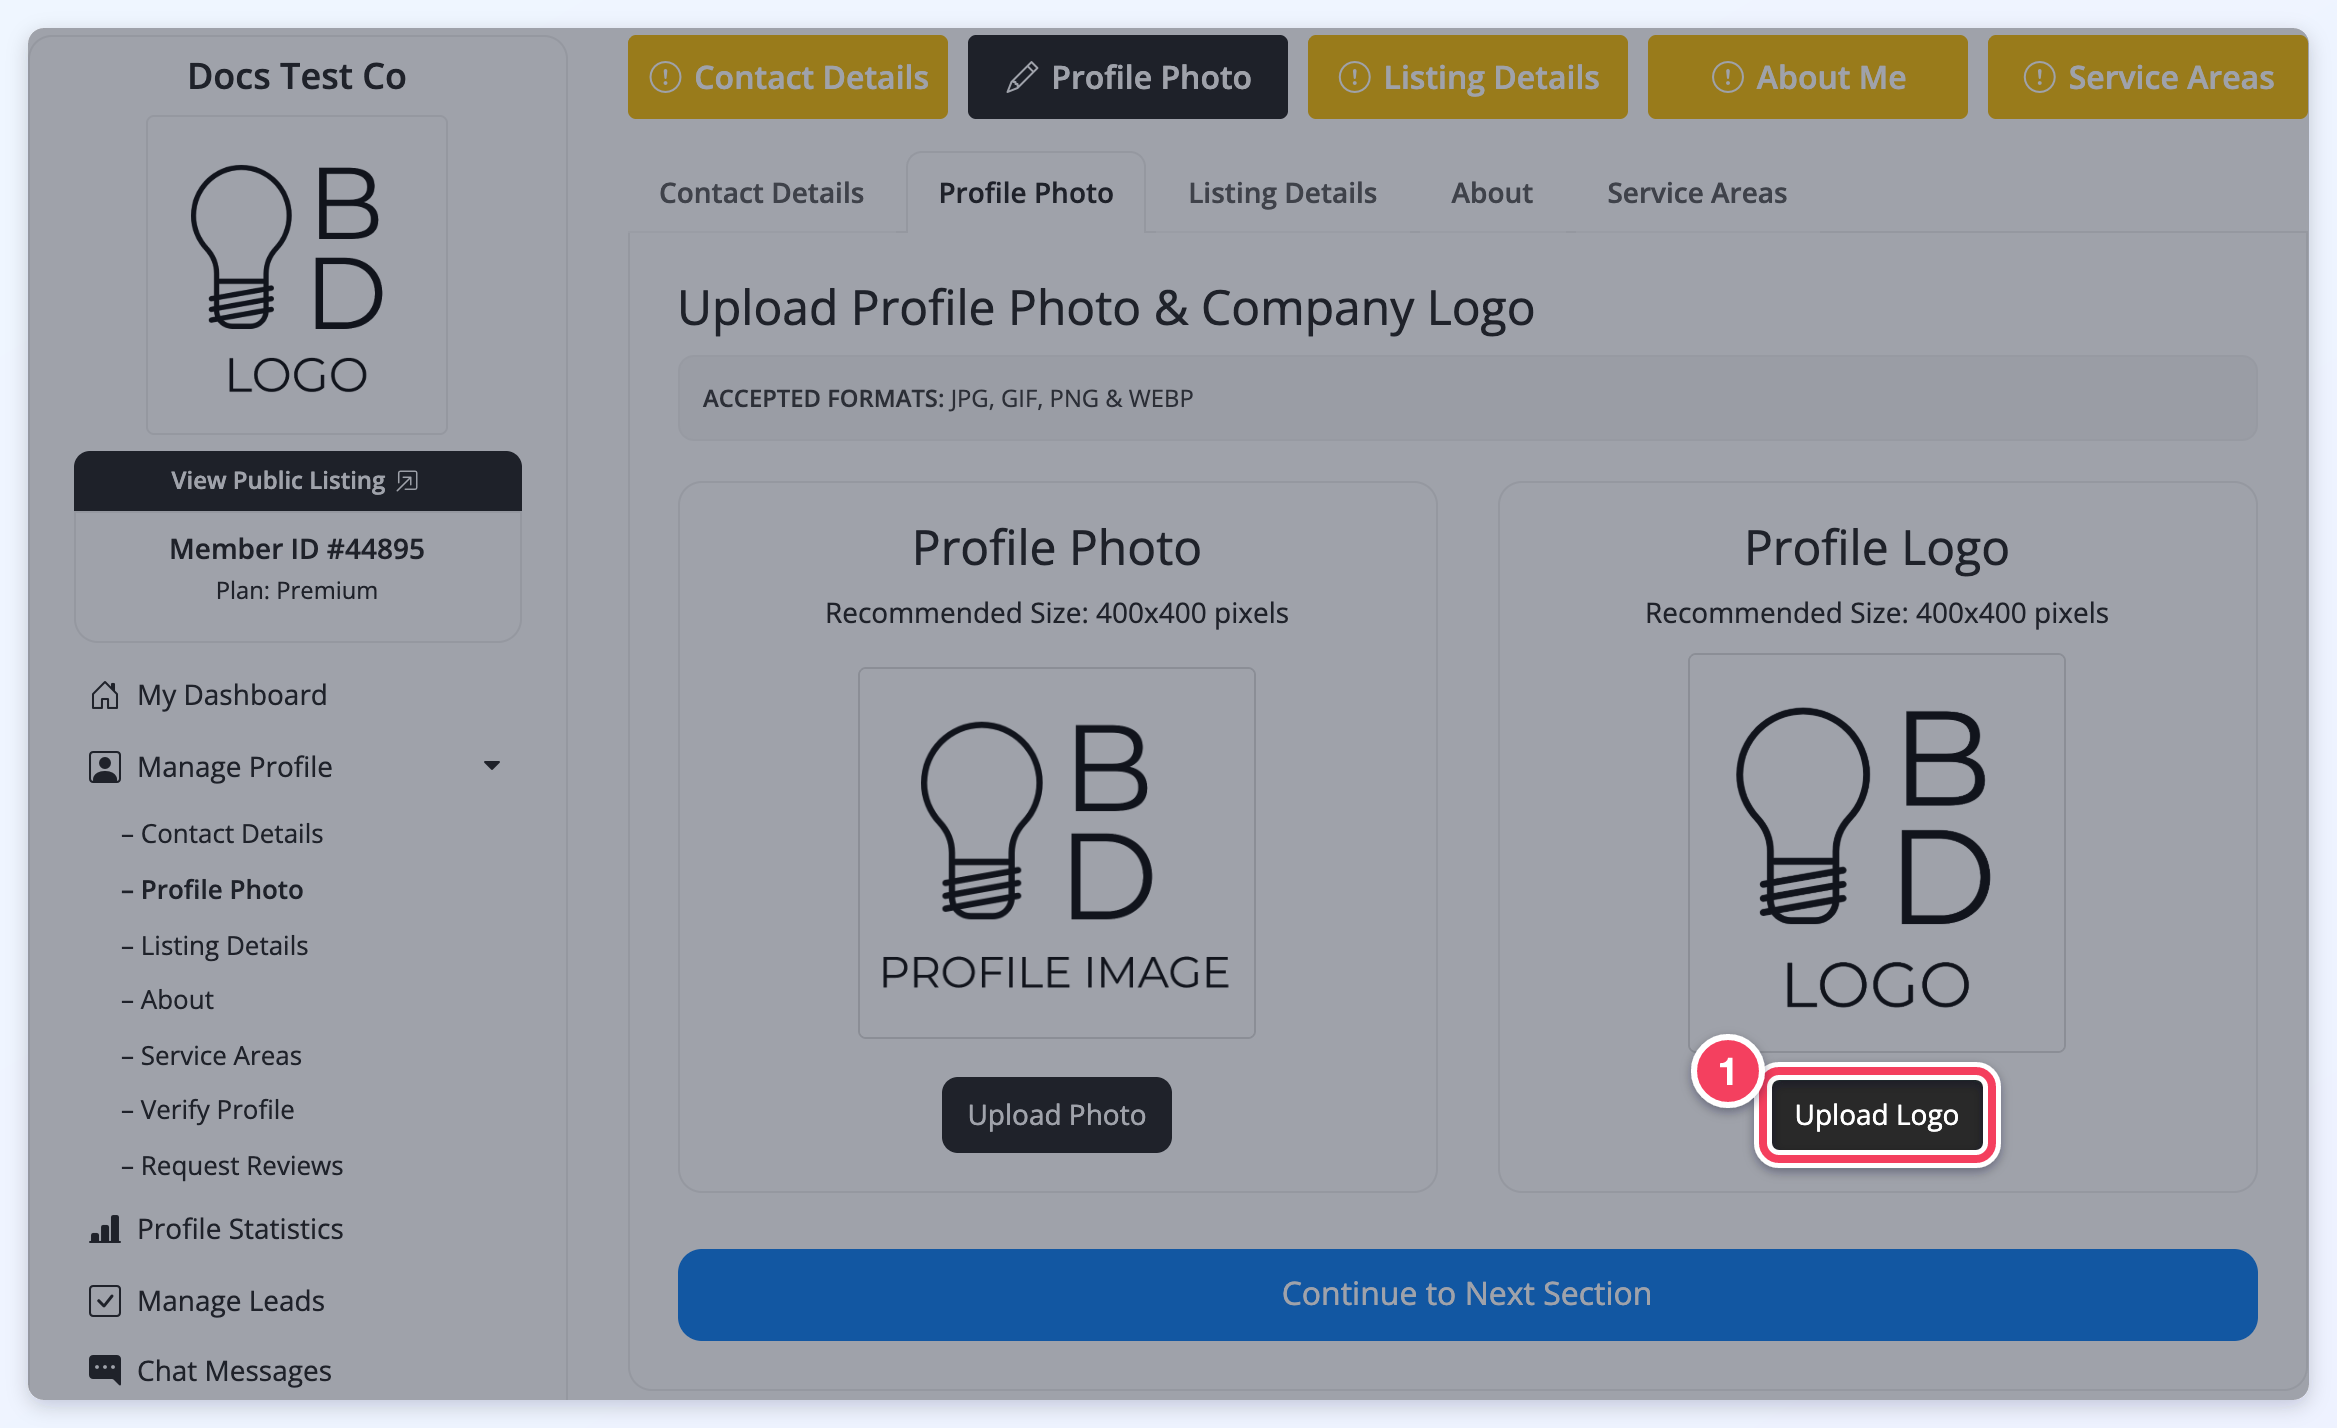
- Login as a member and go to the "Profile Photo" Tab
- Click on "Upload Logo" (once a logo has been uploaded, the button reads "Change Logo"):
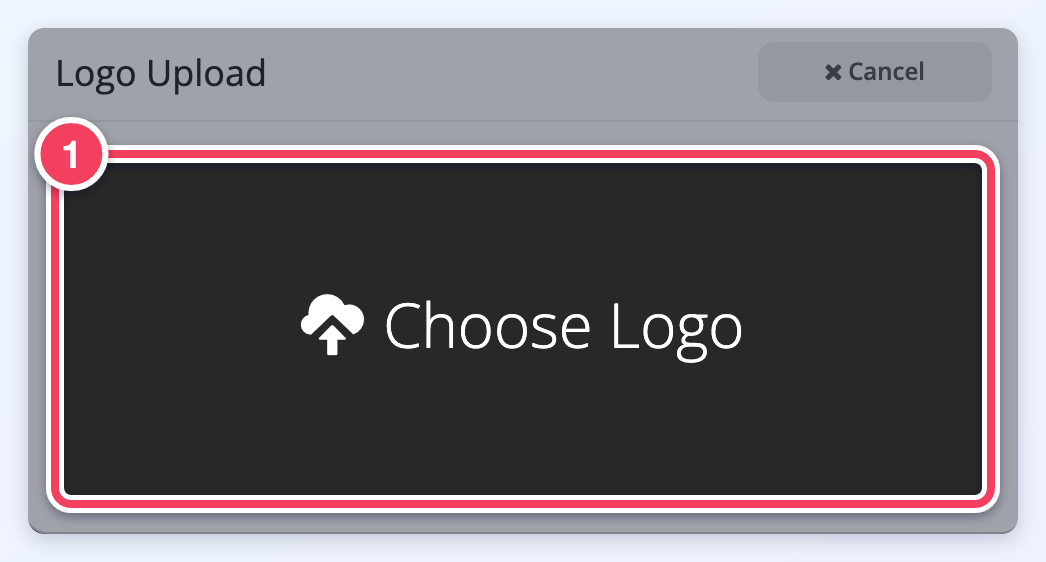
3. Click "Choose Logo" and select an image to upload. It opens in the cropping window:
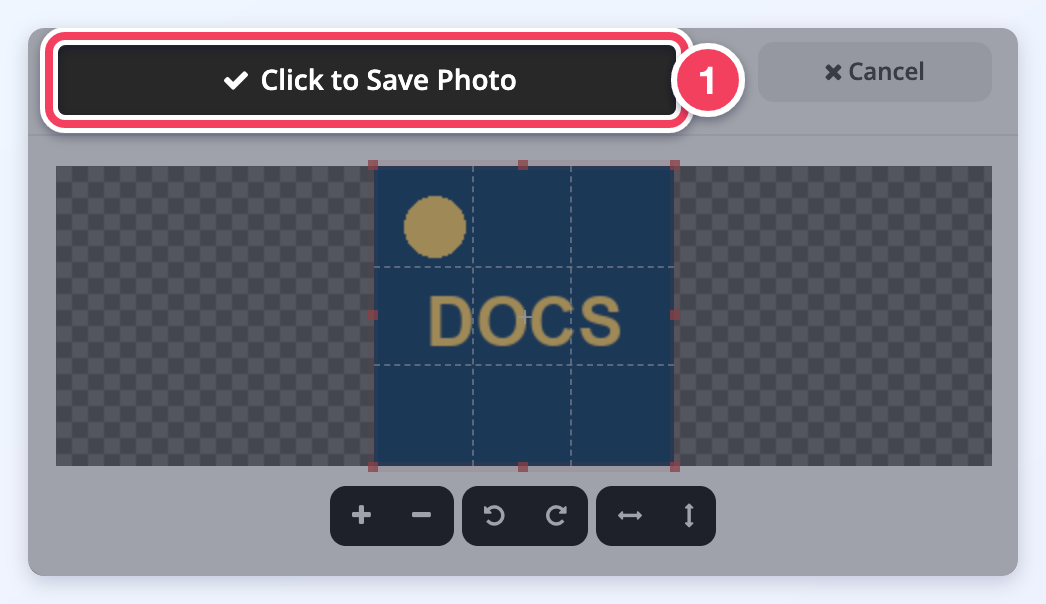
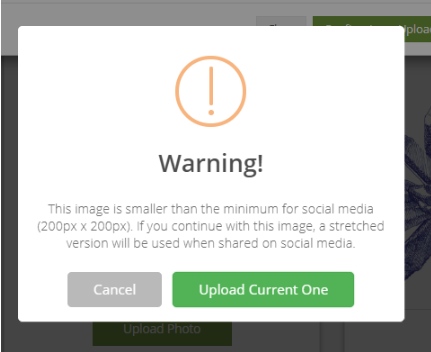
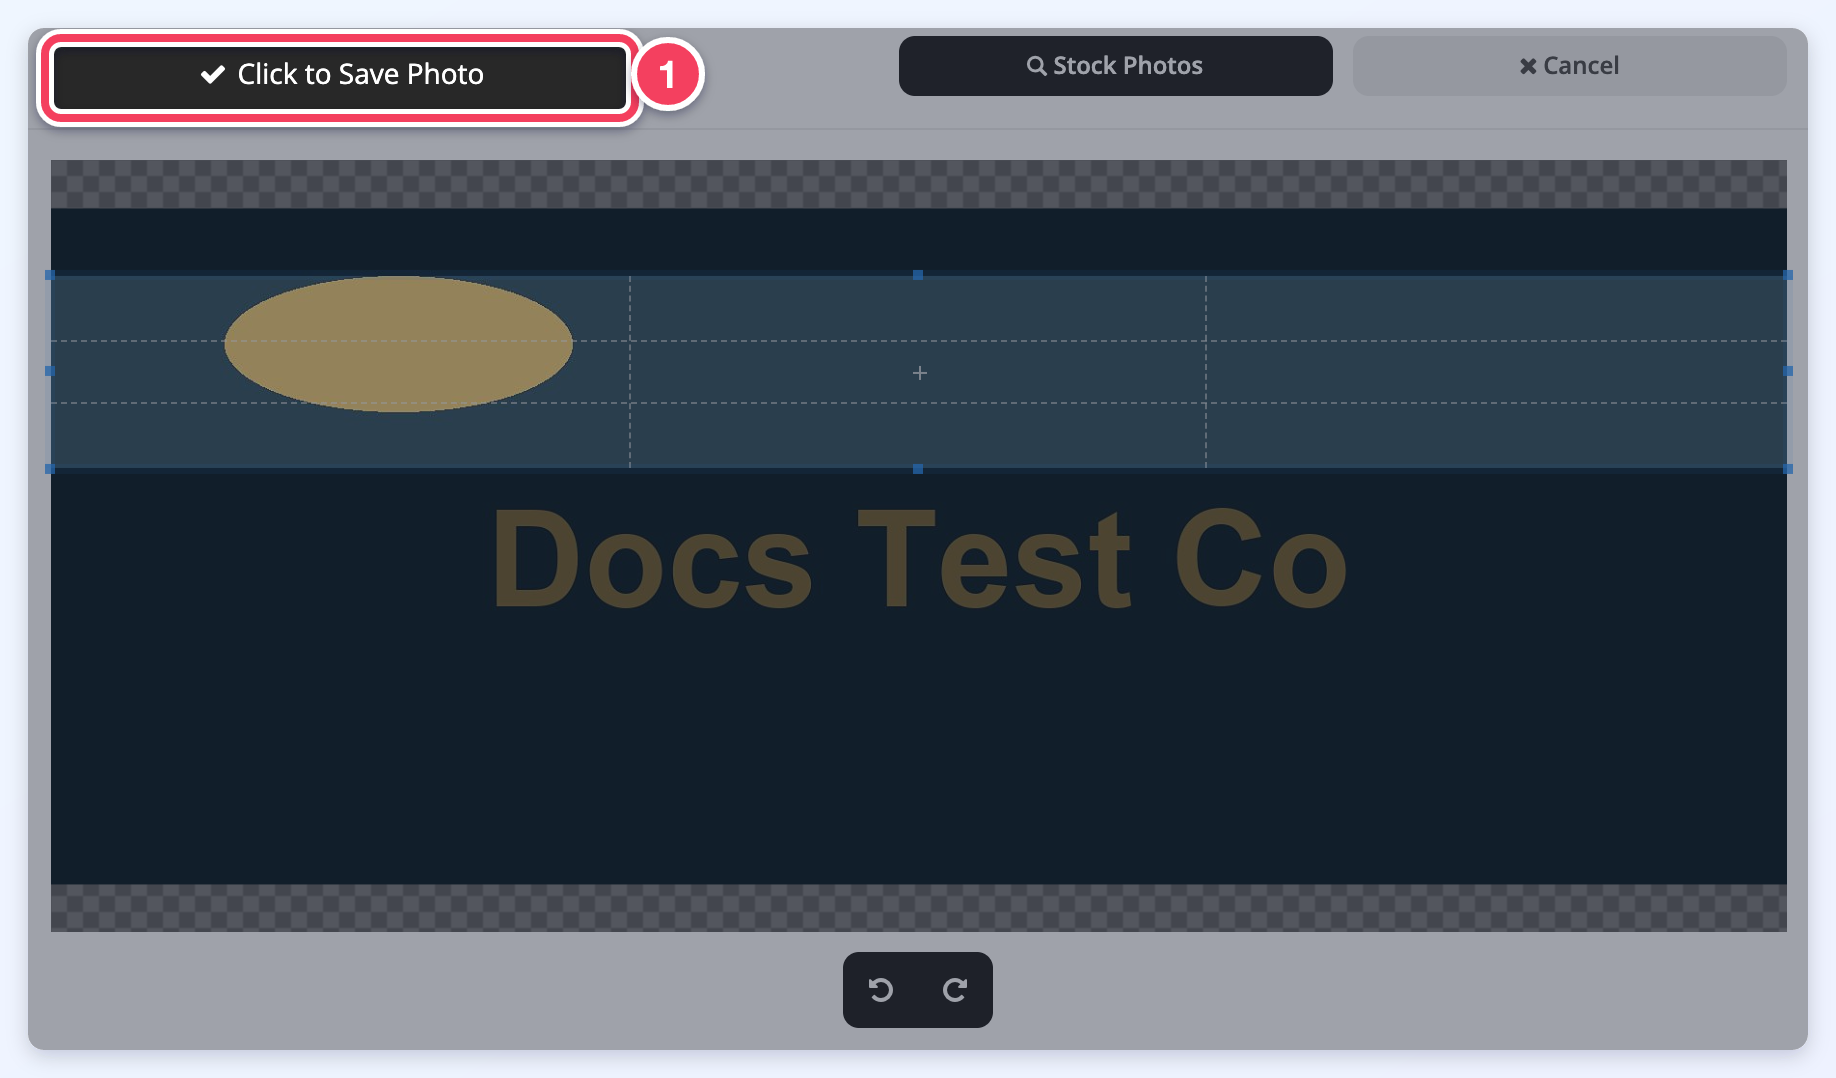
4. Click "Click to Save Photo". If the logo is not large enough the member will receive the following message, warning them that the current image is smaller than 200px x 200px and will have to be stretched in order to meet the minimum size requirements for sharing on social media websites, and the logo will appear on the website at a smaller size than other Profile Logos. This warning appears only when the Skip Image Size Warning for Profile Photos and Logos Advanced Setting (system variable skip_photo_upload_warning_size) is turned off. It is ON by default, so by default the image is uploaded without the warning.
How To Upload Profile Photos As A Member
When uploading the profile photo, they will follow the same process as uploading a Profile Logo. However, the members will be required to use the built-in cropping tool which will ensure that the final image uses the 3:4 Aspect Ratio specified in the Profile Photo Settings:
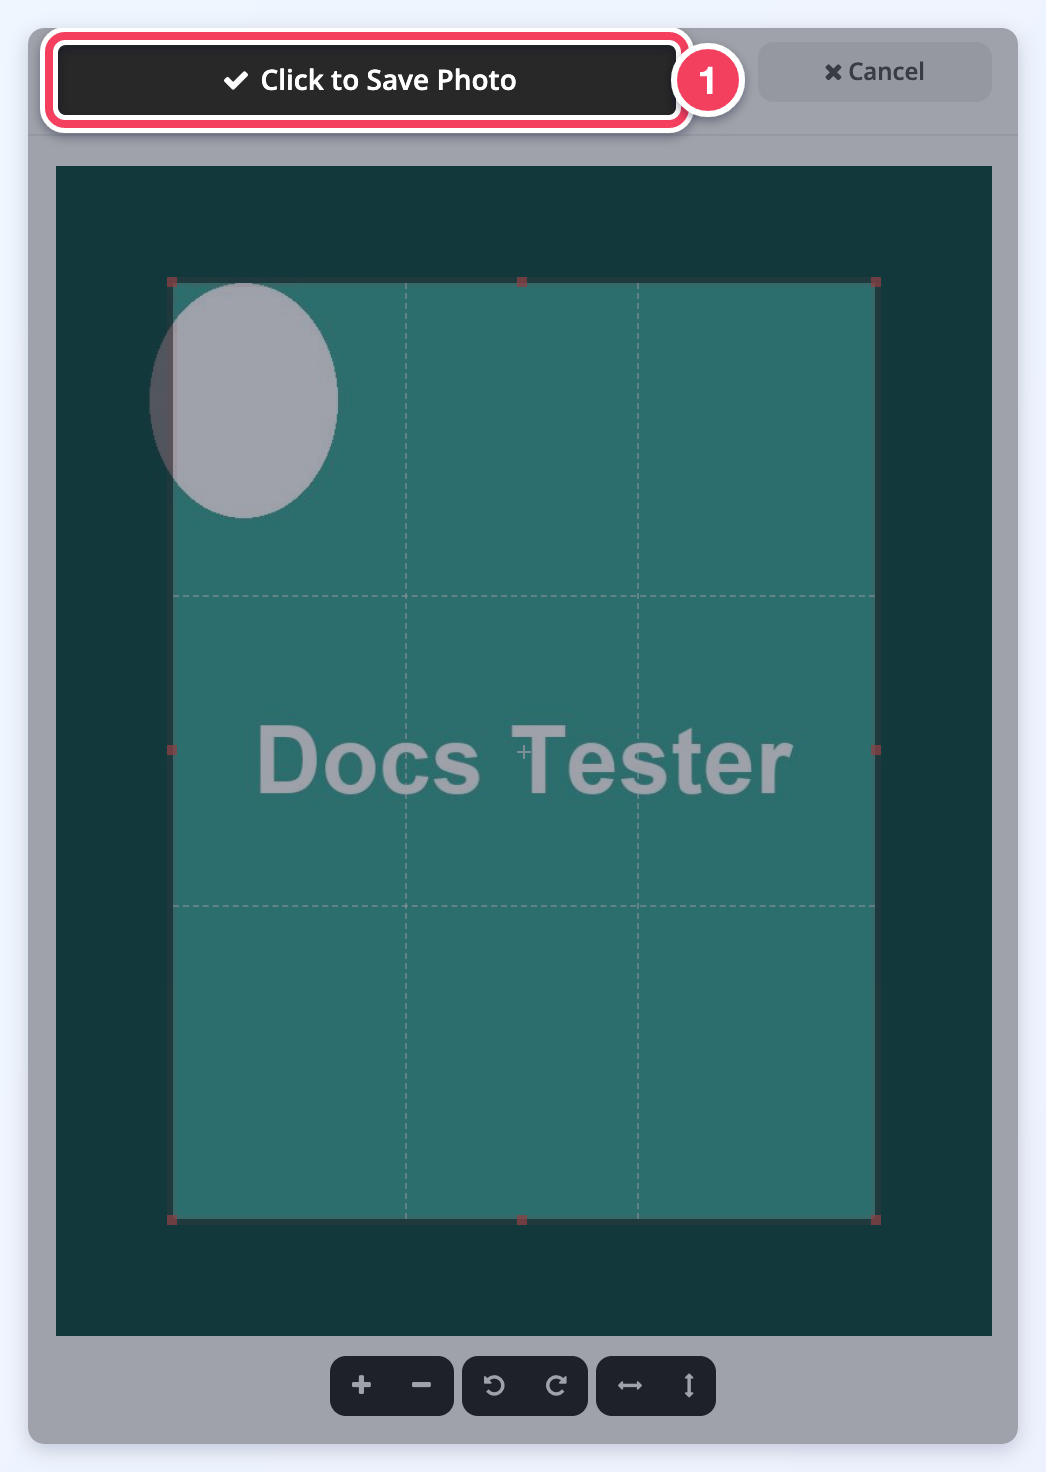
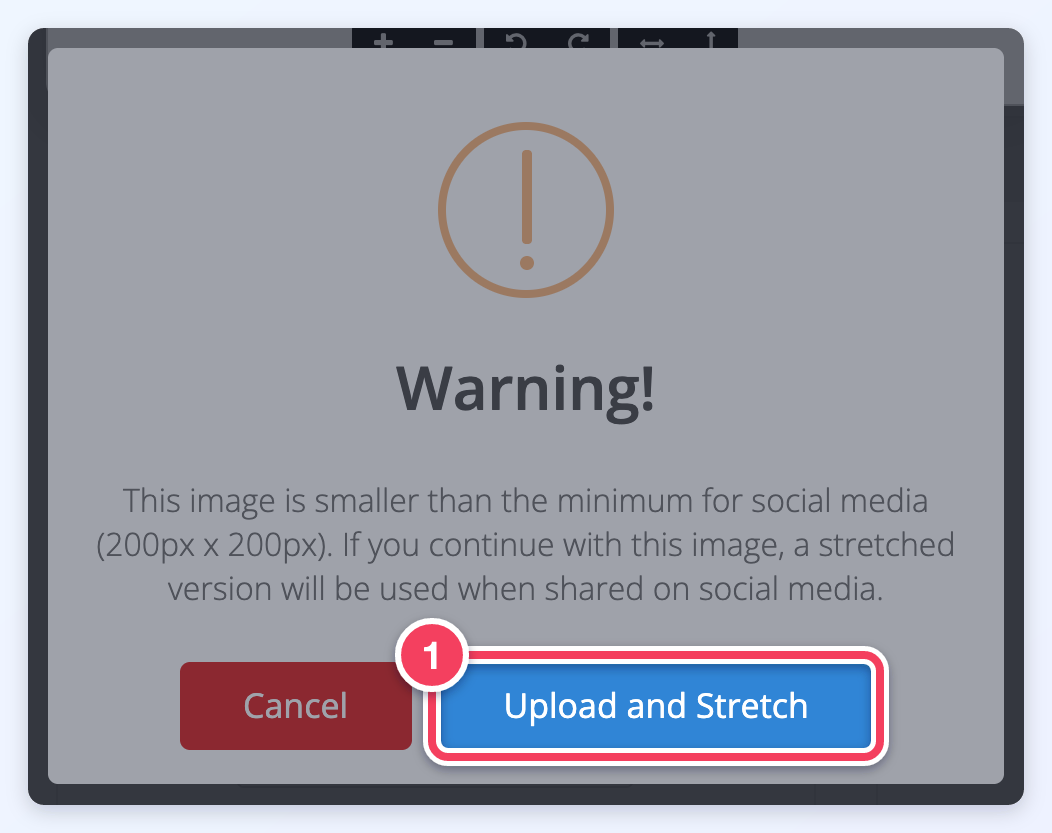
If the photo is smaller than 200px x 200px, clicking "Click to Save Photo" shows the following warning, and "Upload and Stretch" uploads it anyway. This warning appears only when the Skip Image Size Warning for Profile Photos and Logos Advanced Setting (system variable skip_photo_upload_warning_size) is turned off. It is ON by default, so by default the image is uploaded without the warning.
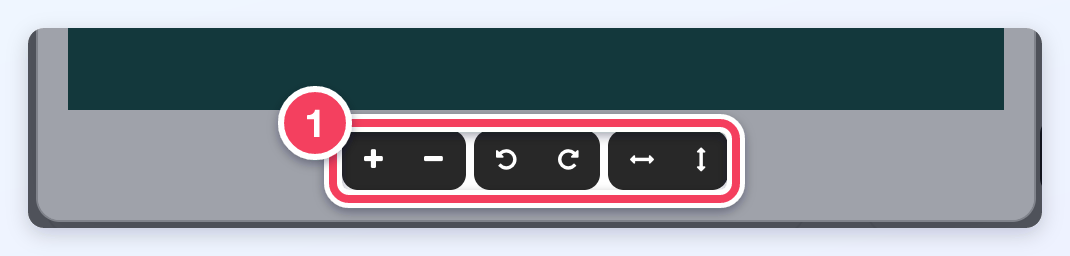
It is now possible to zoom in & out, rotate, and flip profile photo images while cropping, using the tools below the image:
How To Upload Cover Images As A Member
When uploading the cover photo, they will follow the same process as uploading a Profile Picture/Logo.
However, the members will be required to use the built-in cropping tool which will ensure that the final image uses the dimensions specified in the Profile Cover Settings:
Additional Information
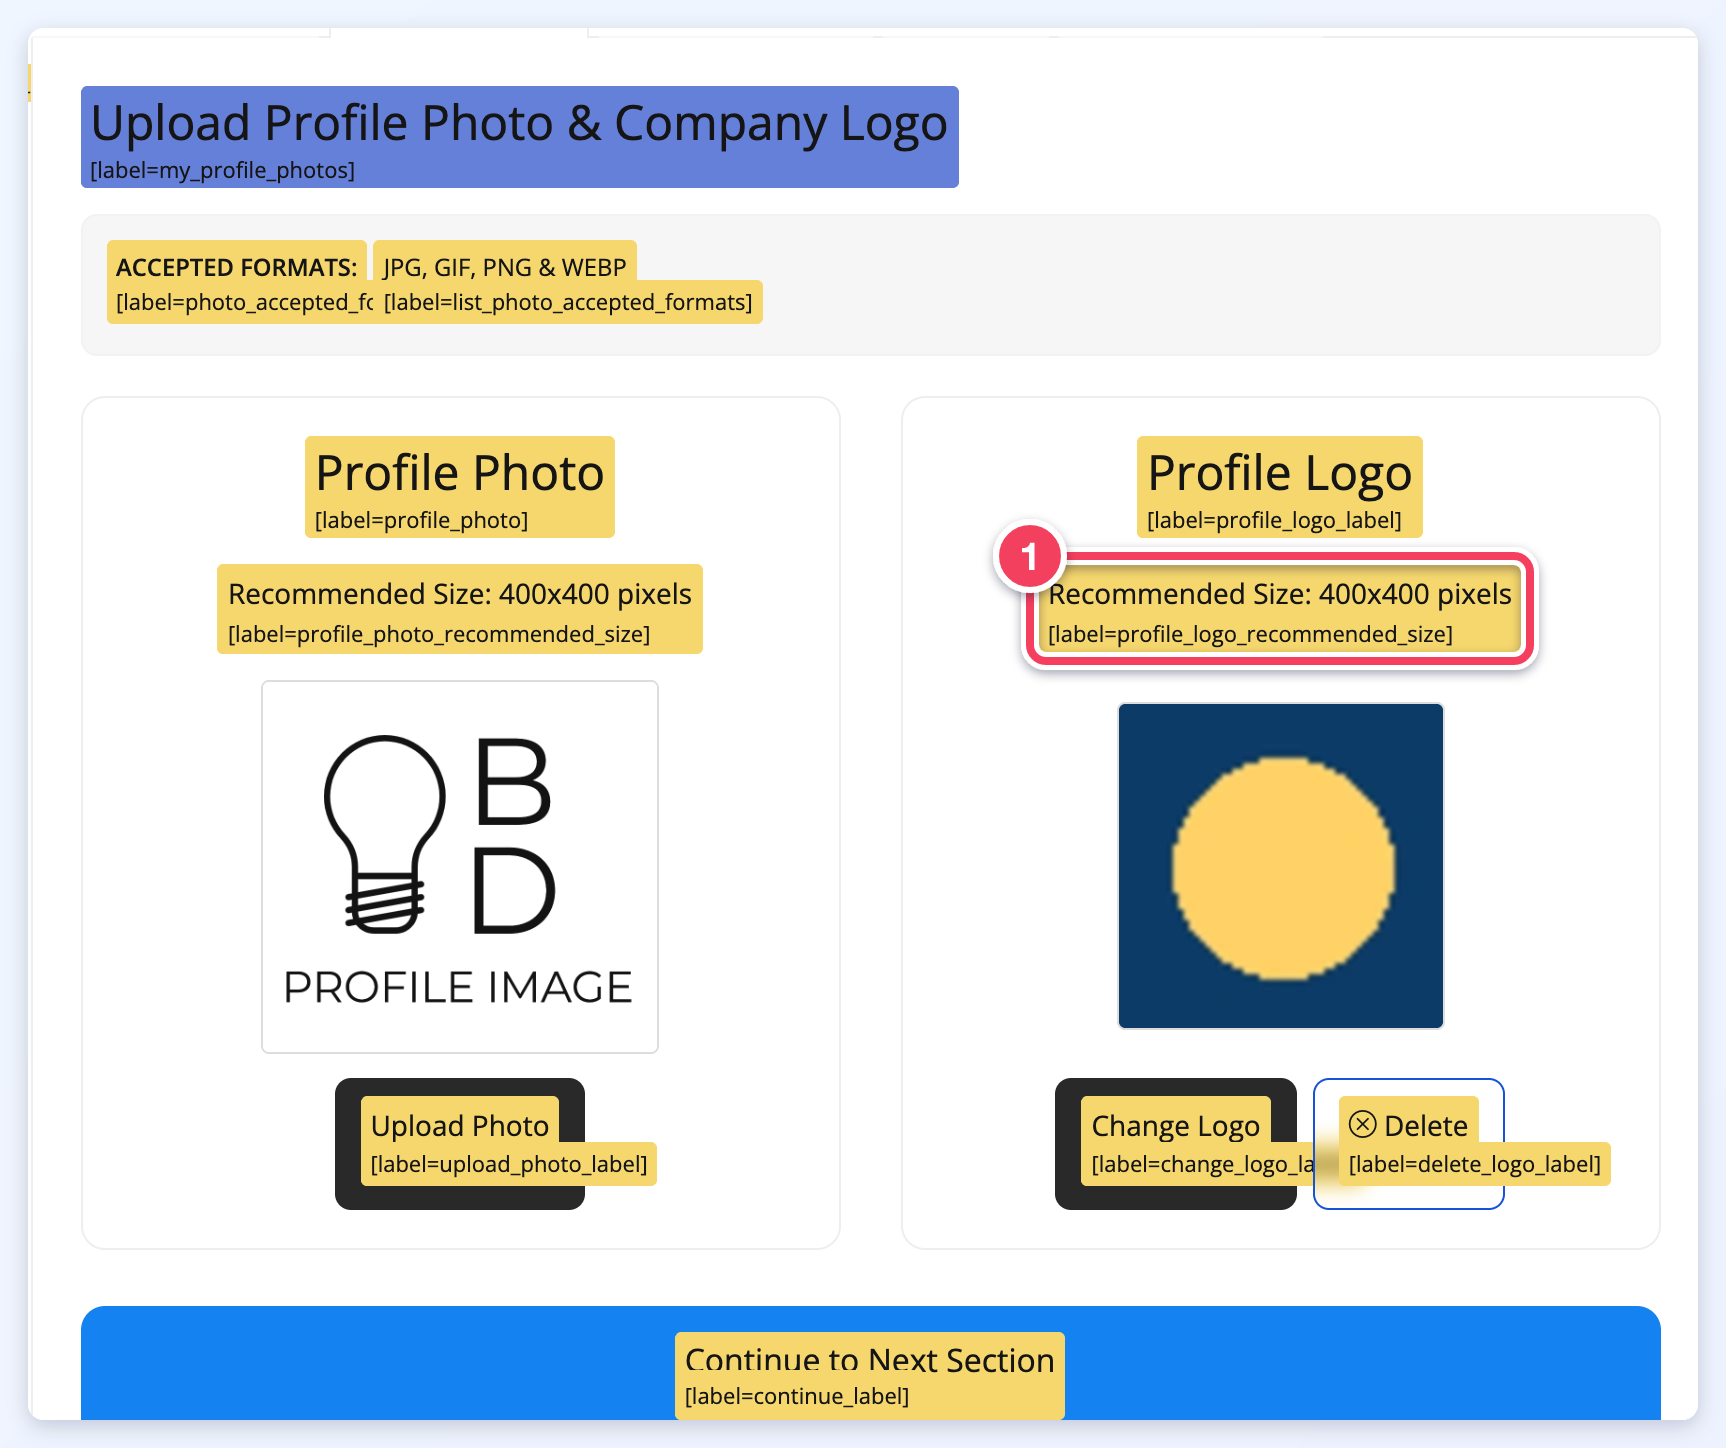
The image module is made up of text labels that can be edited:
» How to locate Text Labels on the Front end of a Website
