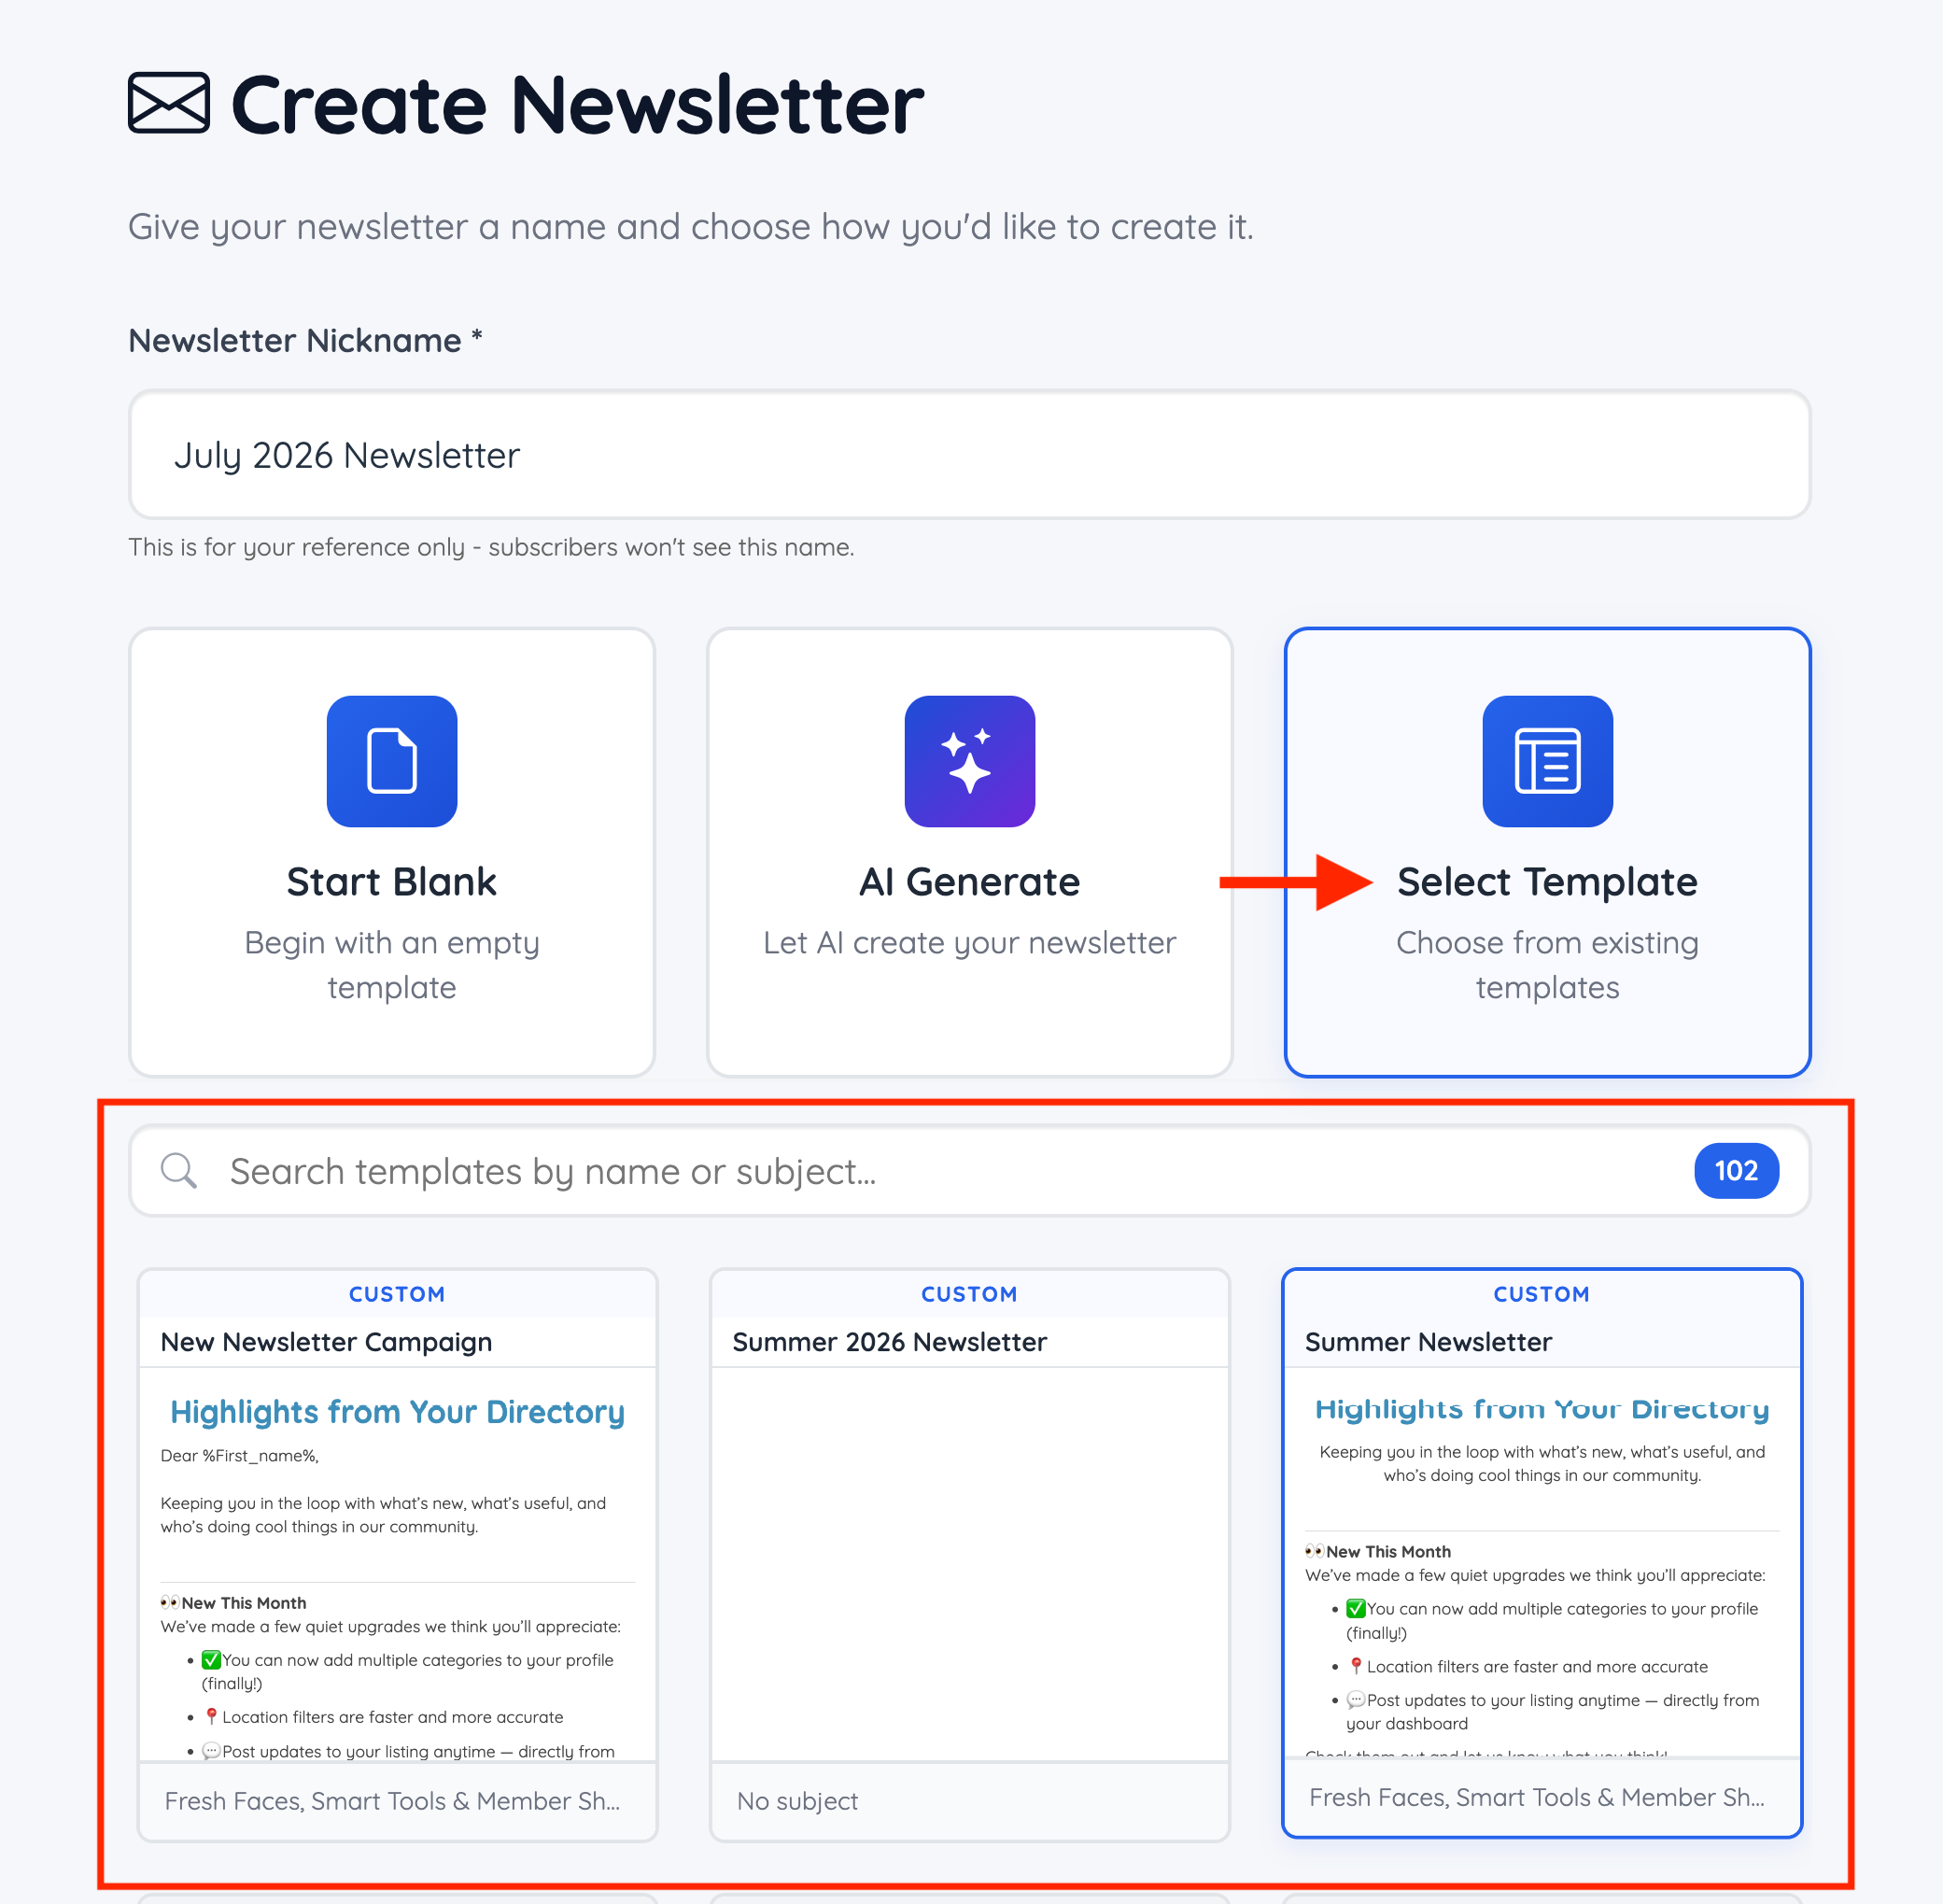
Emails » Email Templates » New Email Template
Link: https://support.brilliantdirectories.com/support/solutions/articles/12000045575
This article explains how to create a new email template from the admin area.
Email templates can be created to store and reuse email messages sent from the website. This helps keep formatting, wording, and branding consistent when sending messages to members, users, or contacts.
How to Create a New Email Template
- Go to Emails >> Email Templates.
- Click the New Email Template button.
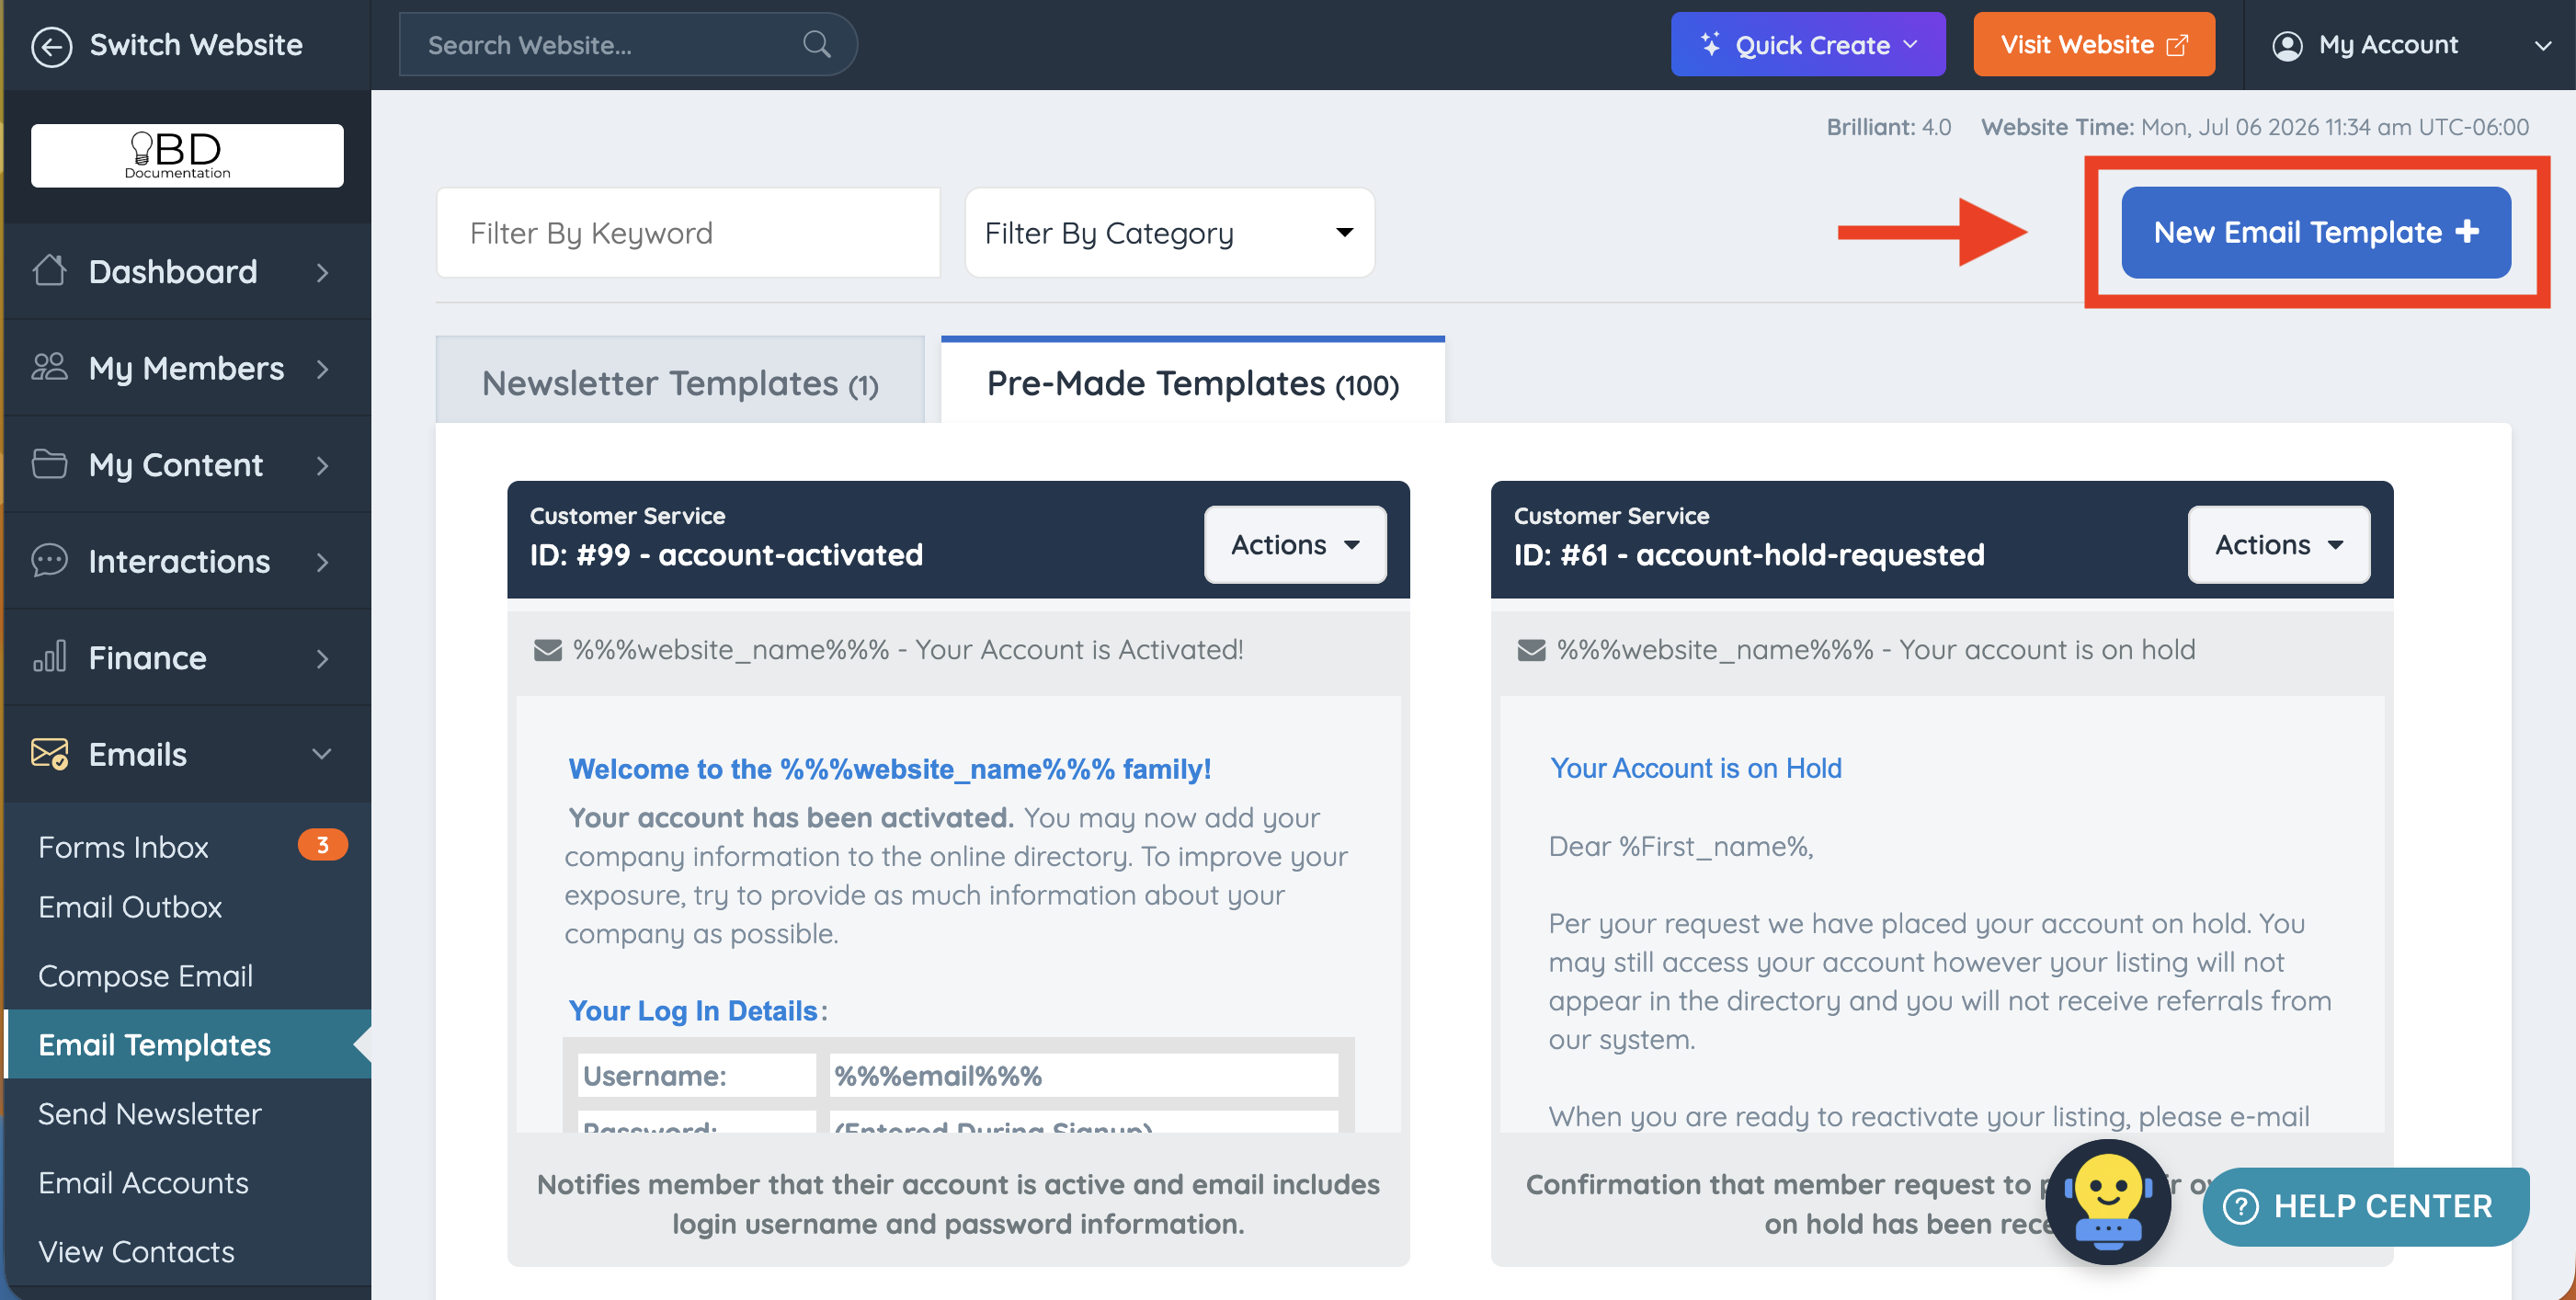
A blank email template editor will open.
Email Template Editor Overview
The new email template editor includes the main fields needed to create and save a reusable email template.
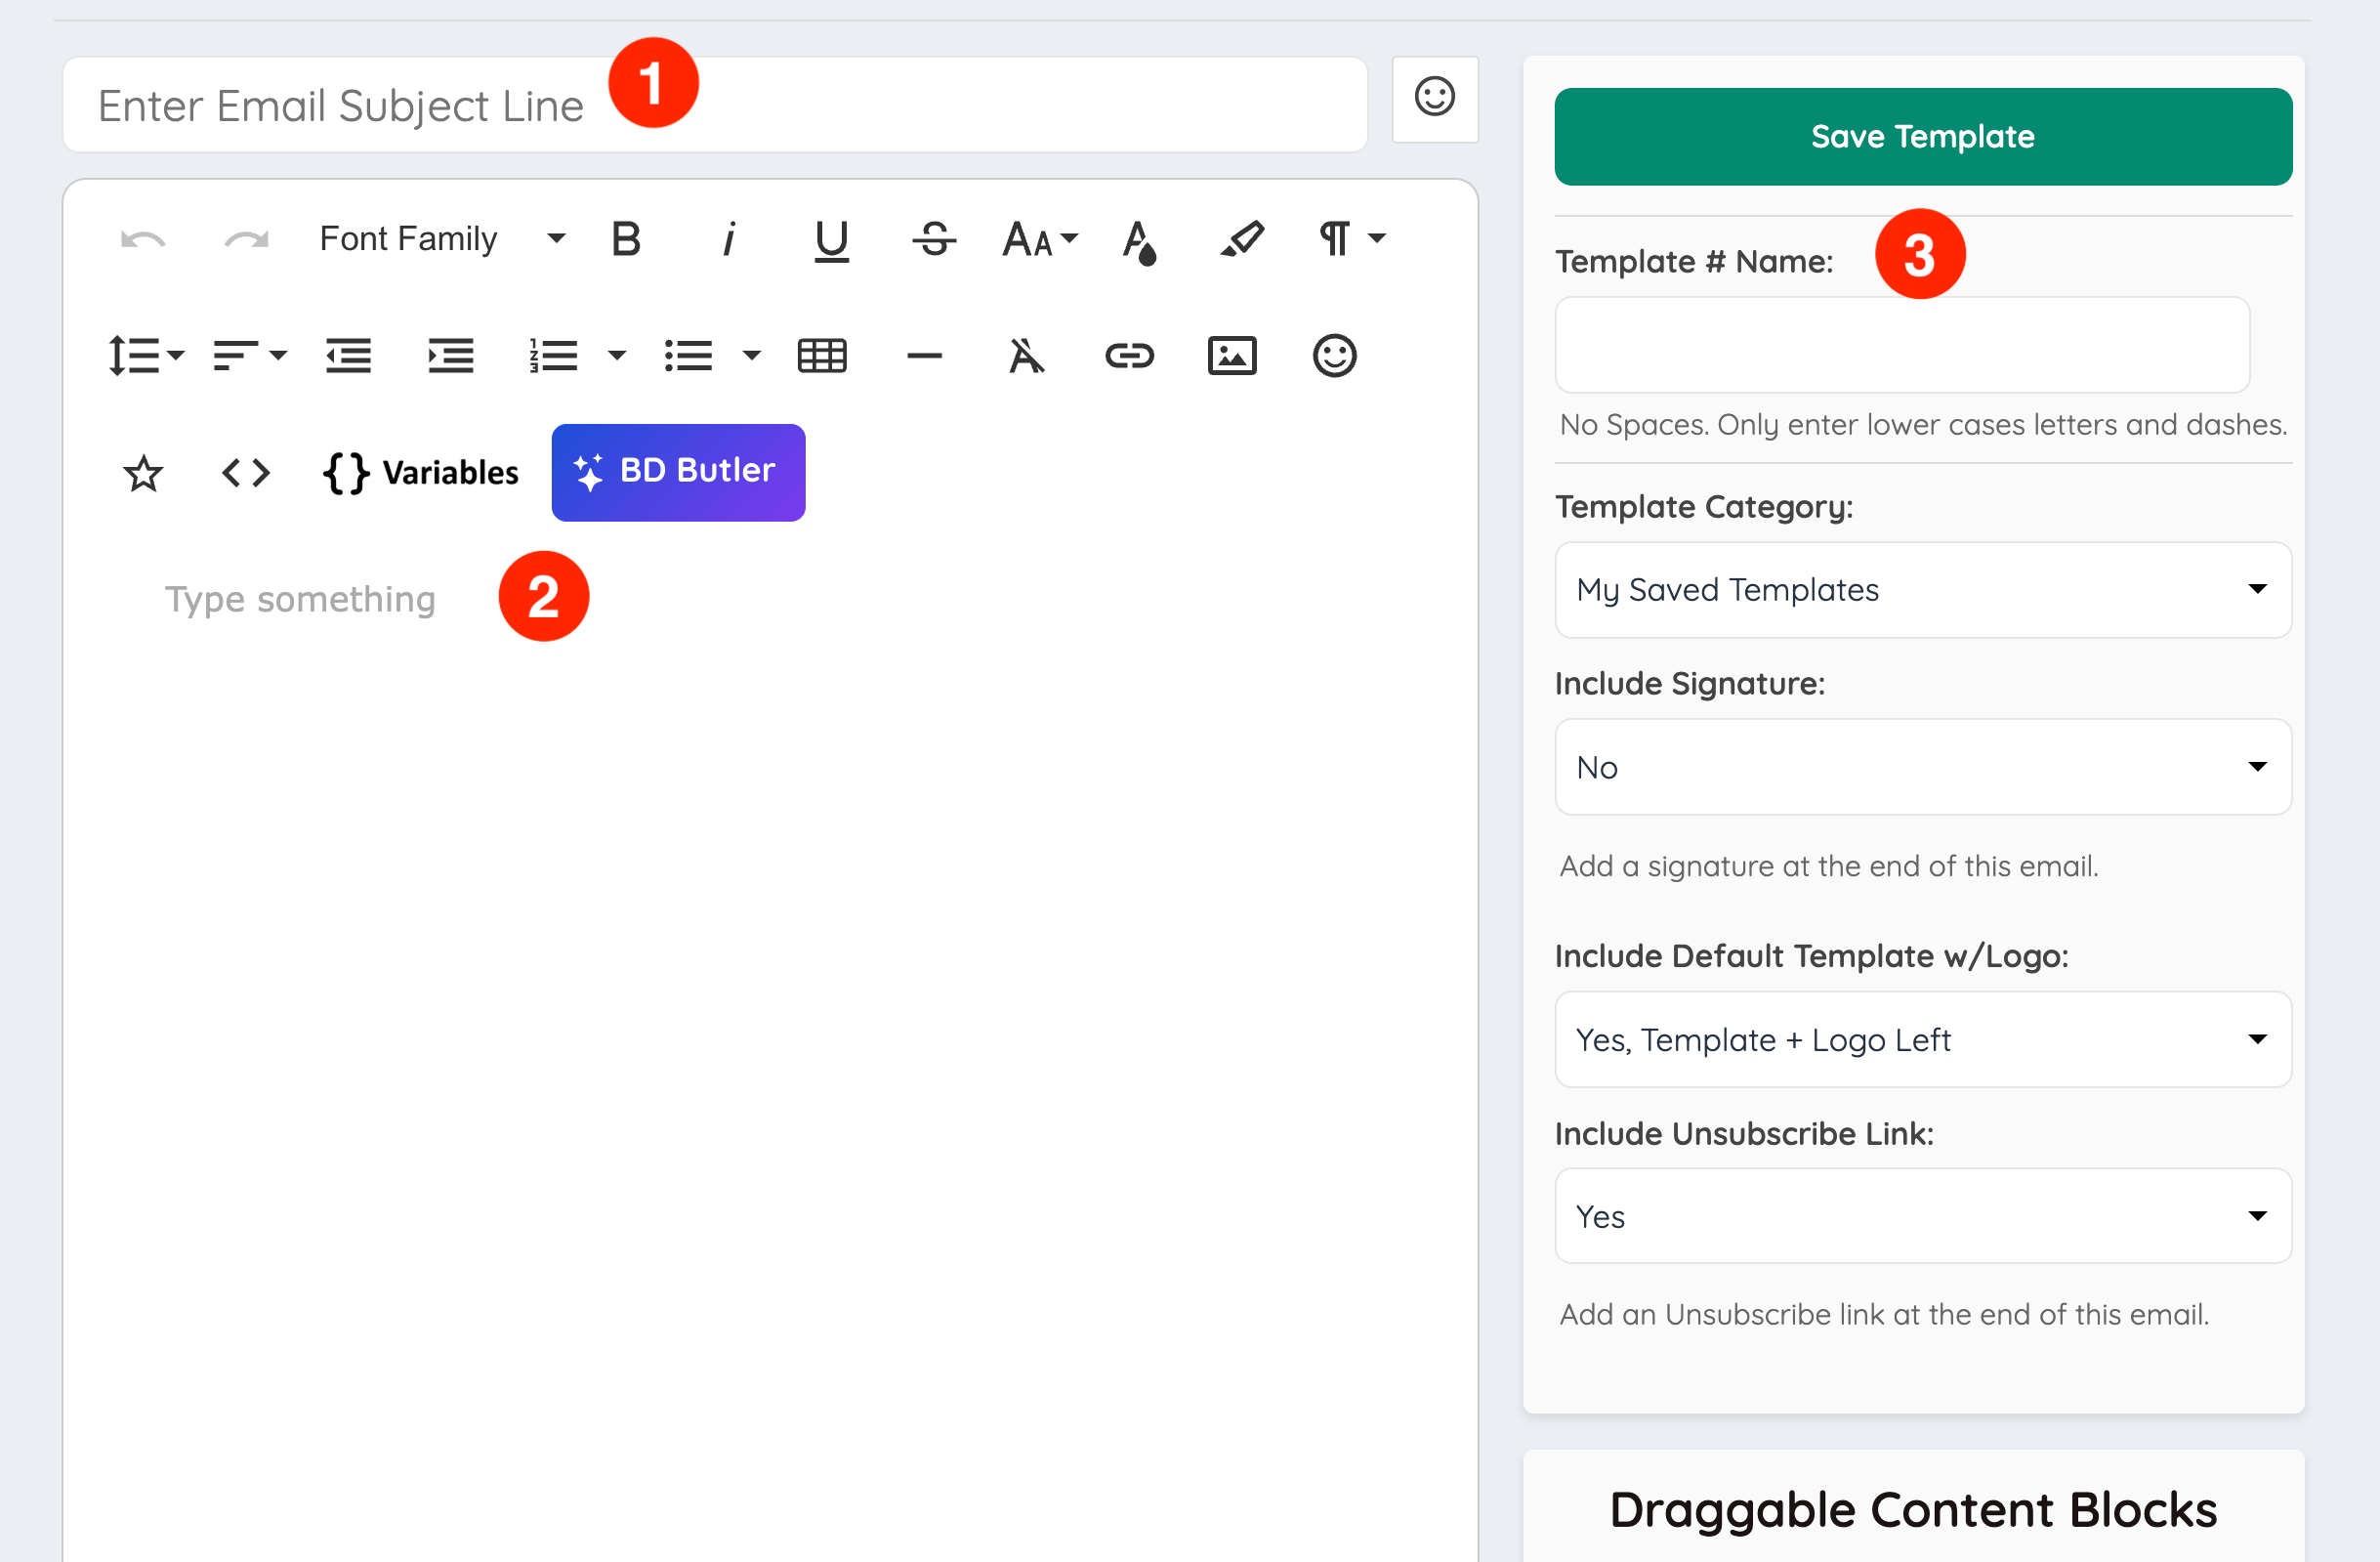
The following areas can be edited:
- Subject Line: The subject line that will display when the email is sent.
- Email Content: The main body of the email template. This area can include text, headings, links, images, buttons, and other formatted content.
- Template Name: The internal name used to identify the template in the admin area.
Important: The Template Name should be unique and should not include spaces. Use lowercase letters and dashes when creating the template name.
Example:
welcome-email-templateDesign the Email Template
The email content can be created and edited using the WYSIWYG editor.
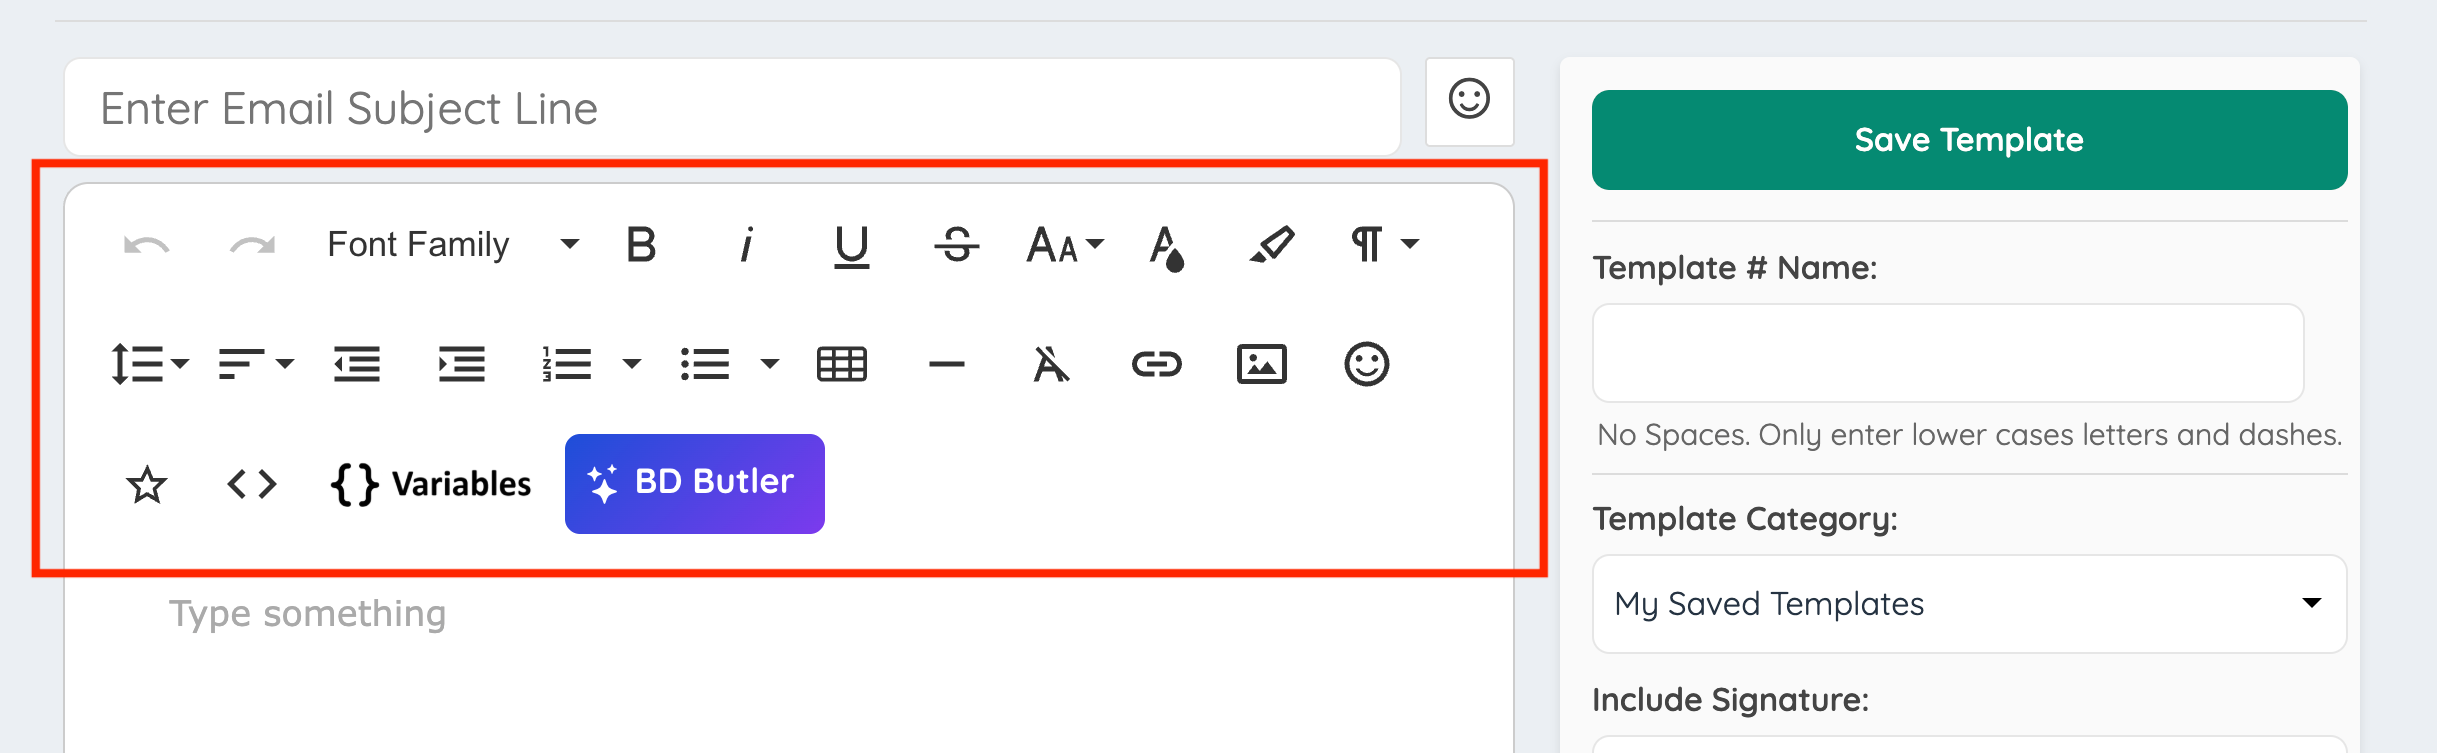
The editor can be used to add and format content such as:
- Paragraph text
- Headings
- Links
- Images
- Buttons
- Spacing and layout elements
For more information about using the WYSIWYG editor, see the following article:
Use Draggable Content Blocks
The right sidebar includes Premium Content Blocks that can be added to the email template. These blocks make it easier to build a structured email layout without creating everything manually.
Draggable content blocks can be used to add prebuilt content sections, formatting blocks, layout elements, and other design components to the email template.
To use a draggable content block:
- Find the content block in the sidebar.
- Drag the block into the email content area.
- Edit the text, images, links, or styling as needed.
Template Configuration Settings
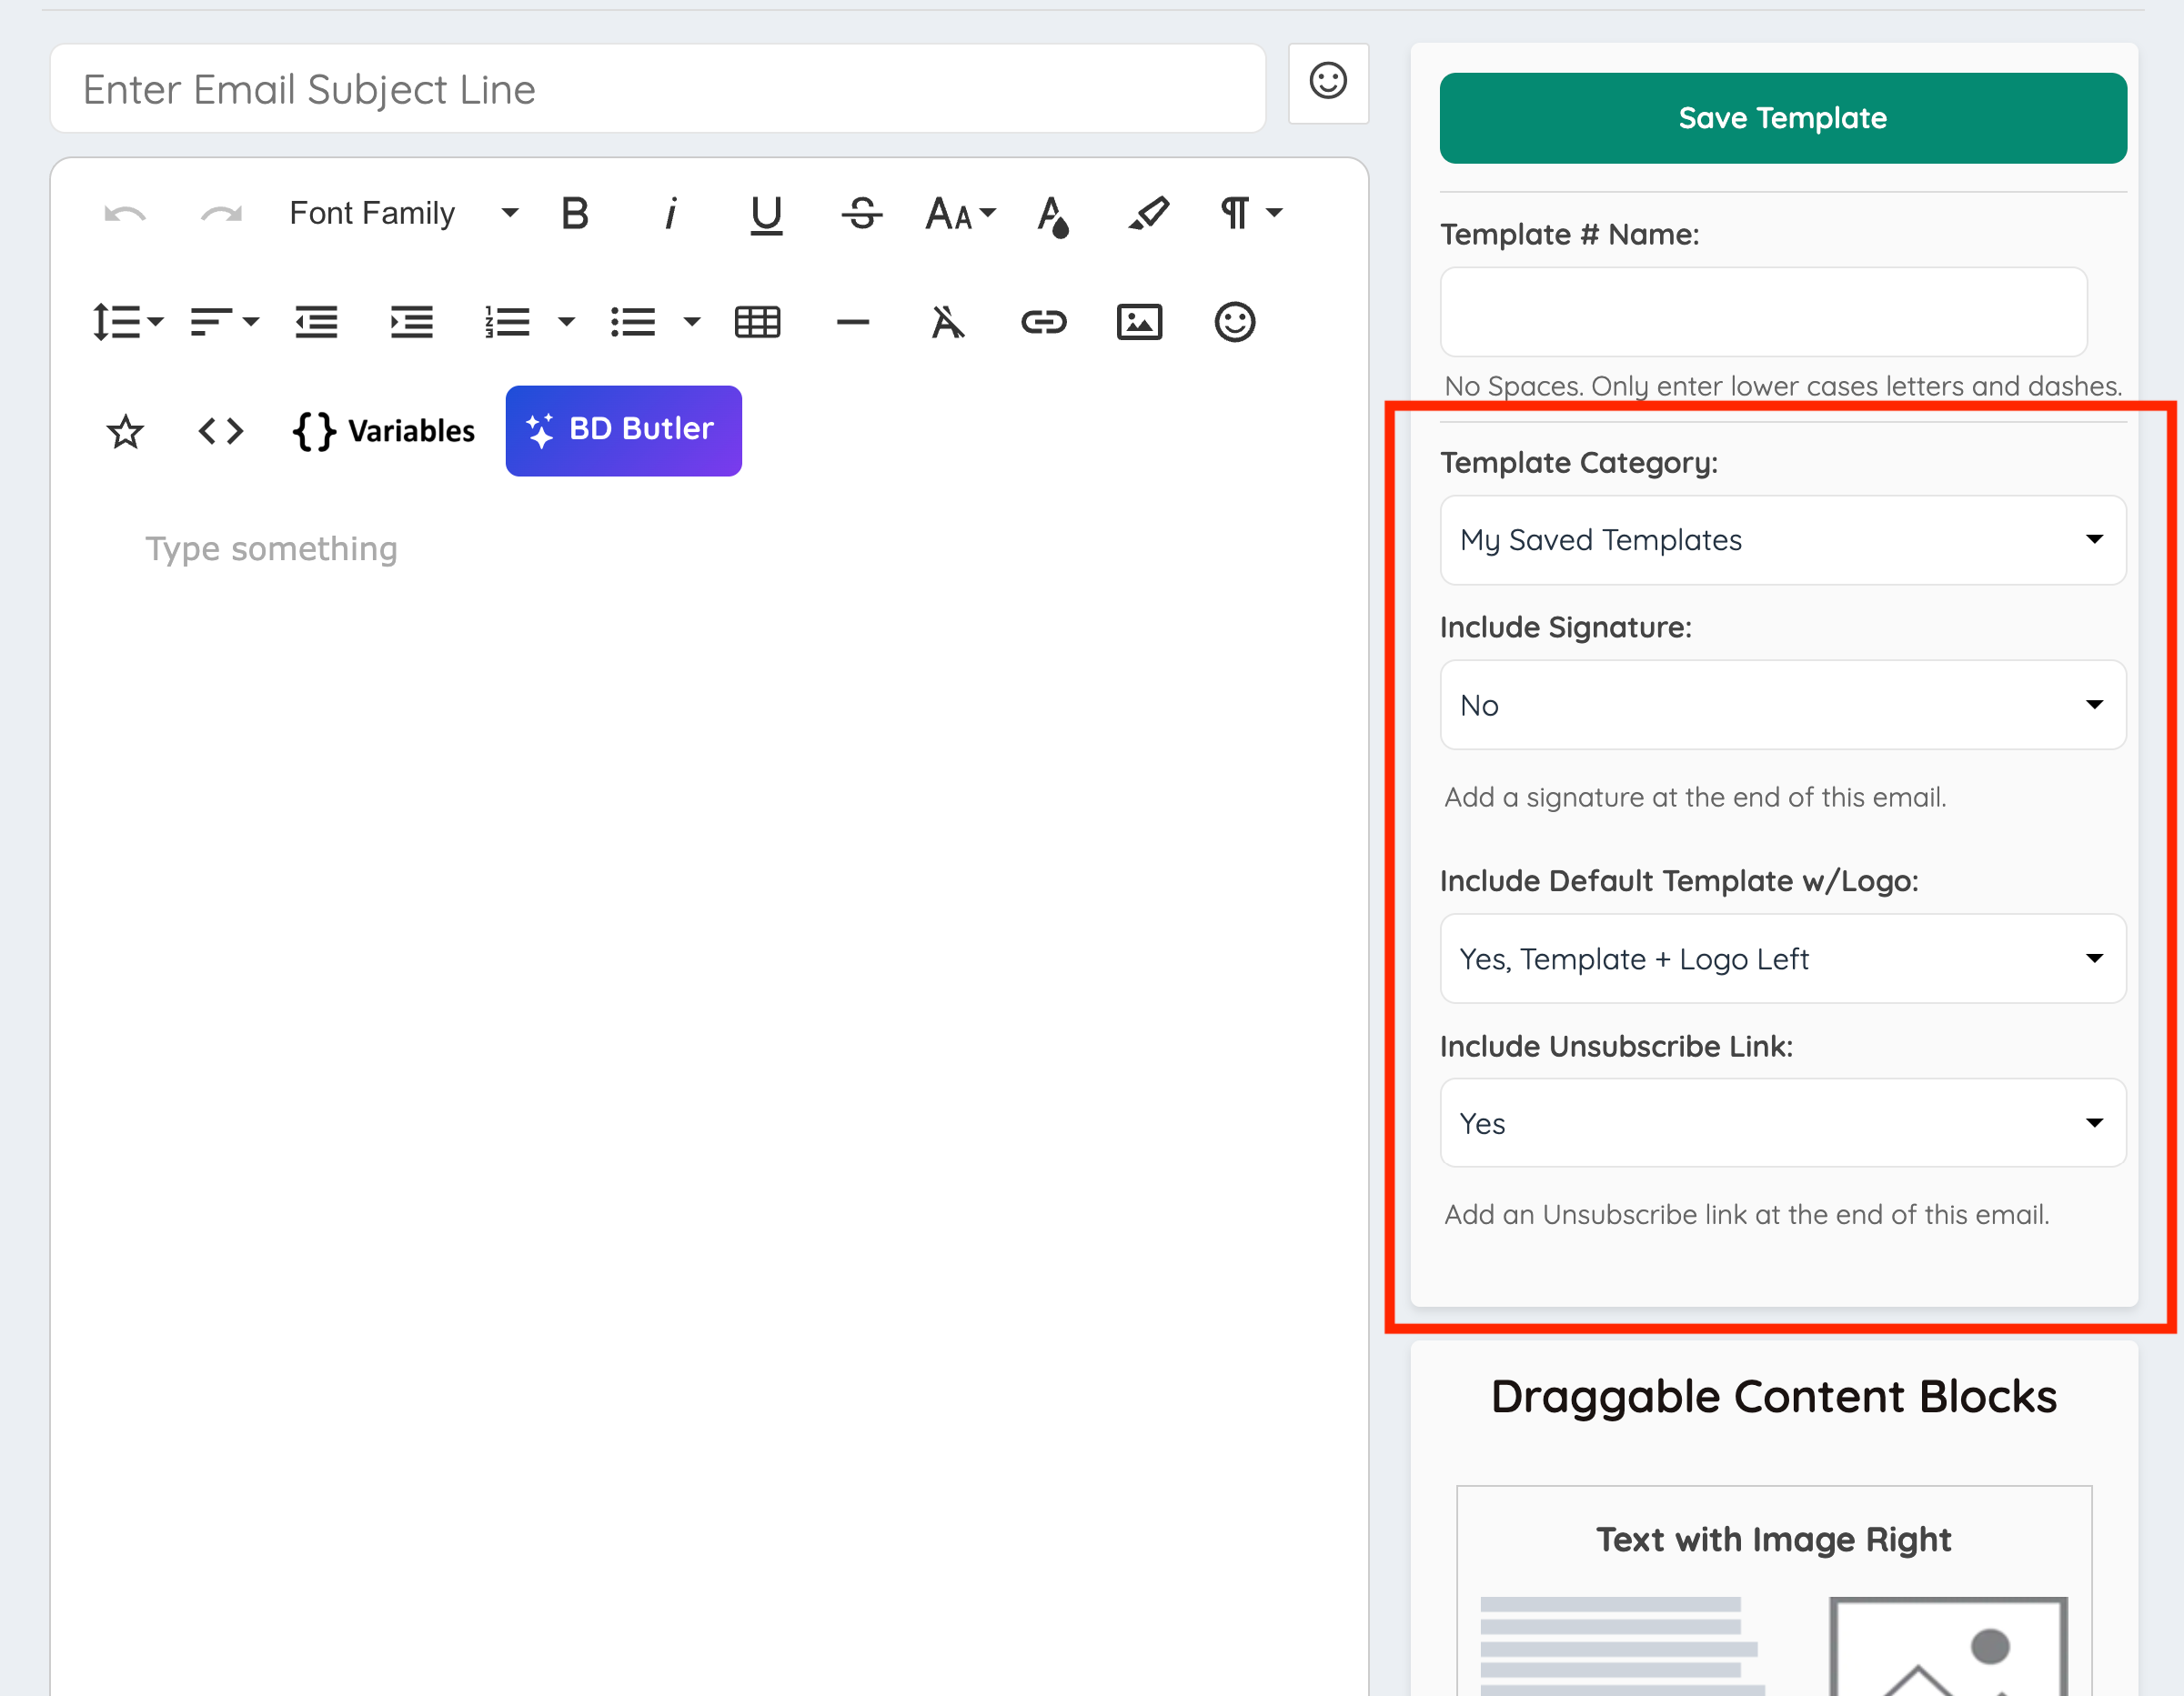
The sidebar includes additional settings that control how the email template is categorized and displayed.
Template Category
The Template Category setting determines where the template is organized in the admin area.
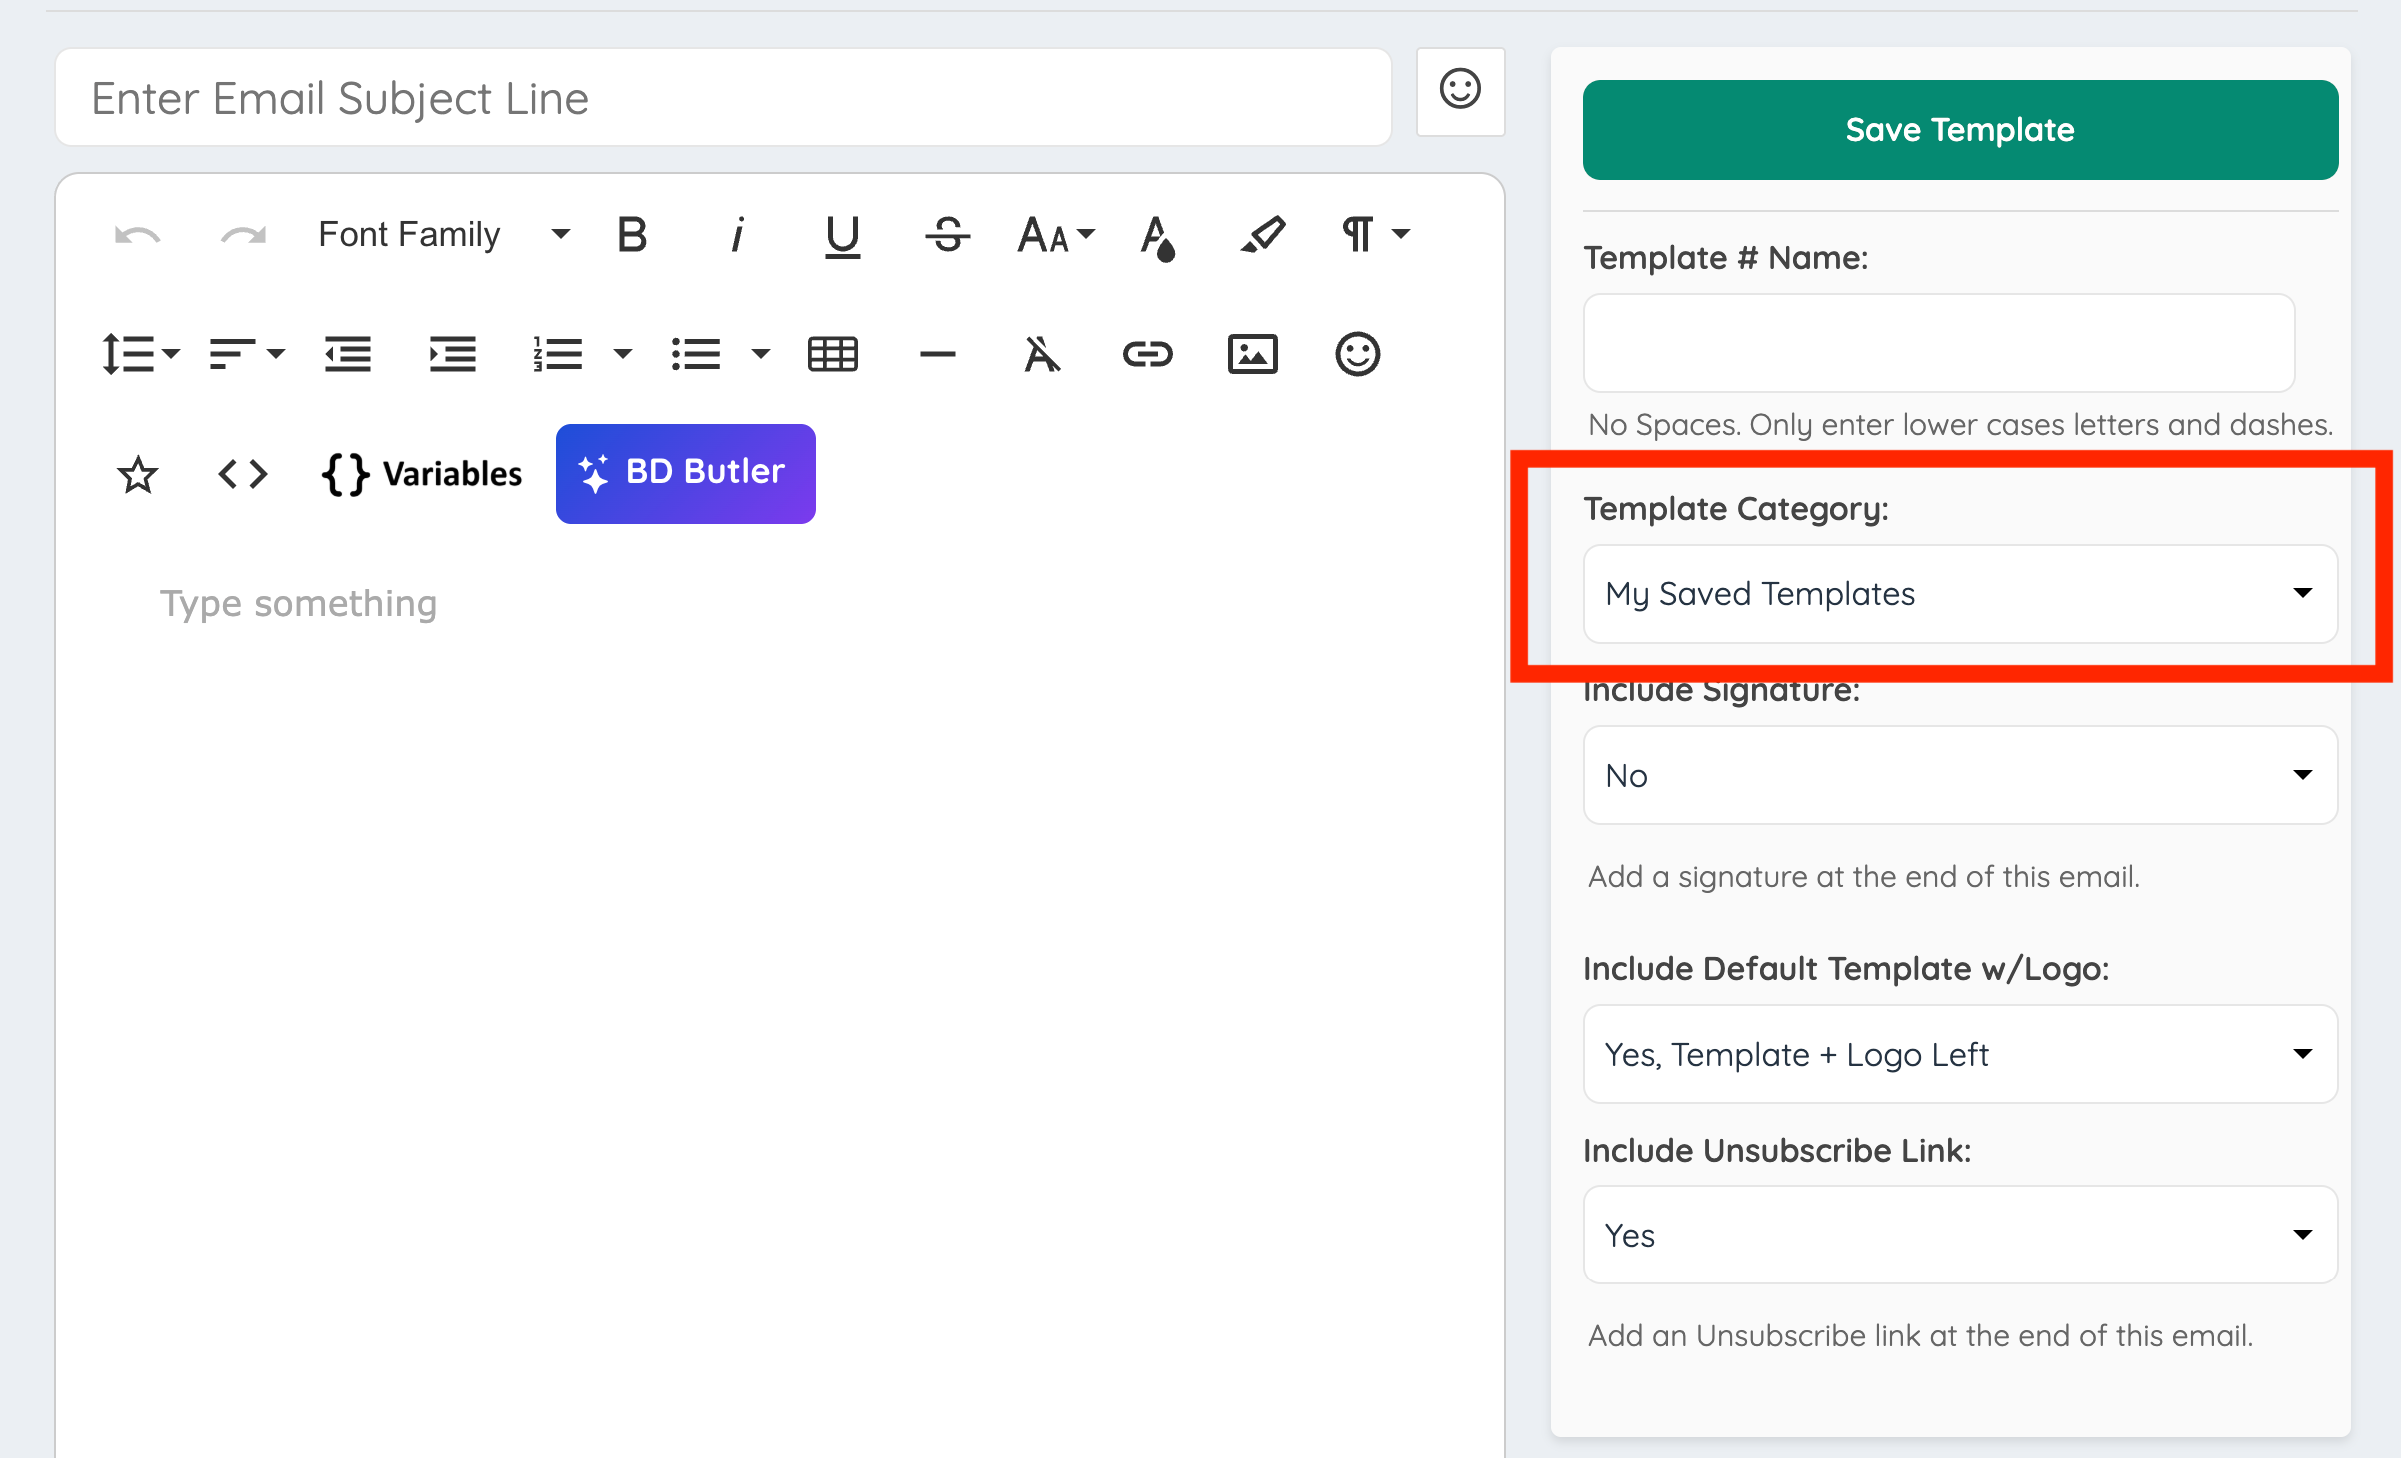
Available template categories may include:
- Billing
- Customer Service
- Lead Emails
- My Saved Templates
- System Emails
Select the category that best matches the purpose of the email template.
Include Signature
The Include Signature setting controls whether the website email signature is added to the end of the email template.
When enabled, the signature will display below the email content.
For instructions on editing the email signature, see the following article:
Include Default Template w/Logo
The Include Default Template w/Logo setting controls whether the system’s default email wrapper and logo are included when the email is sent.
Available options may include:
- Yes, Template + Logo Left: Includes the default email template wrapper with the logo aligned to the left.
- Yes, Template + Logo Center: Includes the default email template wrapper with the logo aligned to the center.
- Yes, Template + Logo Right: Includes the default email template wrapper with the logo aligned to the right.
- Yes, Template + No Logo: Includes the default email template wrapper without displaying the logo.
- No, Do Not Use Template or Logo: Sends the email without the default template wrapper or logo.
Select the option that best matches the desired email layout.
Include Unsubscribe Link
The Include Unsubscribe Link setting controls whether an unsubscribe link is included in the email template.
Important: The unsubscribe link cannot be removed from newsletter campaigns. Newsletter recipients must have the option to unsubscribe from future newsletter emails.
For non-newsletter email notifications, this setting can be adjusted based on the type of email being created.
Save the Email Template
After the subject line, content, template name, and configuration settings have been added, save the email template.
- Review the subject line.
- Review the email content.
- Confirm the template name is unique and properly formatted.
- Confirm the template category and display settings.
- Click Save Changes.
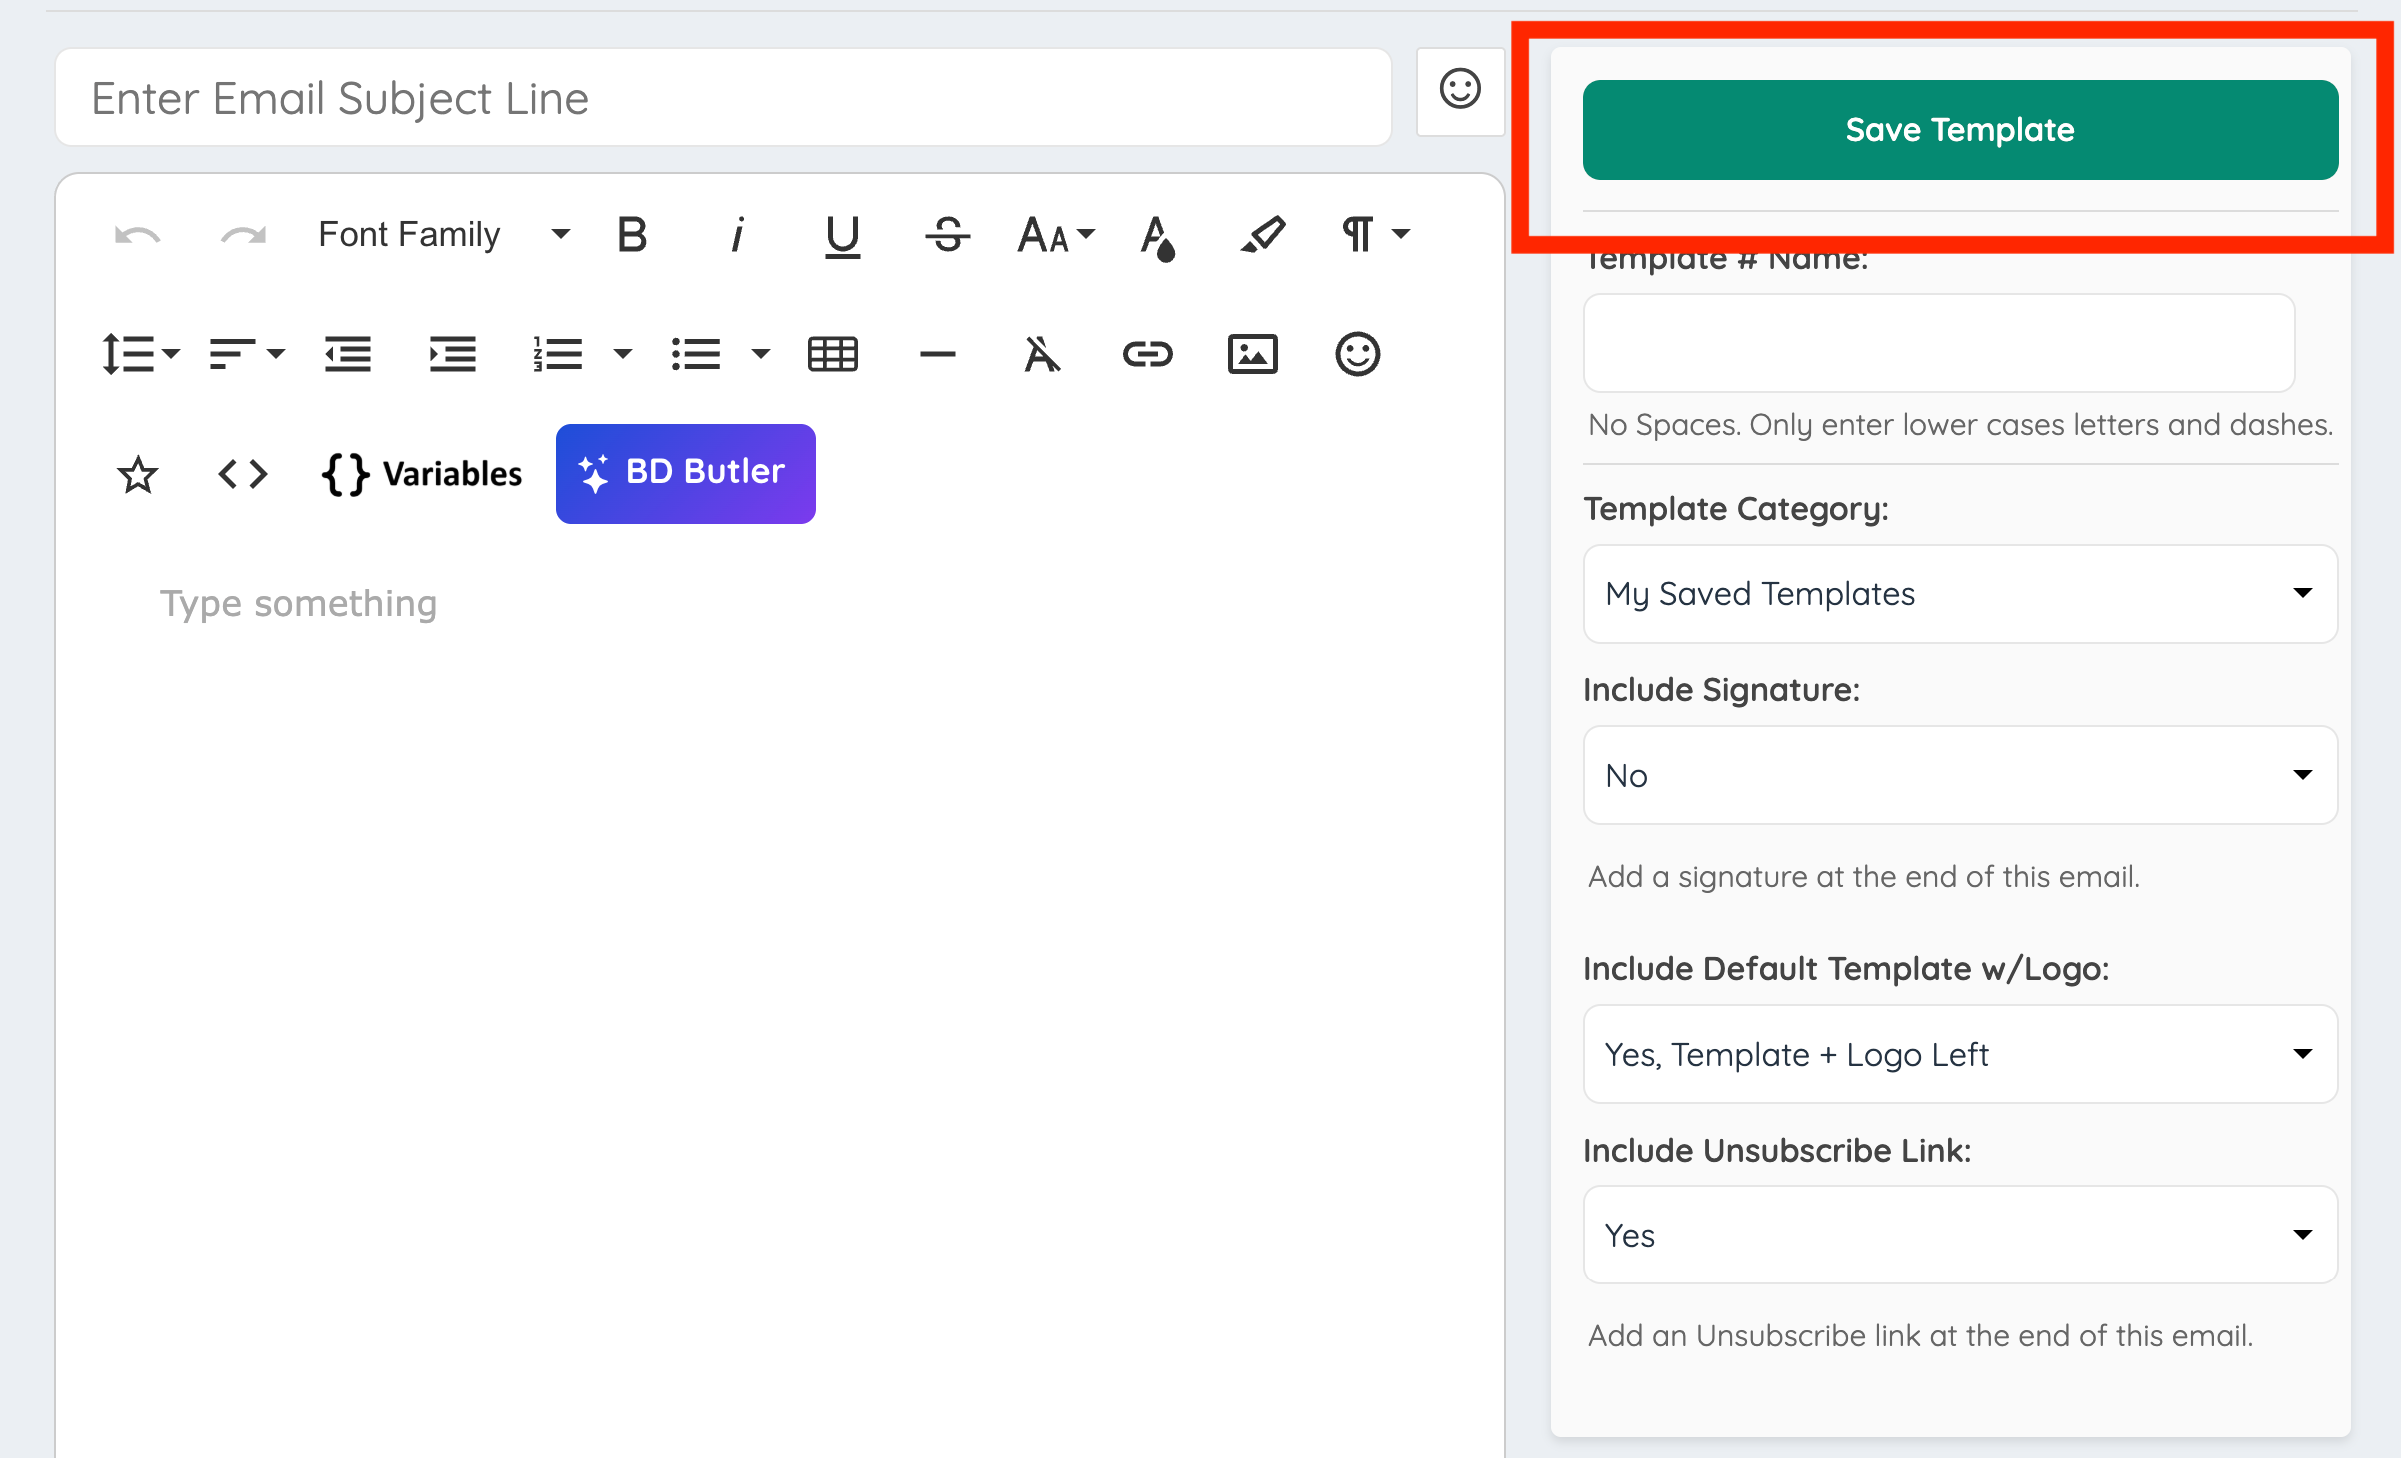
Once saved, the template will be available to use when composing emails or creating email campaigns.
Use the Saved Template
After the email template has been saved, it can be selected from the Template dropdown when composing an email. This allows the saved email content and settings to be reused without recreating the email from scratch.