
Emails » Newsletter Overview
Link: https://support.brilliantdirectories.com/support/solutions/articles/12000070238
This article explains how to use the Emails >> Send Newsletter section of the admin area to manage email newsletter campaigns, review campaign statuses, view statistics, filter newsletters, and access available campaign actions.
The newsletter overview page displays all email newsletter campaigns in one place, including drafts, scheduled newsletters, newsletters currently sending, sent newsletters, and cancelled campaigns.
Send Newsletter Page
- Go to Emails >> Send Newsletter.
This page displays the full newsletter campaign table, along with campaign filters, status labels, statistics, and action buttons.
Emailing Best Practices Notice
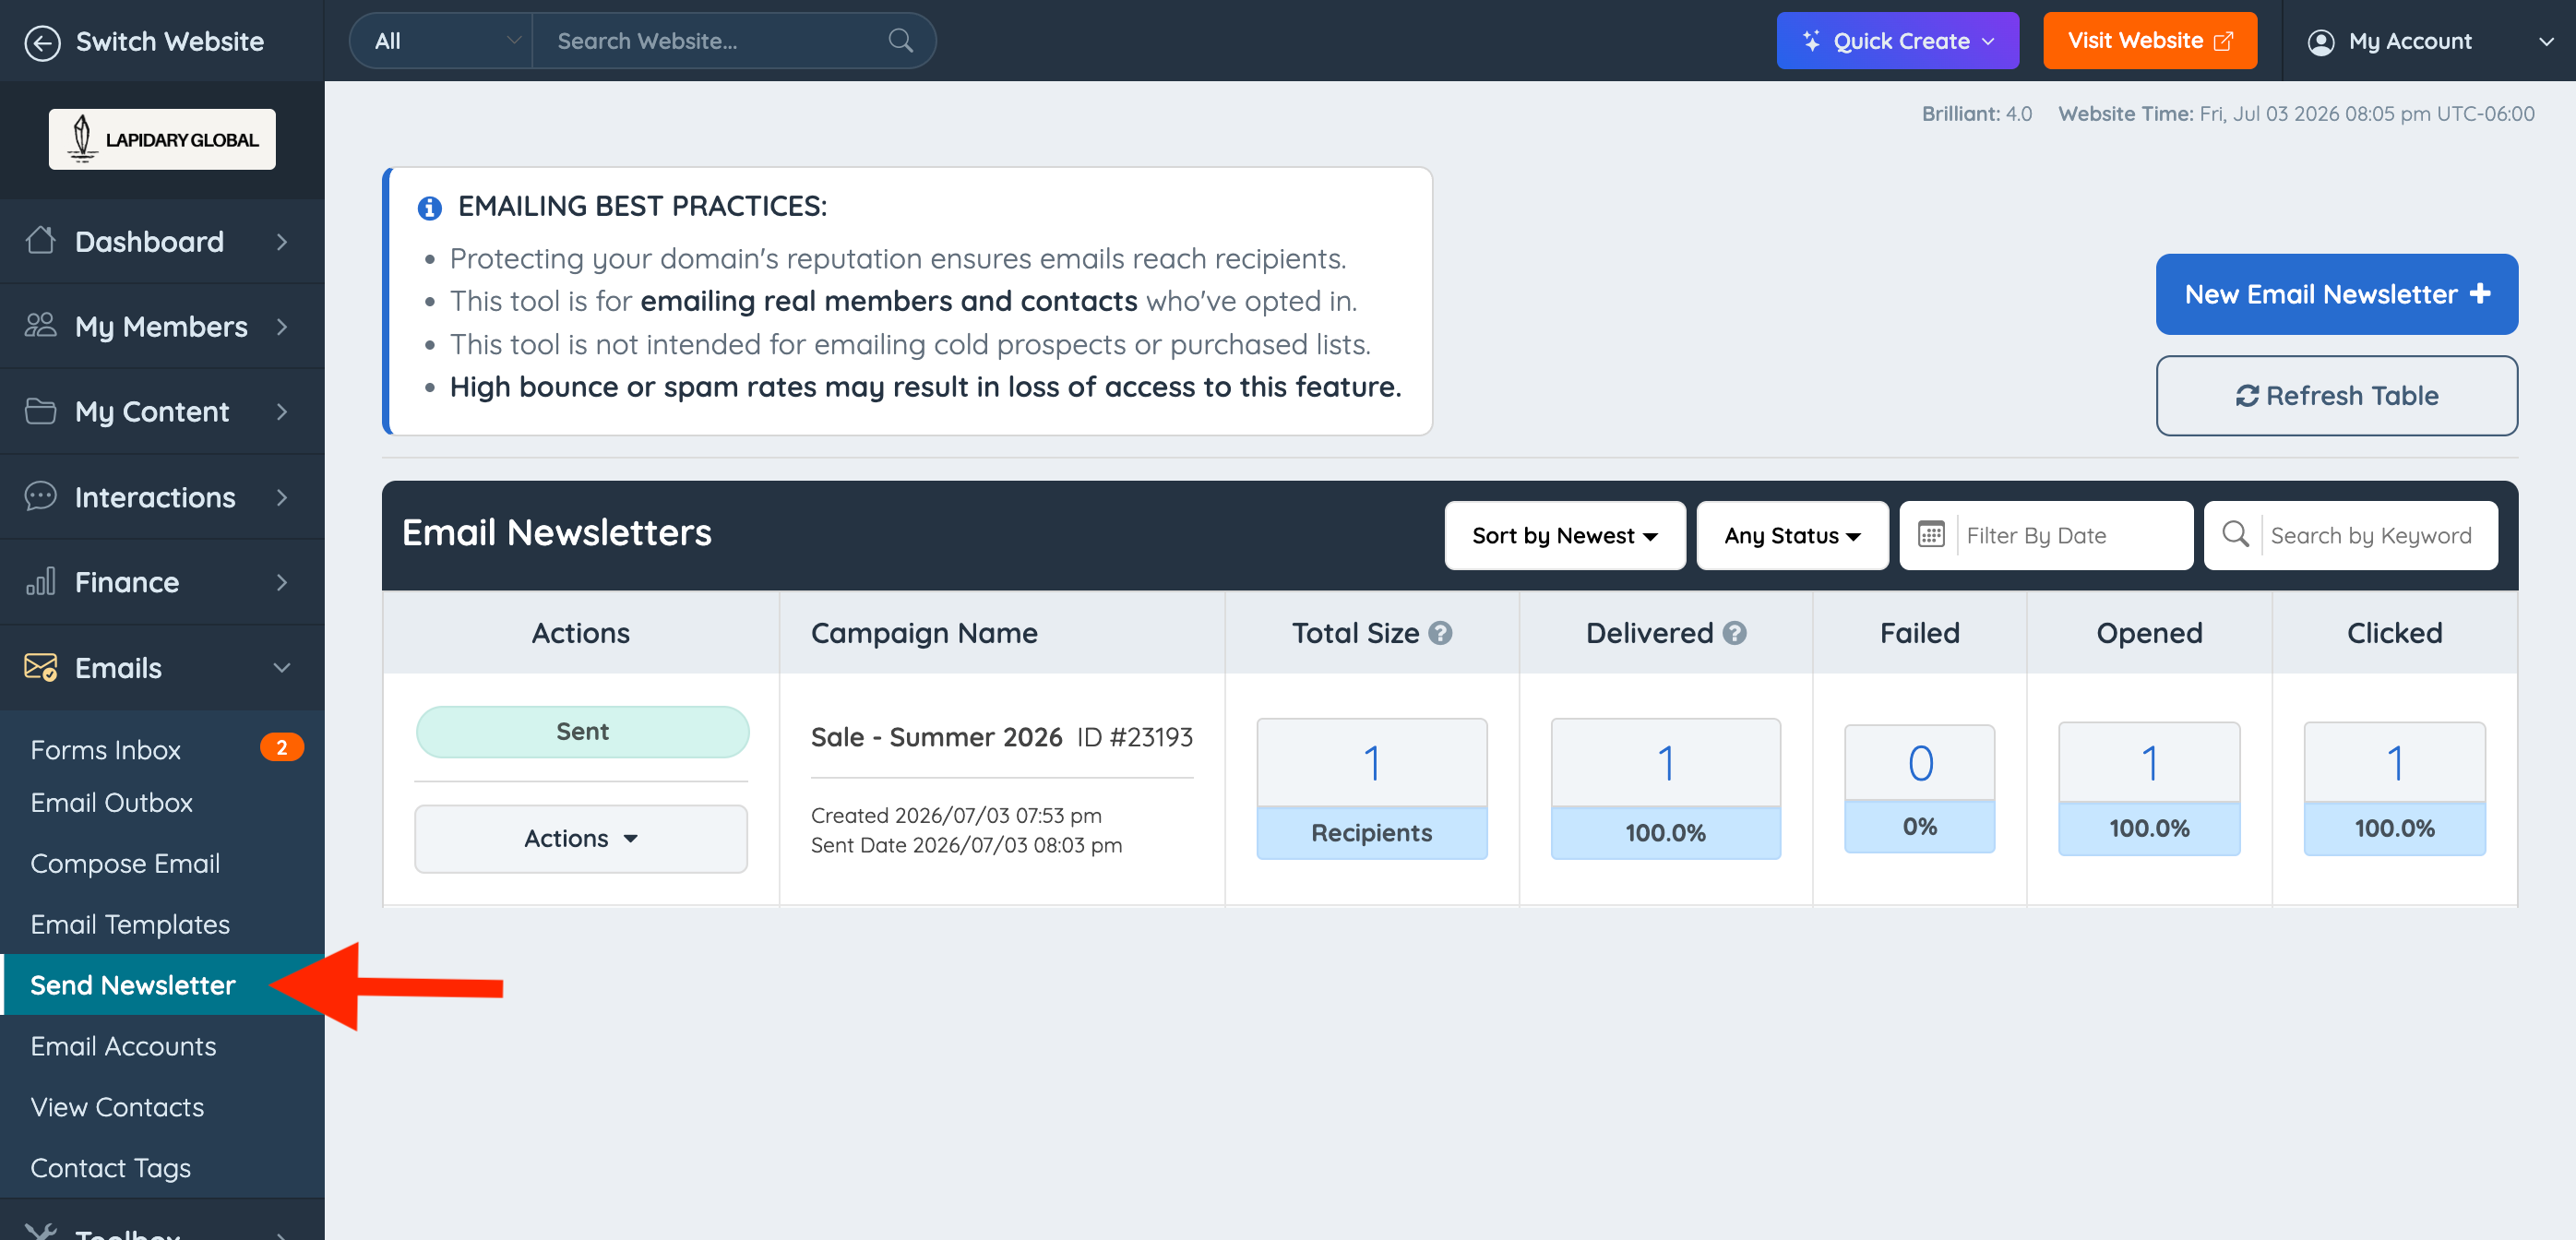
At the top of the page, an Emailing Best Practices notice may display.
This notice reminds admins that the newsletter tool should be used for emailing real members and contacts who have opted in to receive emails. The newsletter tool is not intended for cold prospects, purchased lists, or recipients who have not opted in.
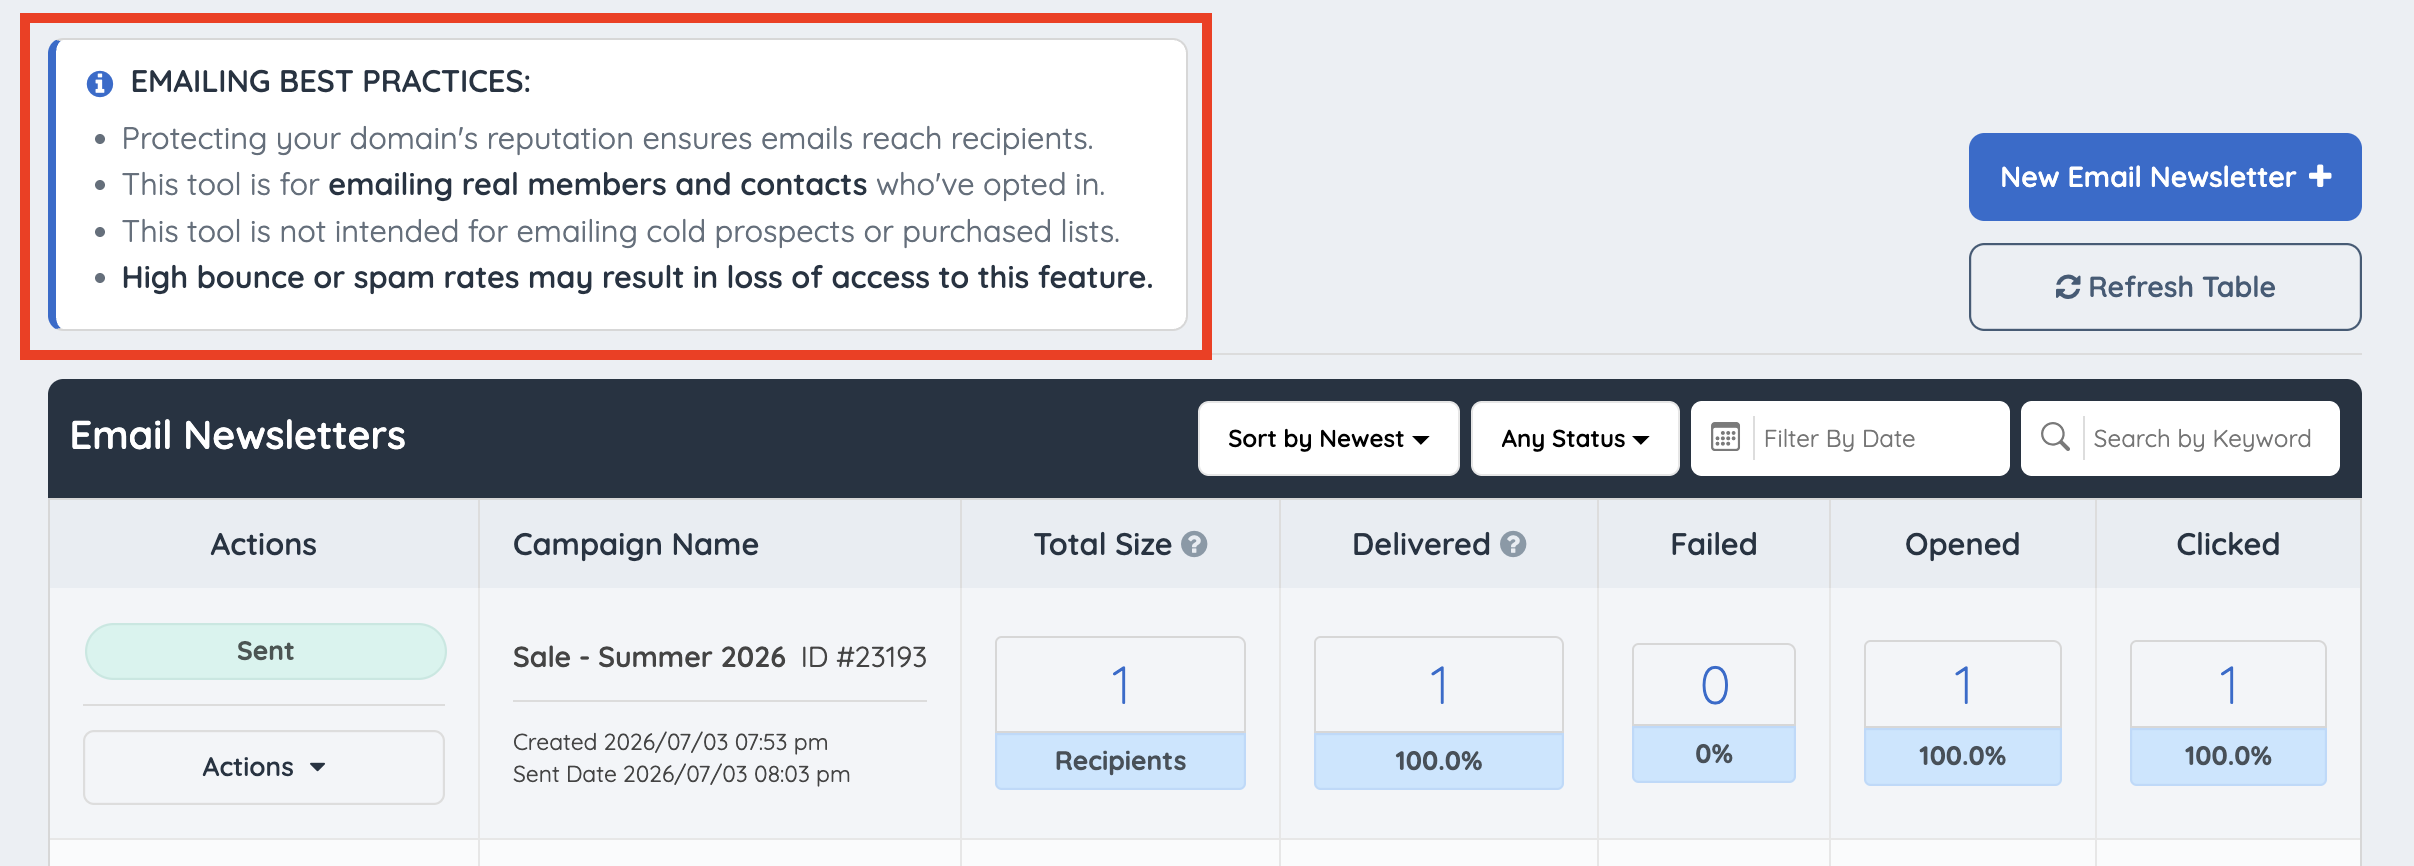
Important: High bounce rates or spam complaint rates may result in loss of access to this feature.
Create a New Newsletter
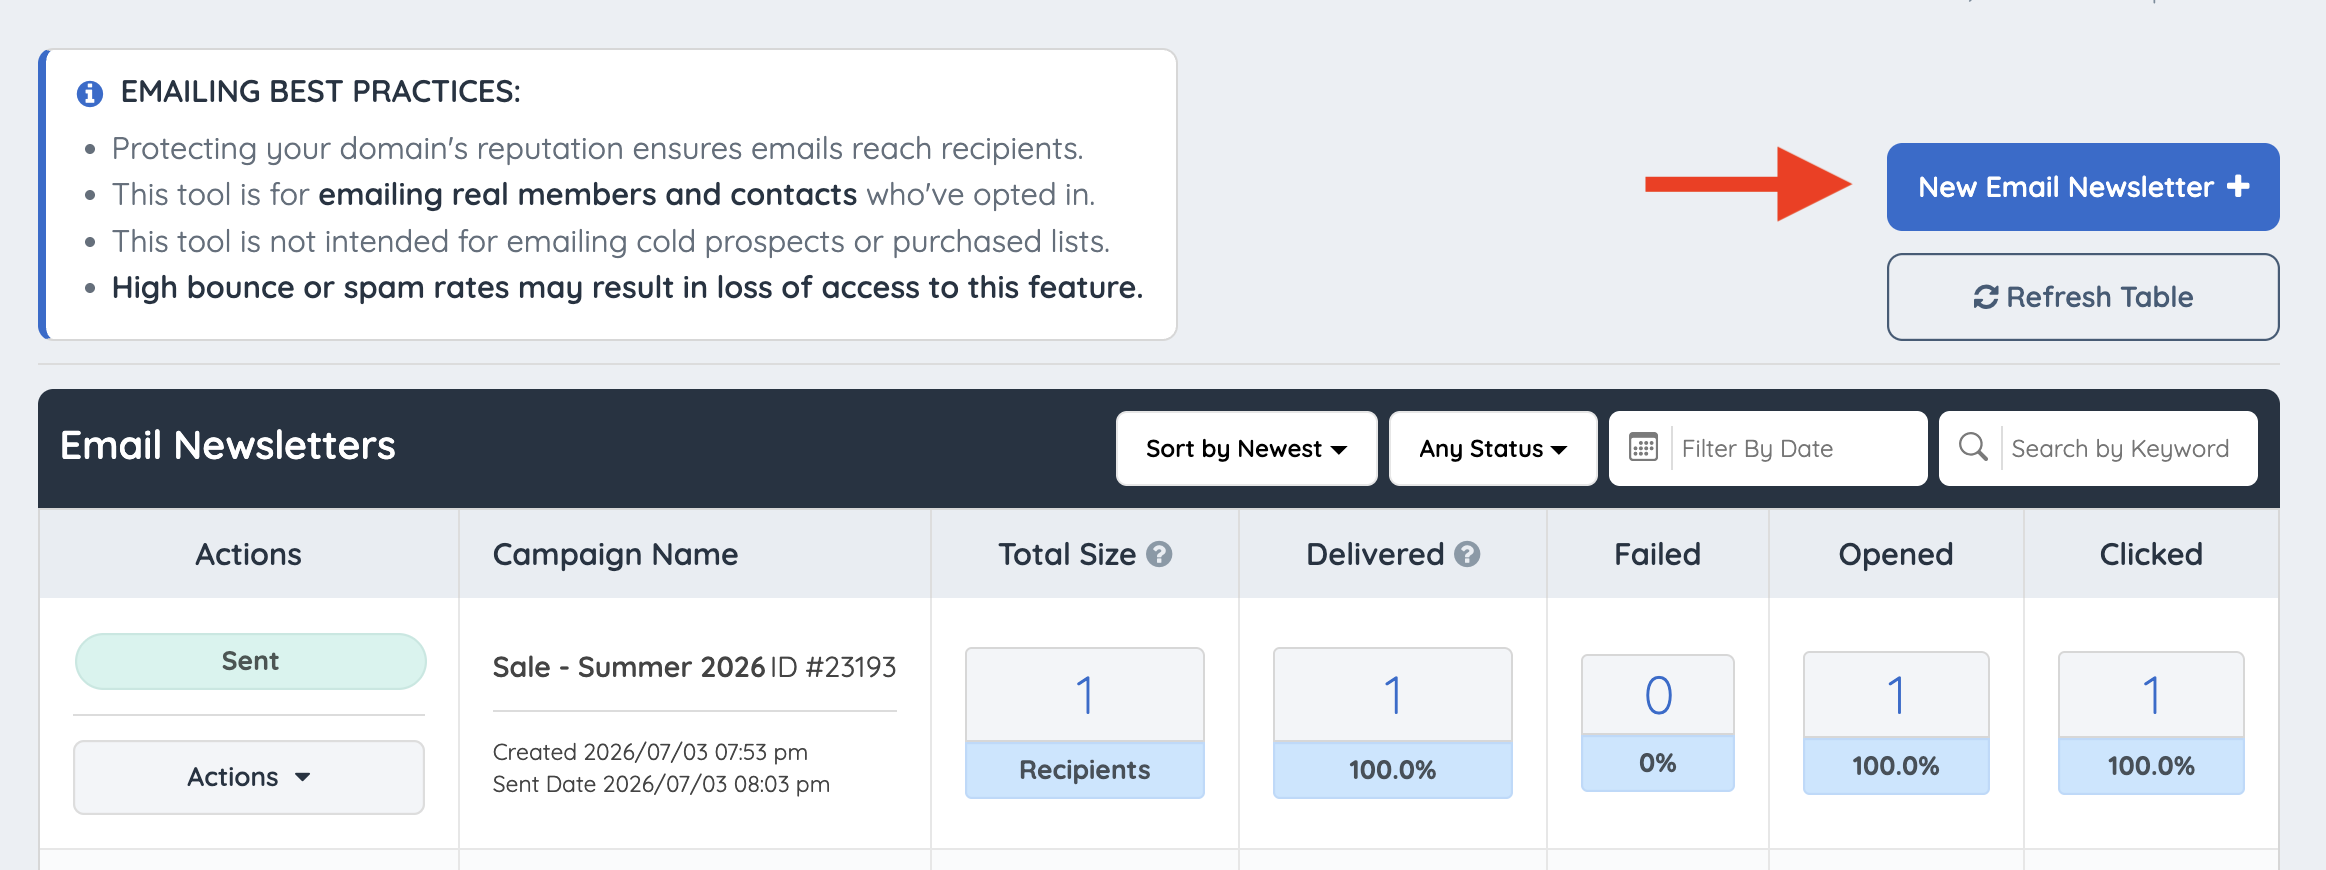
To create a new newsletter campaign, click the New Email Newsletter button.
This opens the newsletter creation process, where a new campaign can be created from scratch, generated with AI, or created from an existing template.
For full instructions, please see the following article:
Refresh the Newsletter Table
Click the Refresh Table button to reload the newsletter overview table.
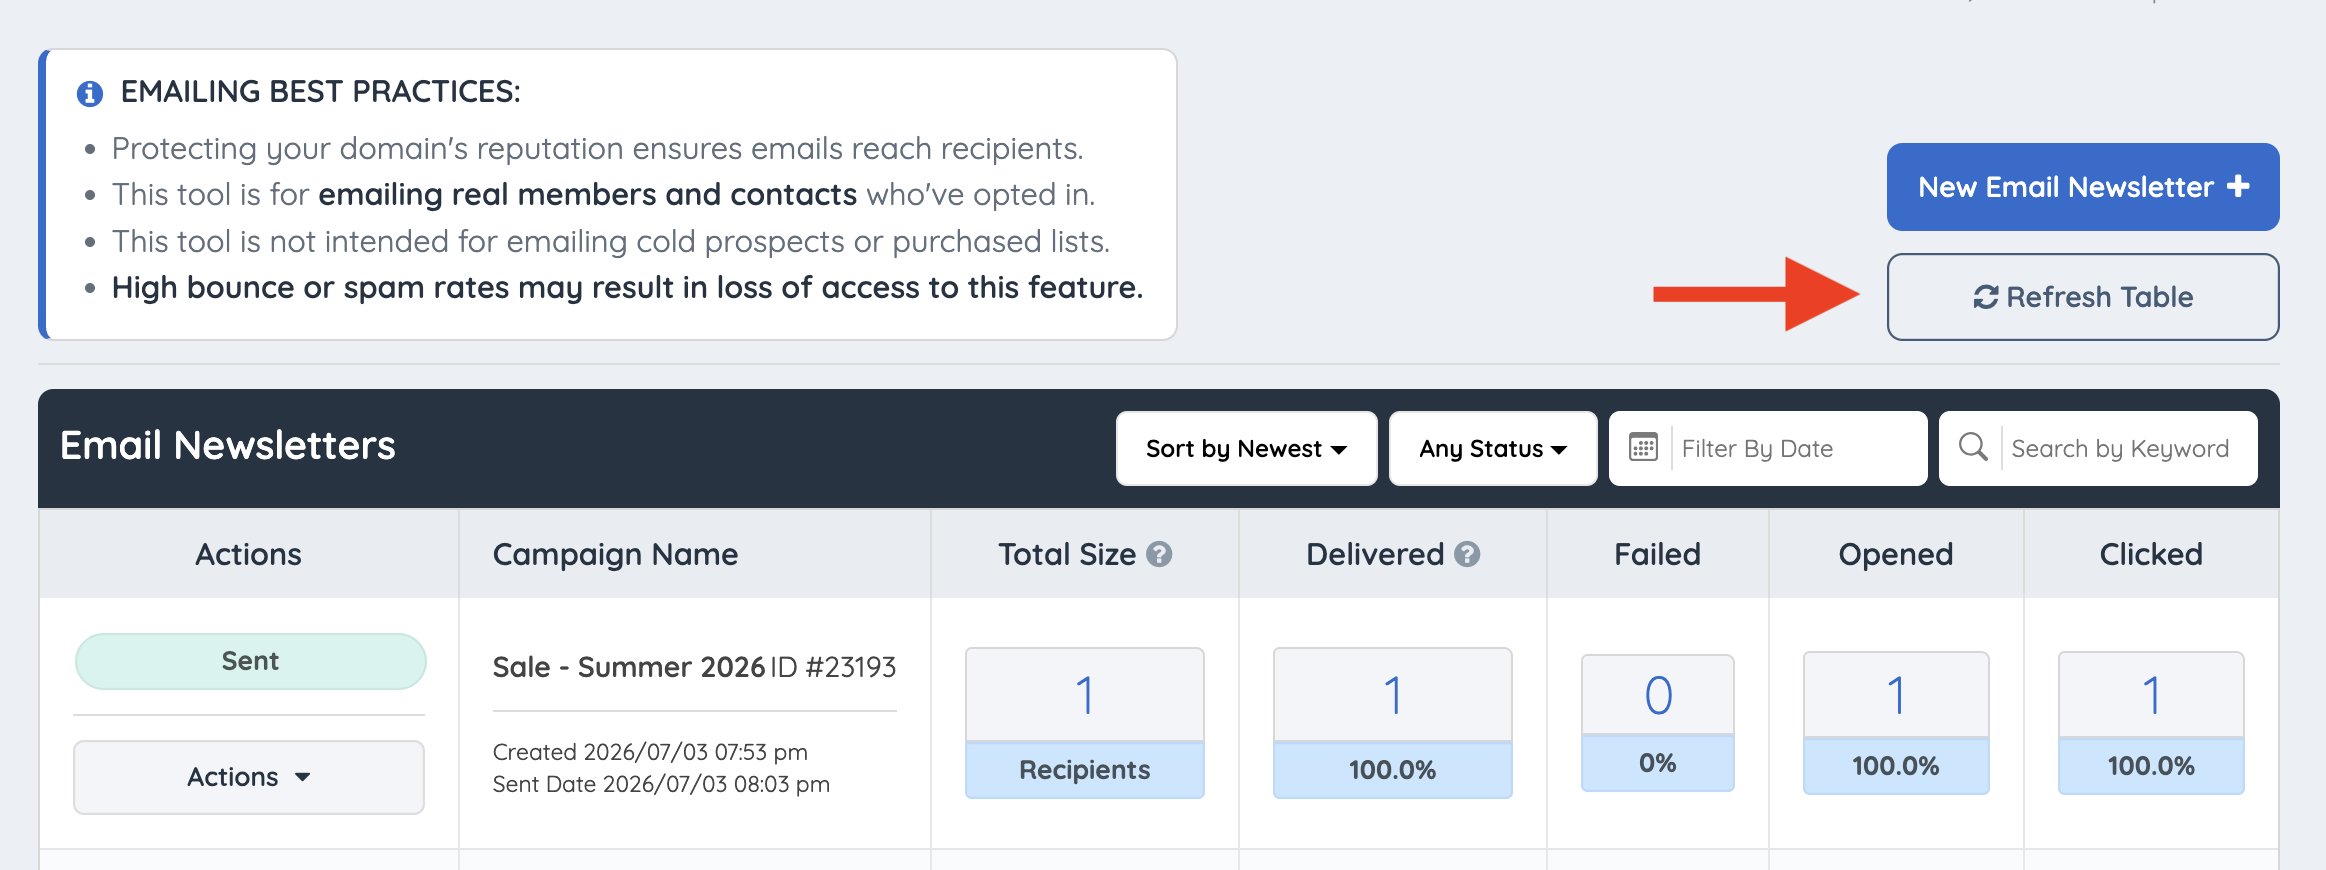
This is useful when checking for updated campaign statistics, status changes, or newly created campaigns.
Newsletter Table Overview
The newsletter overview table includes the main details for each campaign.
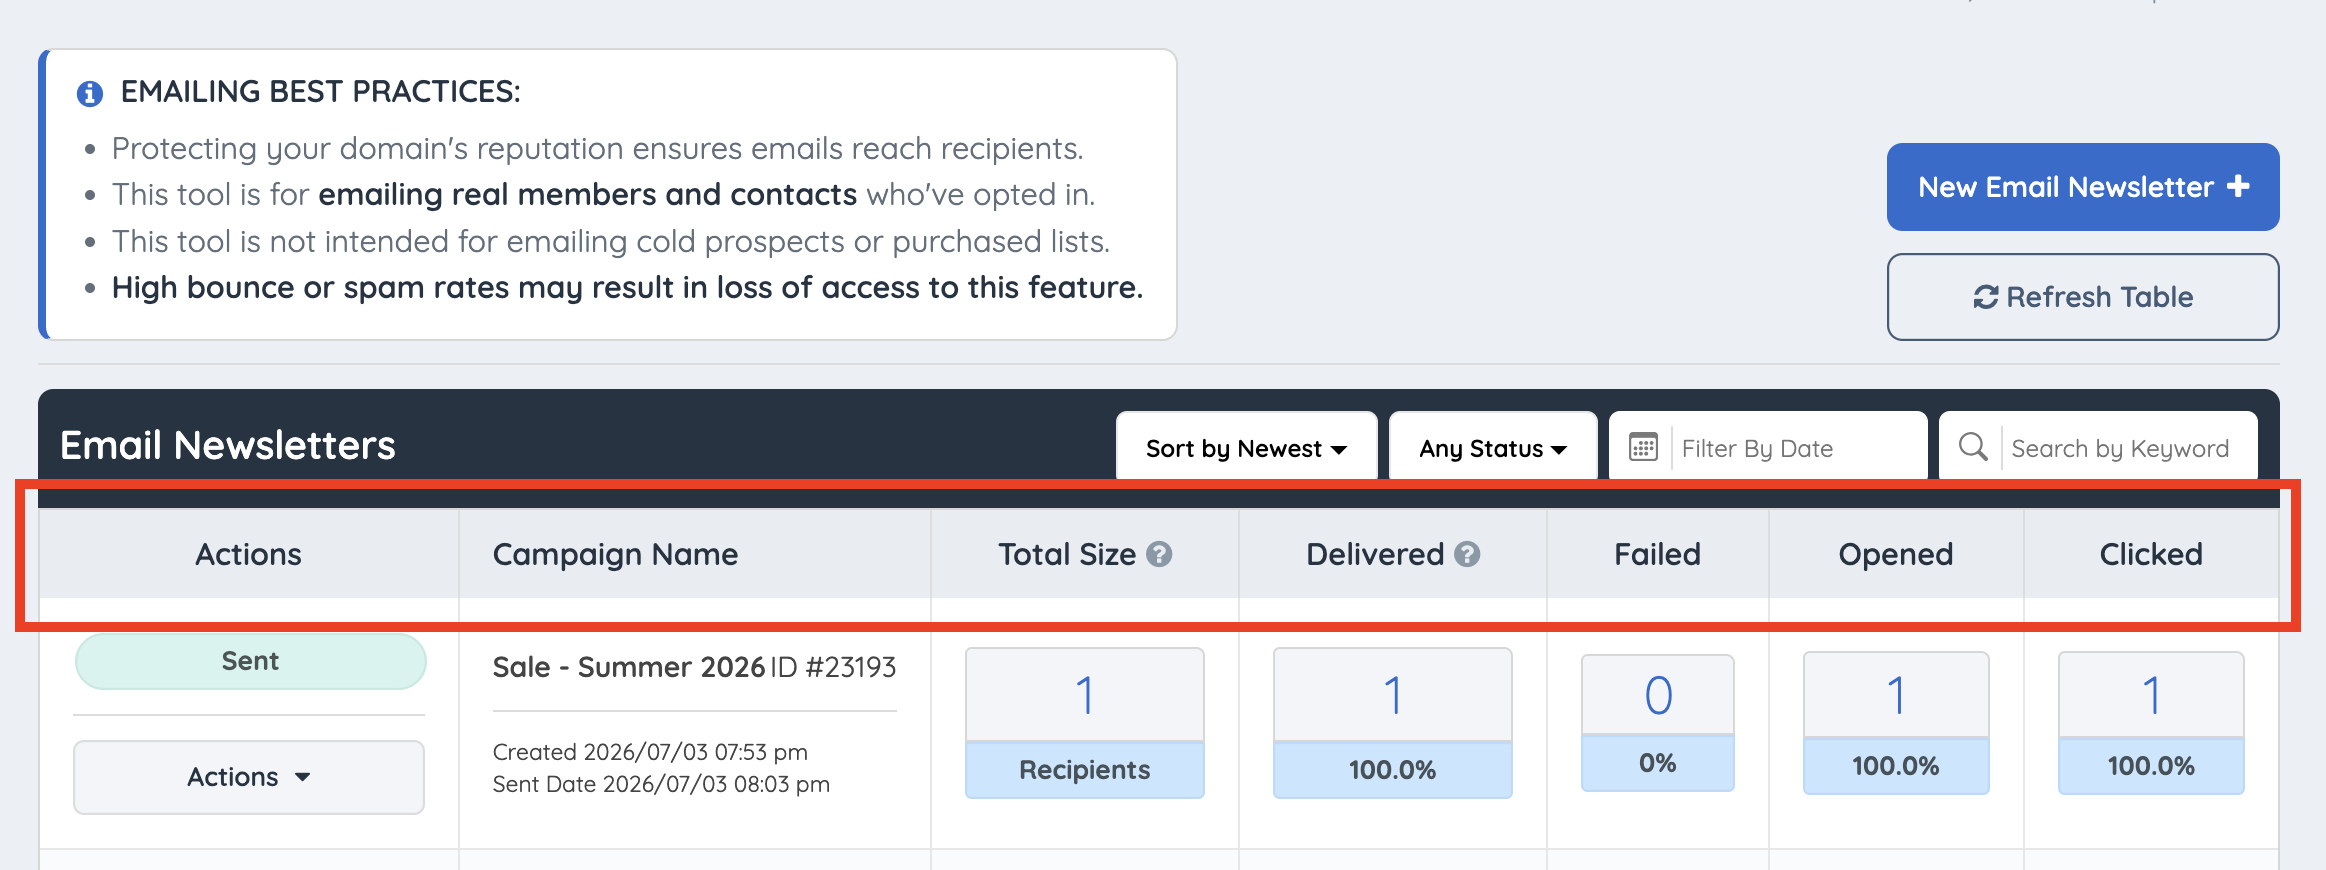
The table may include the following columns:
- Actions
- Campaign Name
- Total Size
- Delivered
- Failed
- Opened
- Clicked
Campaign Name
The Campaign Name column displays the name of the newsletter campaign.
This section may also display the campaign ID, created date, and sent date. Campaign names help admins identify newsletters in the overview table, especially when multiple newsletters have been created or sent over time.
Total Size
The Total Size column displays the total number of recipients included in the newsletter campaign.
The number shown in this column is clickable. Clicking the number opens a statistics screen that shows the recipients included in that campaign group.
The statistics screen can display recipient details such as:
- Email address
- Member ID
- Smart List association
- Recipient status details
Delivered
The Delivered column displays how many recipients successfully received the newsletter campaign.
The number shown in this column is clickable. Clicking the number opens the recipient statistics screen for the delivered recipients.
Failed
The Failed column displays how many newsletter emails failed to deliver.
The number shown in this column is clickable. Clicking the number opens the recipient statistics screen for the failed recipients.
Failed delivery statuses may include delivery issues such as bounced emails or rejected emails.
Opened
The Opened column displays how many recipients opened the newsletter campaign. The number shown in this column is clickable. Clicking the number opens the recipient statistics screen for the recipients who opened the newsletter.
Clicked
The Clicked column displays how many recipients clicked a link inside the newsletter campaign. The number shown in this column is clickable. Clicking the number opens the recipient statistics screen for the recipients who clicked a link in the newsletter.
Viewing Campaign Statistics
The numbers shown under Total Size, Delivered, Failed, Opened, and Clicked are clickable.
Clicking any of these numbers opens a statistics screen for that specific metric. The statistics screen works the same way for each metric and can be used to review the recipients included in that result set.
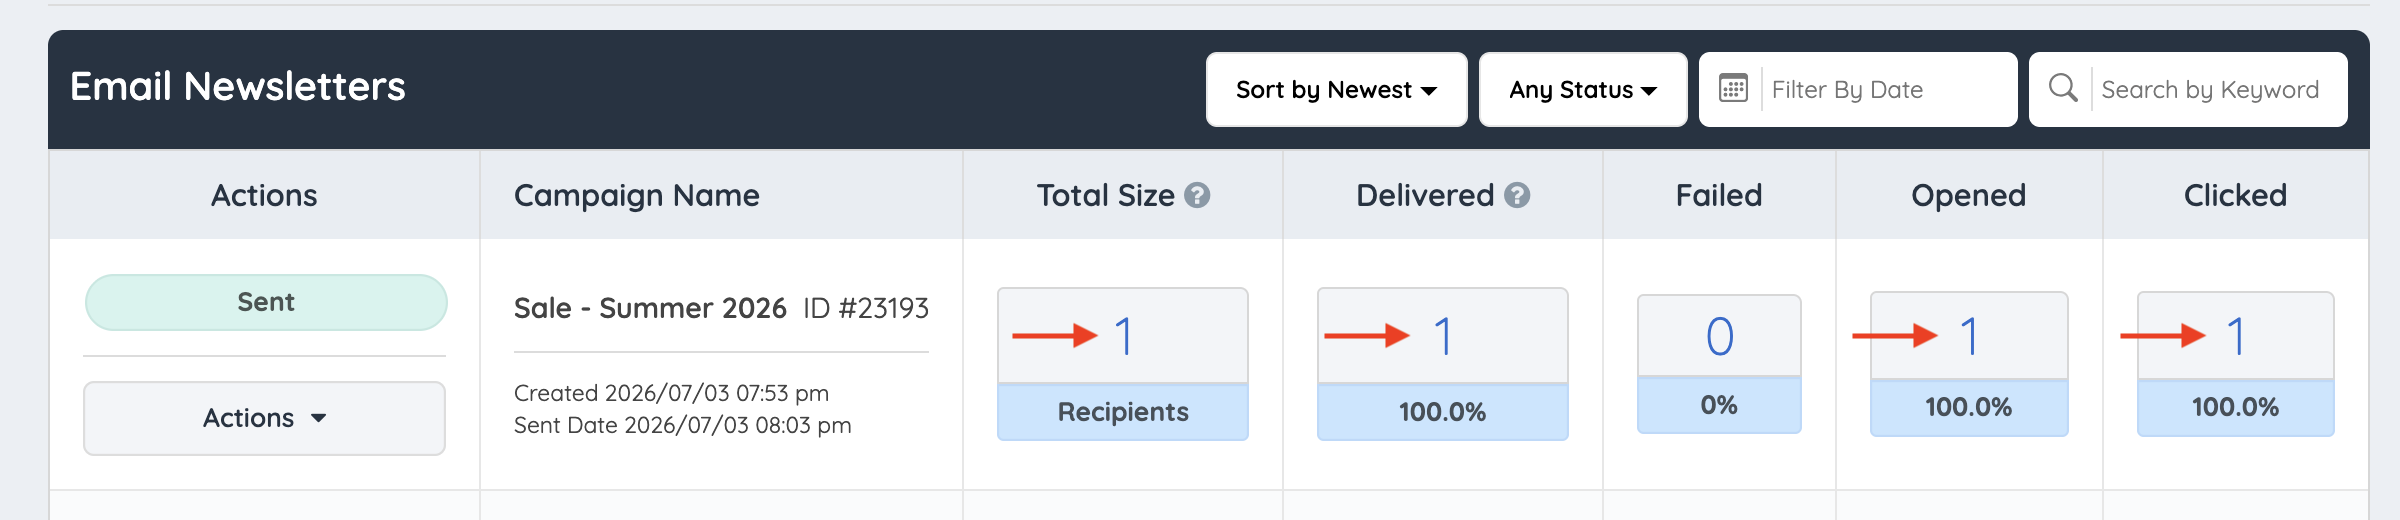
For example, clicking the number under Delivered shows the recipients who opened the newsletter, while clicking the number under Clicked shows the recipients who clicked links in the newsletter.
Statistics Screen Options
The statistics screen may include the following tools.
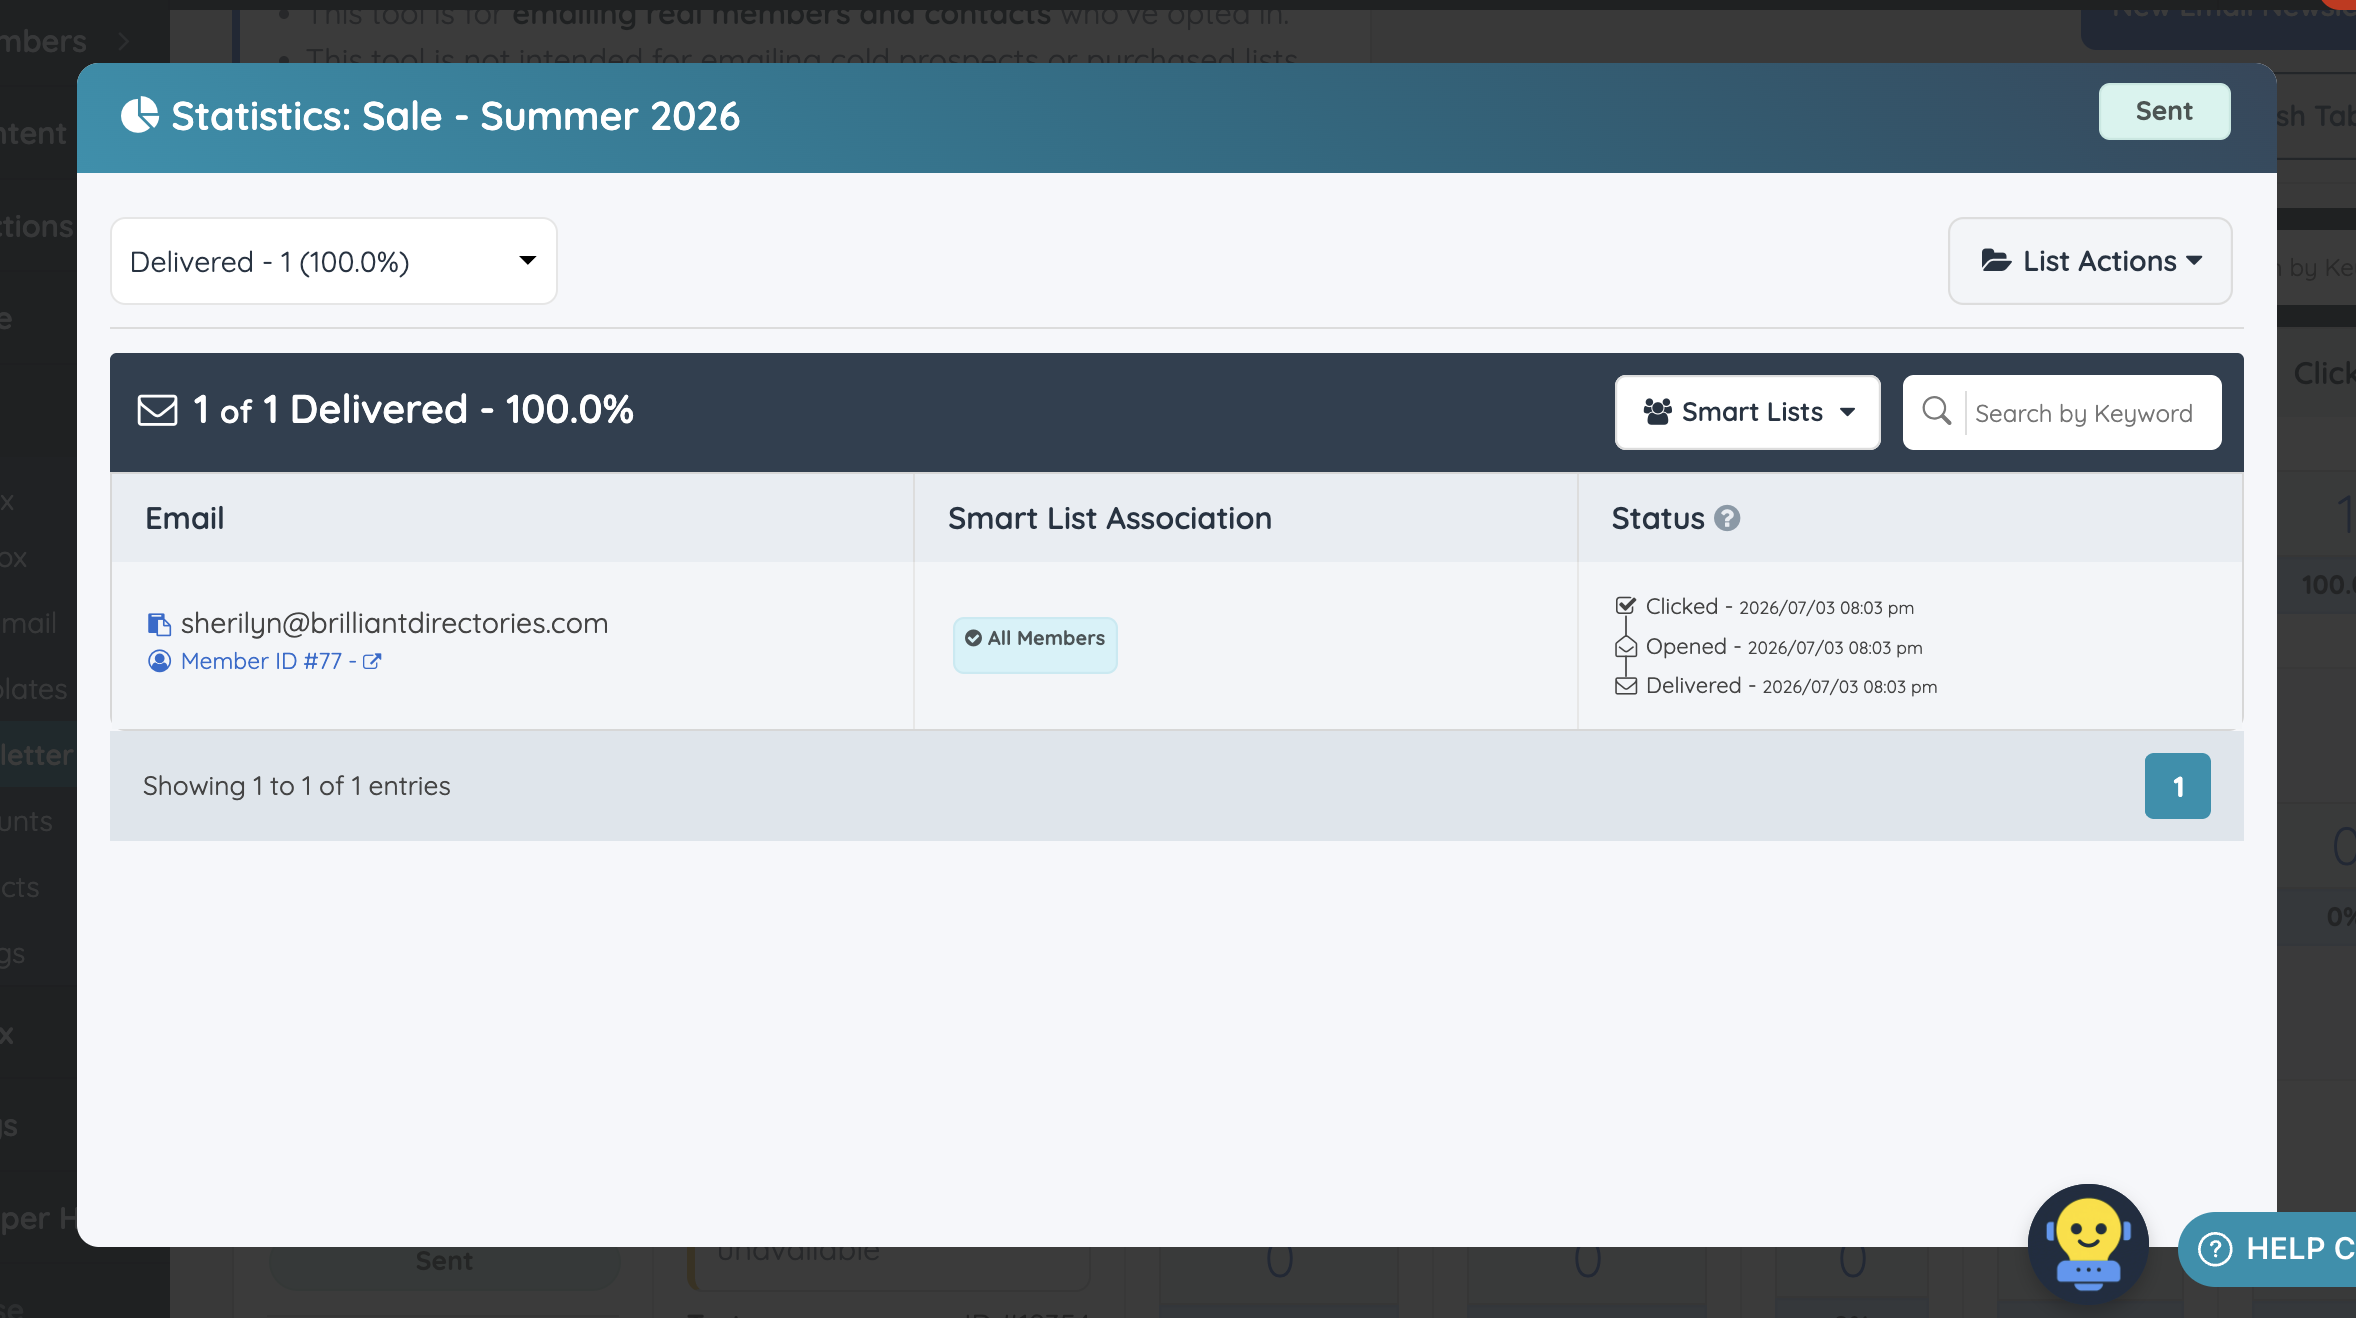
- Status Dropdown: Filter the statistics by available recipient statuses.
- Smart Lists Filter: Filter the statistics by Smart List association.
- Search by Keyword: Search within the recipient results.
- List Actions: Create a Smart List from the results or export the results as a CSV file.
List Actions
The List Actions dropdown may include:
- Create Smart List from All: Creates a new Smart List from the displayed recipient results.
- Export CSV File from All: Exports the displayed recipient results as a CSV file.
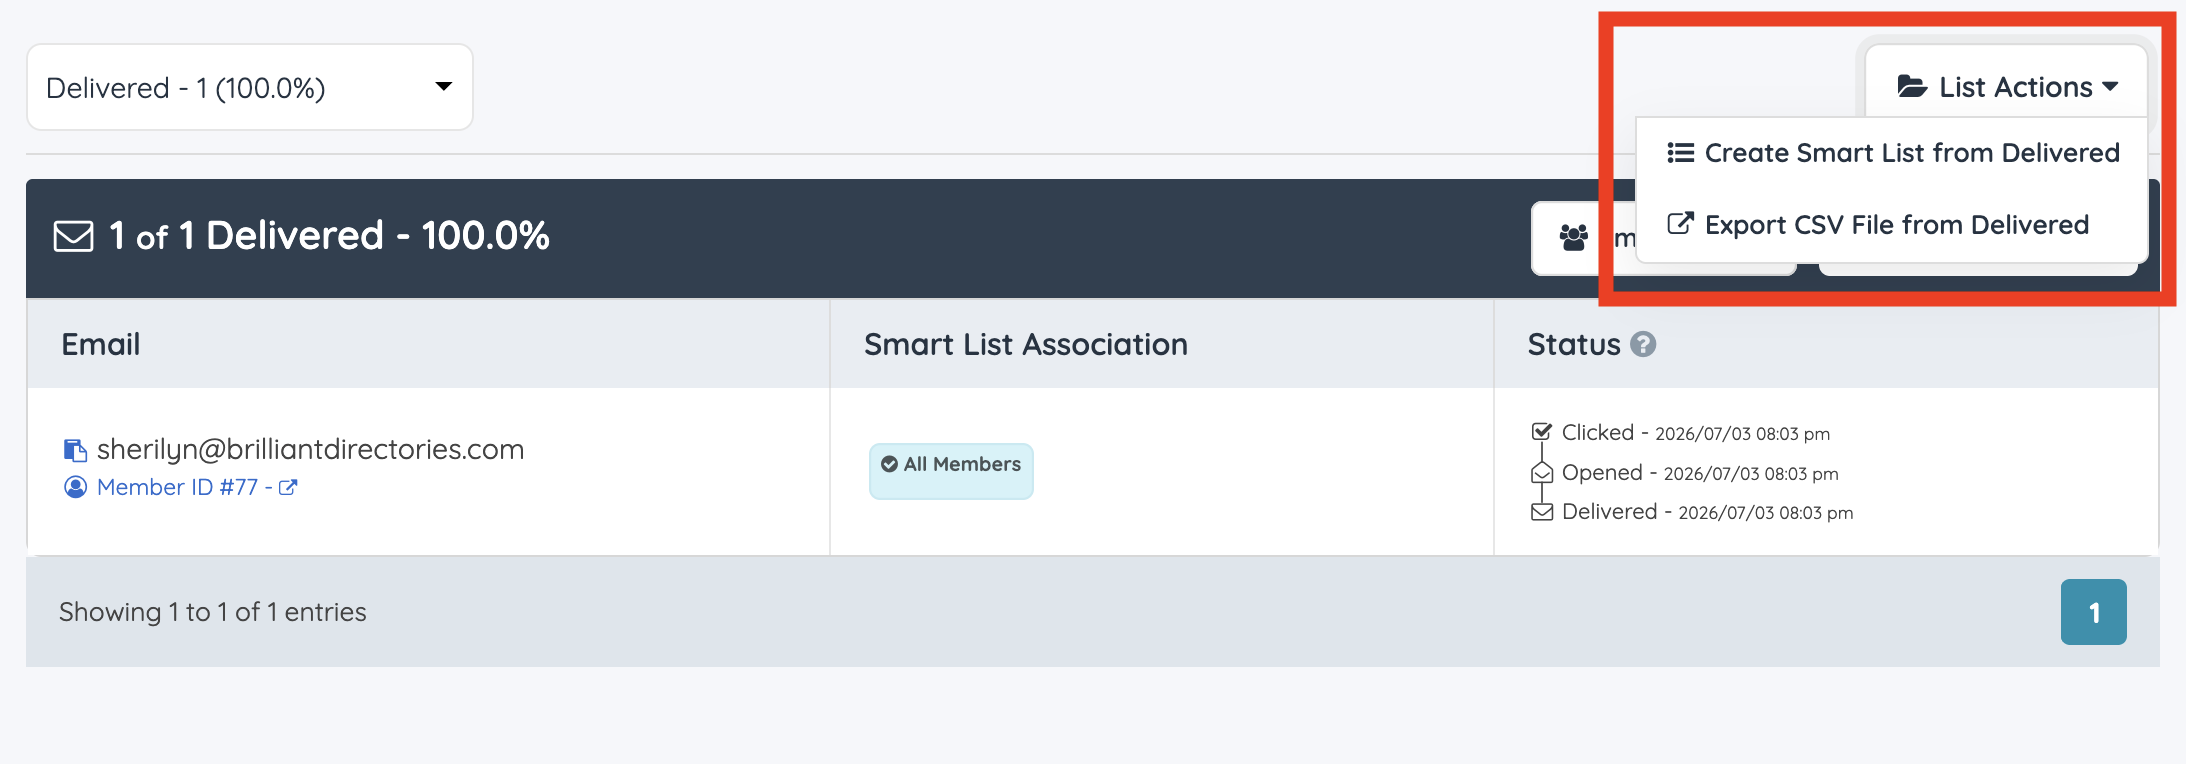
These options are useful when admins want to create follow-up lists based on engagement, delivery status, failed emails, opens, or clicks.
Actions
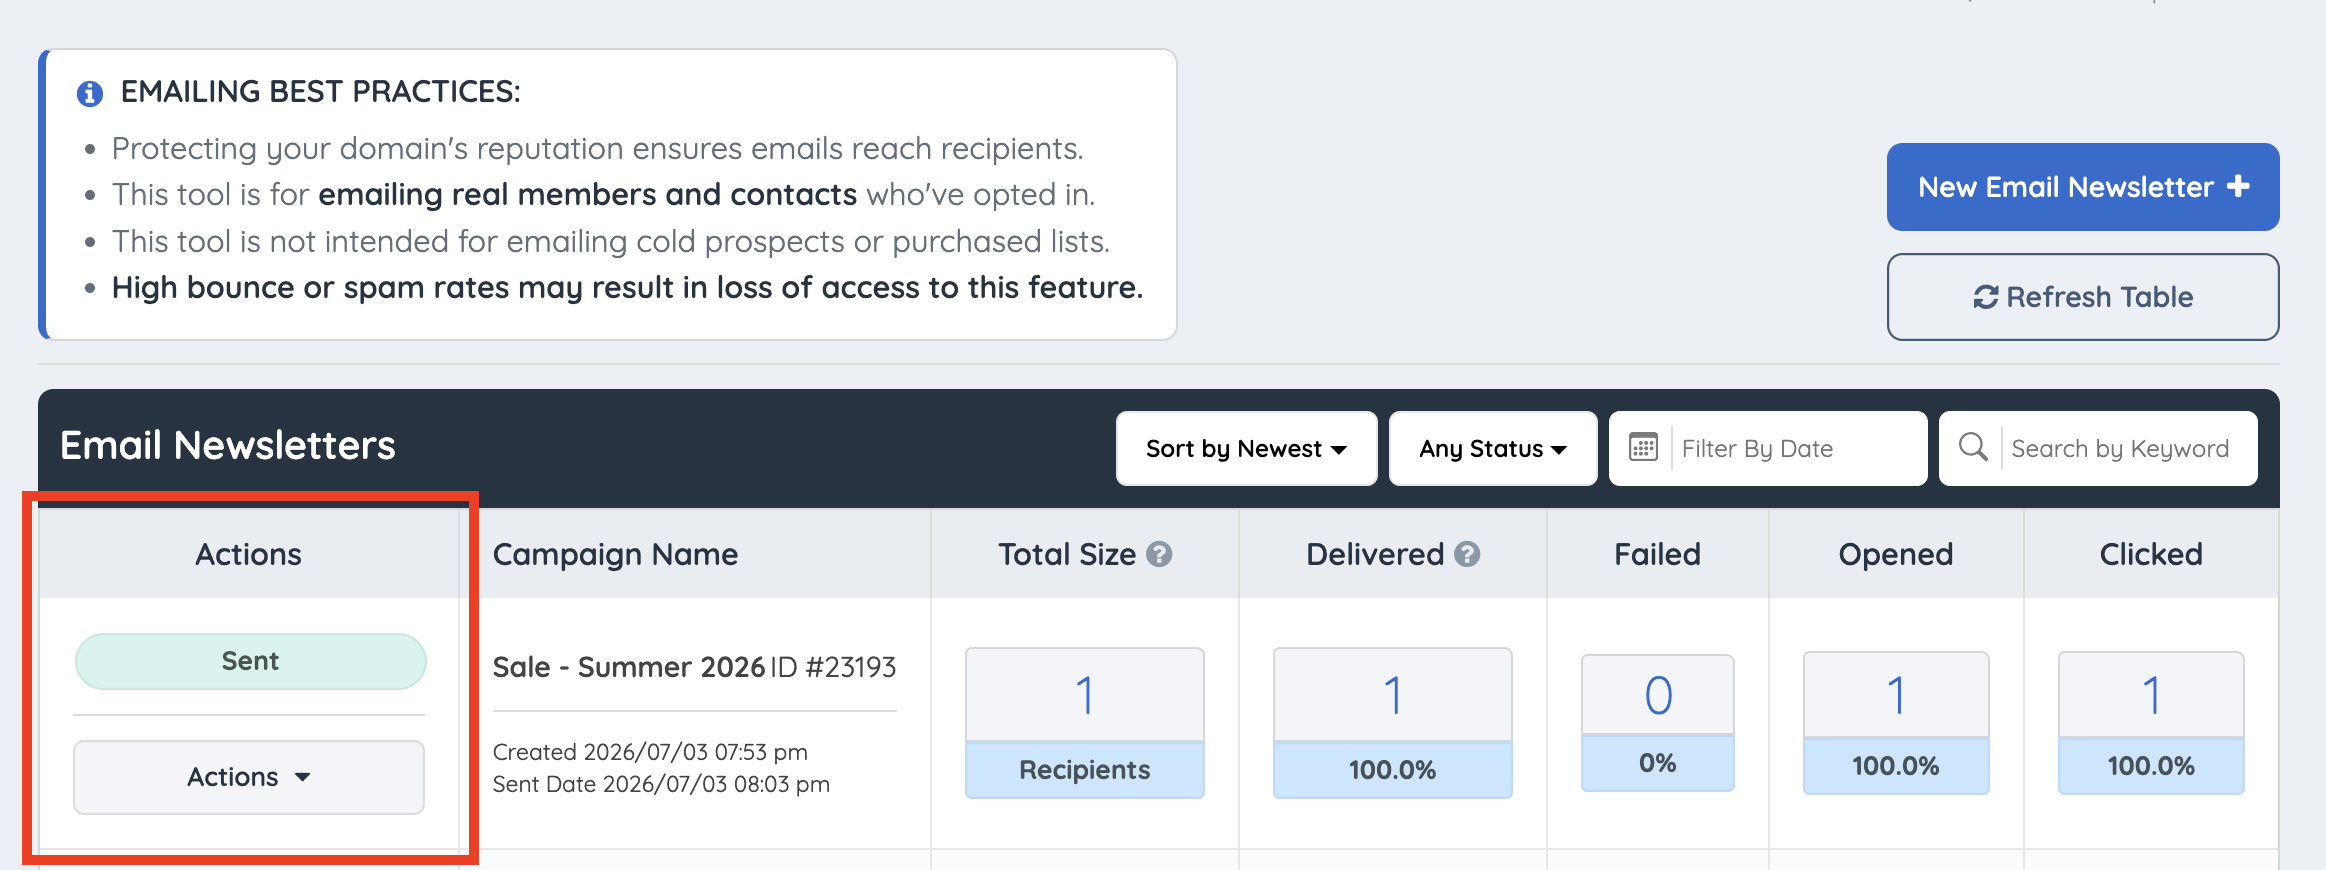
The Actions column displays the current status of the newsletter campaign and includes an Actions dropdown.
Campaign Statuses
A campaign status label will display in the Actions column.
Actions Dropdown
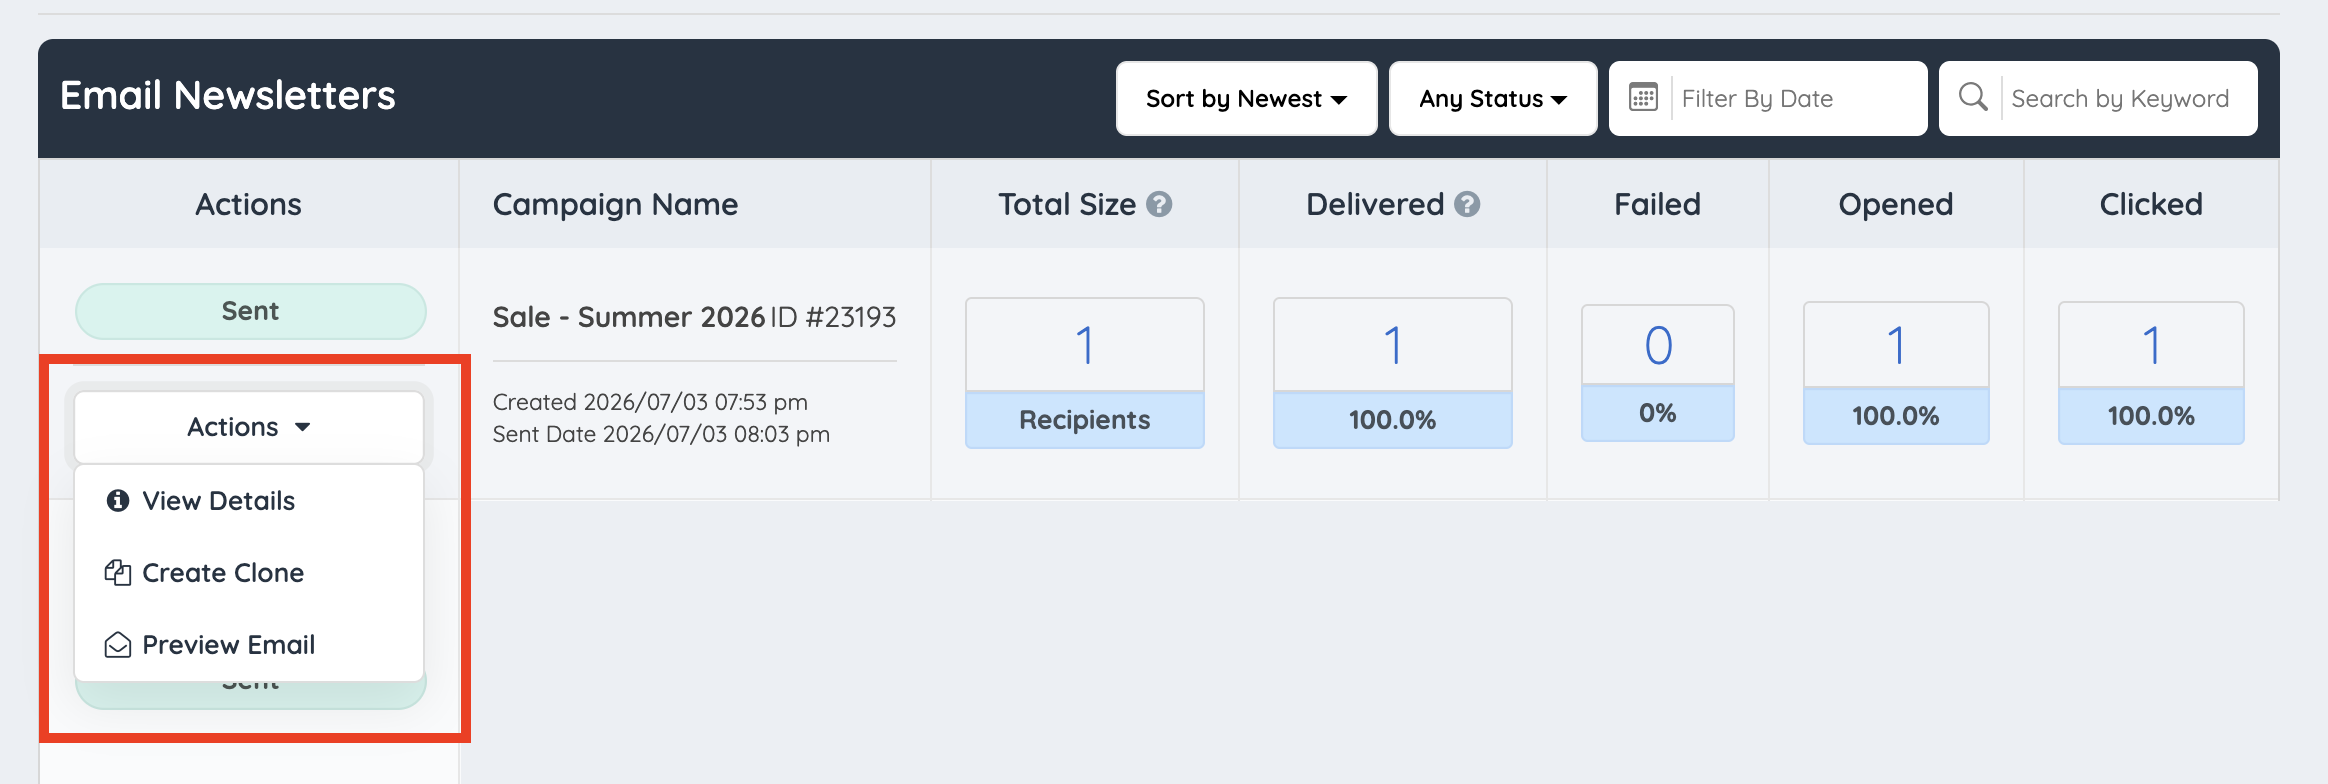
The Actions dropdown includes available options for the selected newsletter campaign.
Common options may include:
- View Details: Opens a campaign details popup with the campaign ID, sender details, subject, send date, included lists, excluded lists, and total recipients.
- Create Clone: Creates a duplicate copy of the newsletter campaign.
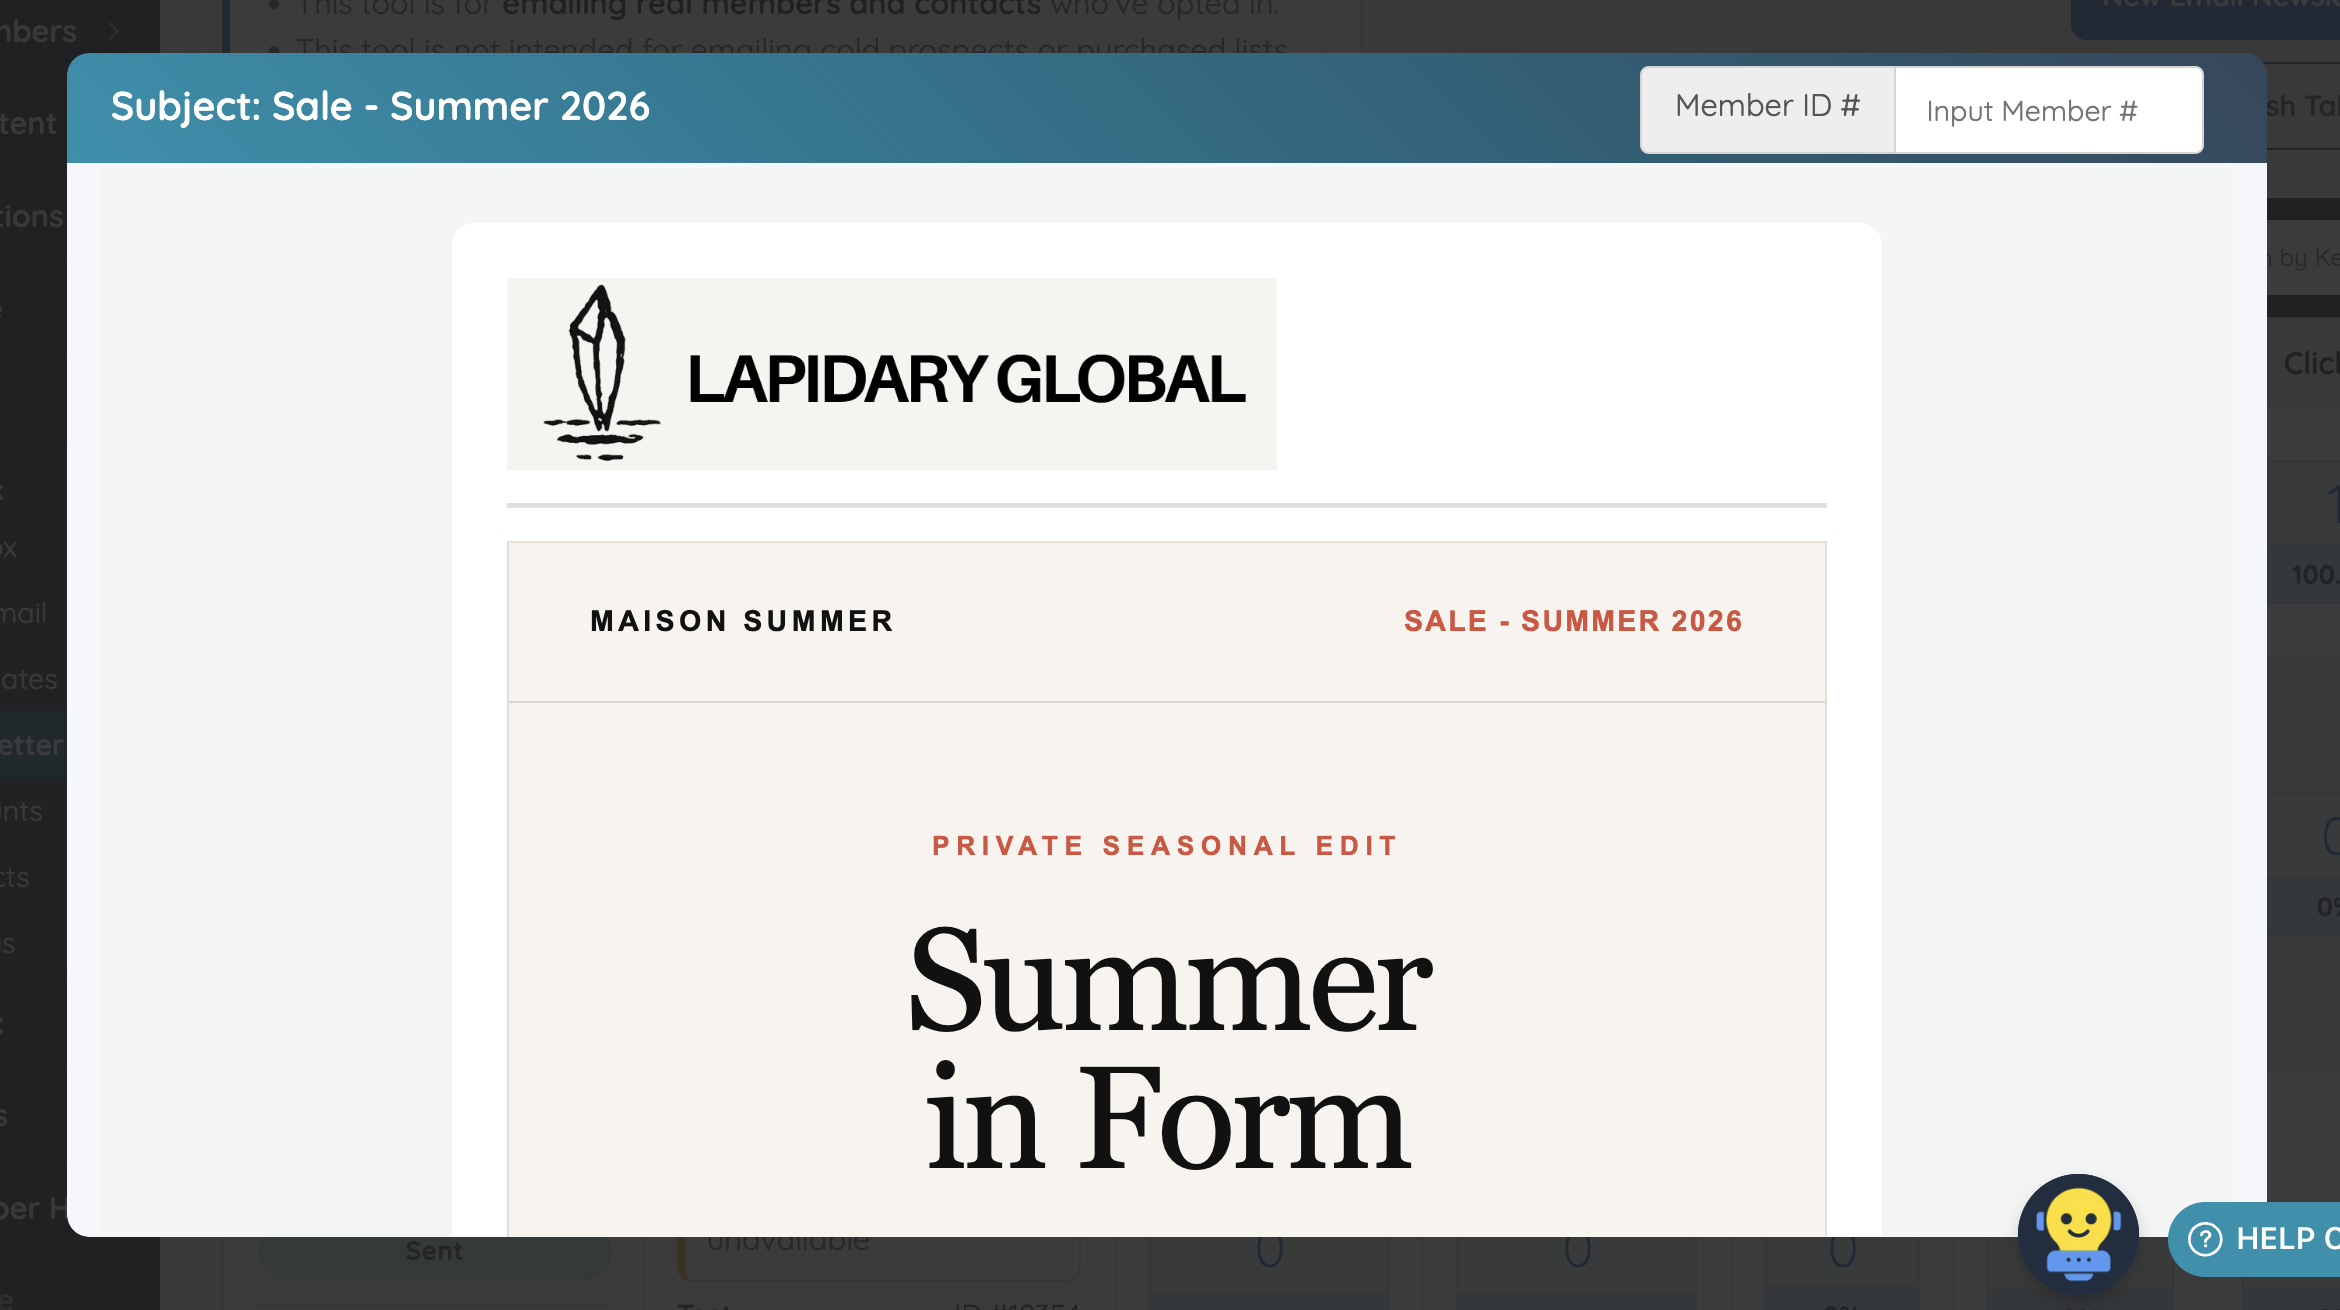
- Preview Email: Opens a preview of the newsletter email.
View Details
The View Details action opens a popup with detailed information about the newsletter campaign.
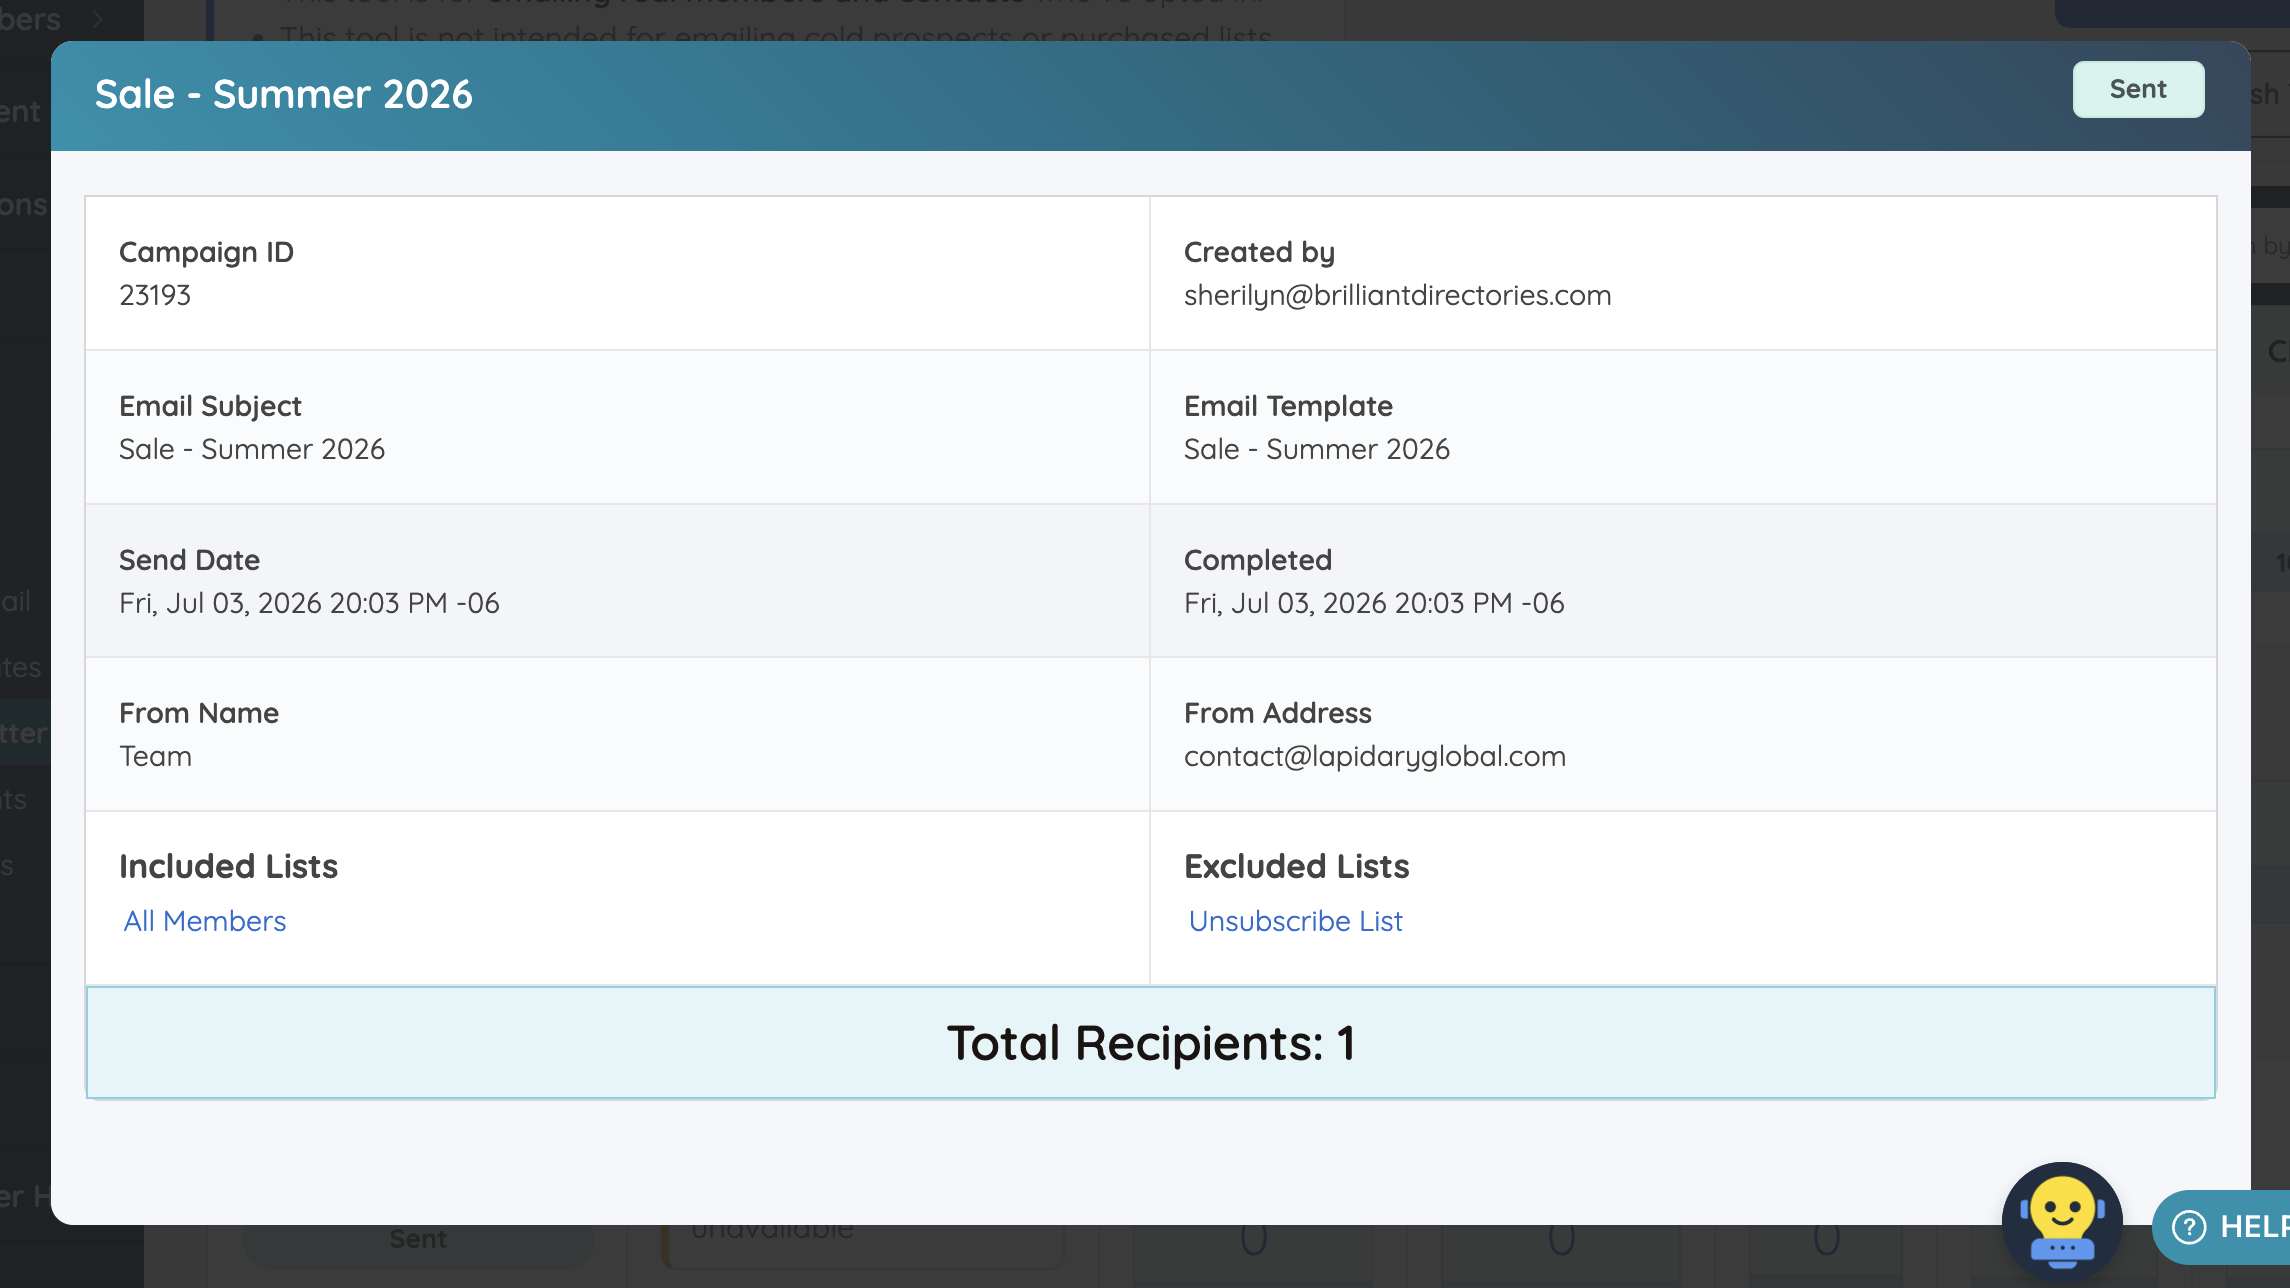
This popup may include:
- Campaign ID
- Created By
- Email Subject
- Email Template
- Send Date
- Completed Date
- From Name
- From Address
- Included Lists
- Excluded Lists
- Total Recipients
This is helpful for confirming how the campaign was configured after it has been sent or scheduled.
Create Clone
The Create Clone action creates a copy of an existing newsletter campaign. This is useful when a similar newsletter should be reused without starting from scratch.
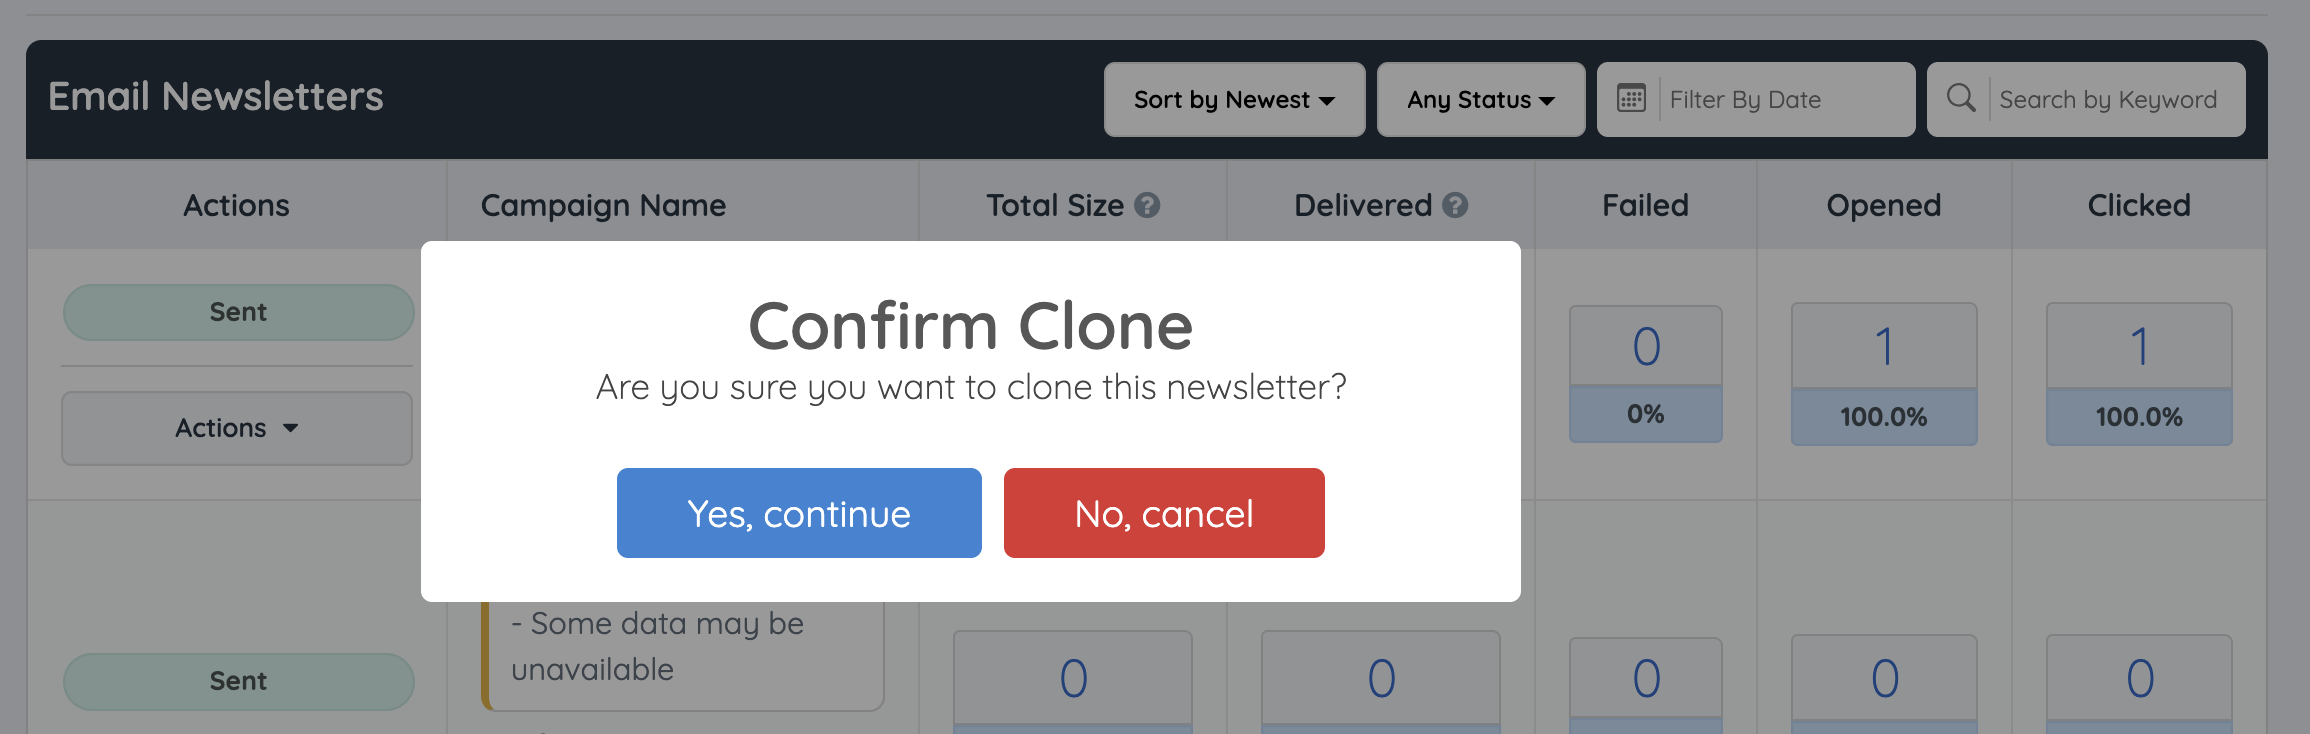
After cloning a campaign, the new copy can be edited before it is sent or scheduled.
Preview Email
The Preview Email action opens a preview of the selected newsletter. This allows the newsletter content and layout to be reviewed without opening the campaign editor.
Sort and Filter Newsletter Campaigns
The newsletter overview page includes several tools for finding and organizing newsletter campaigns.
Sort by Newest or Oldest
Use the sort dropdown to organize campaigns by date.
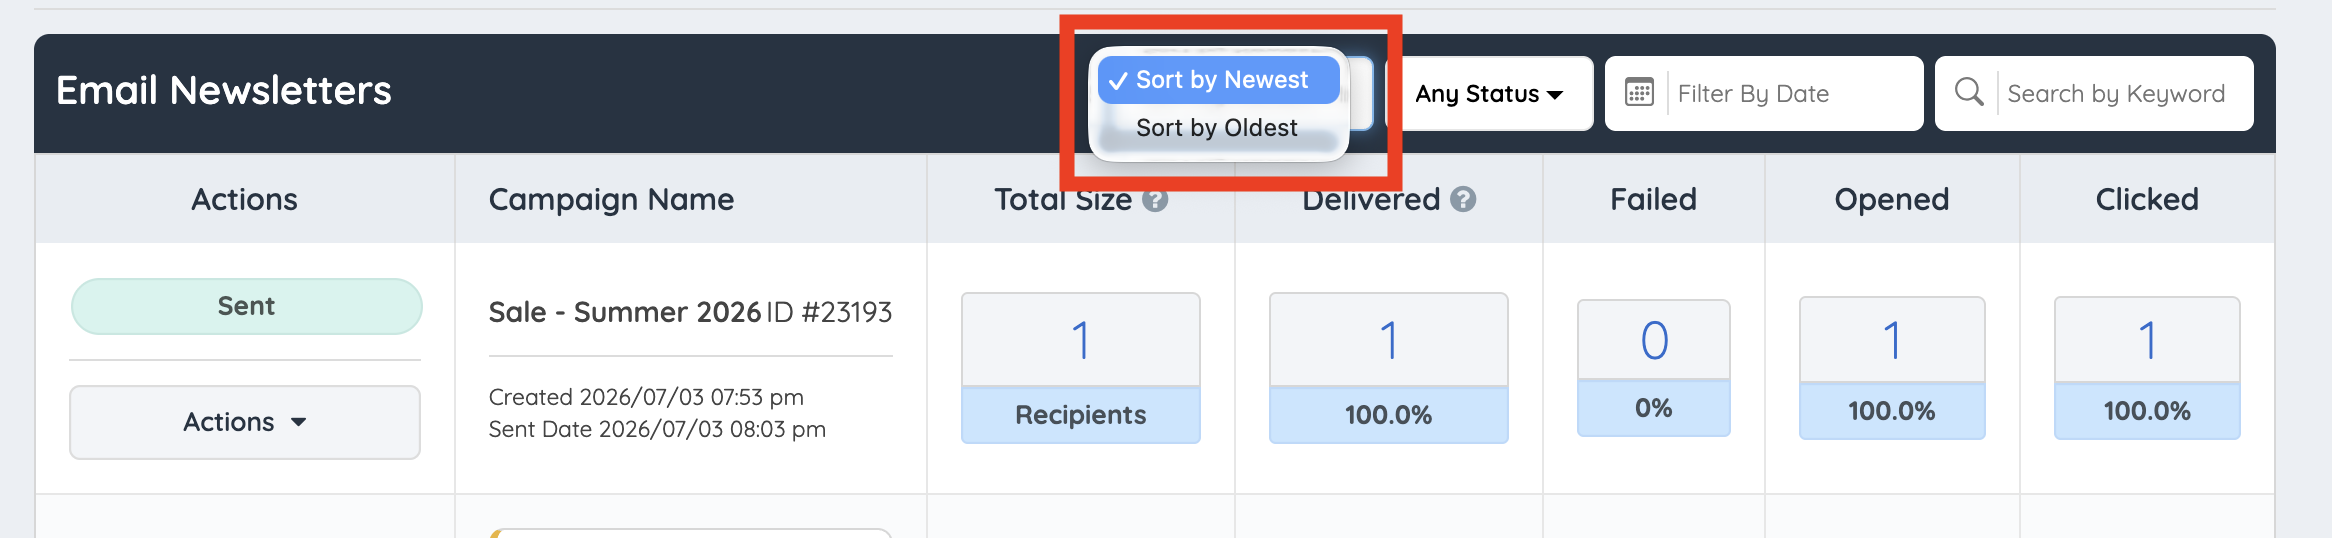
Available options include:
- Sort by Newest
- Sort by Oldest
Filter by Status
Use the status dropdown to filter campaigns by campaign status.
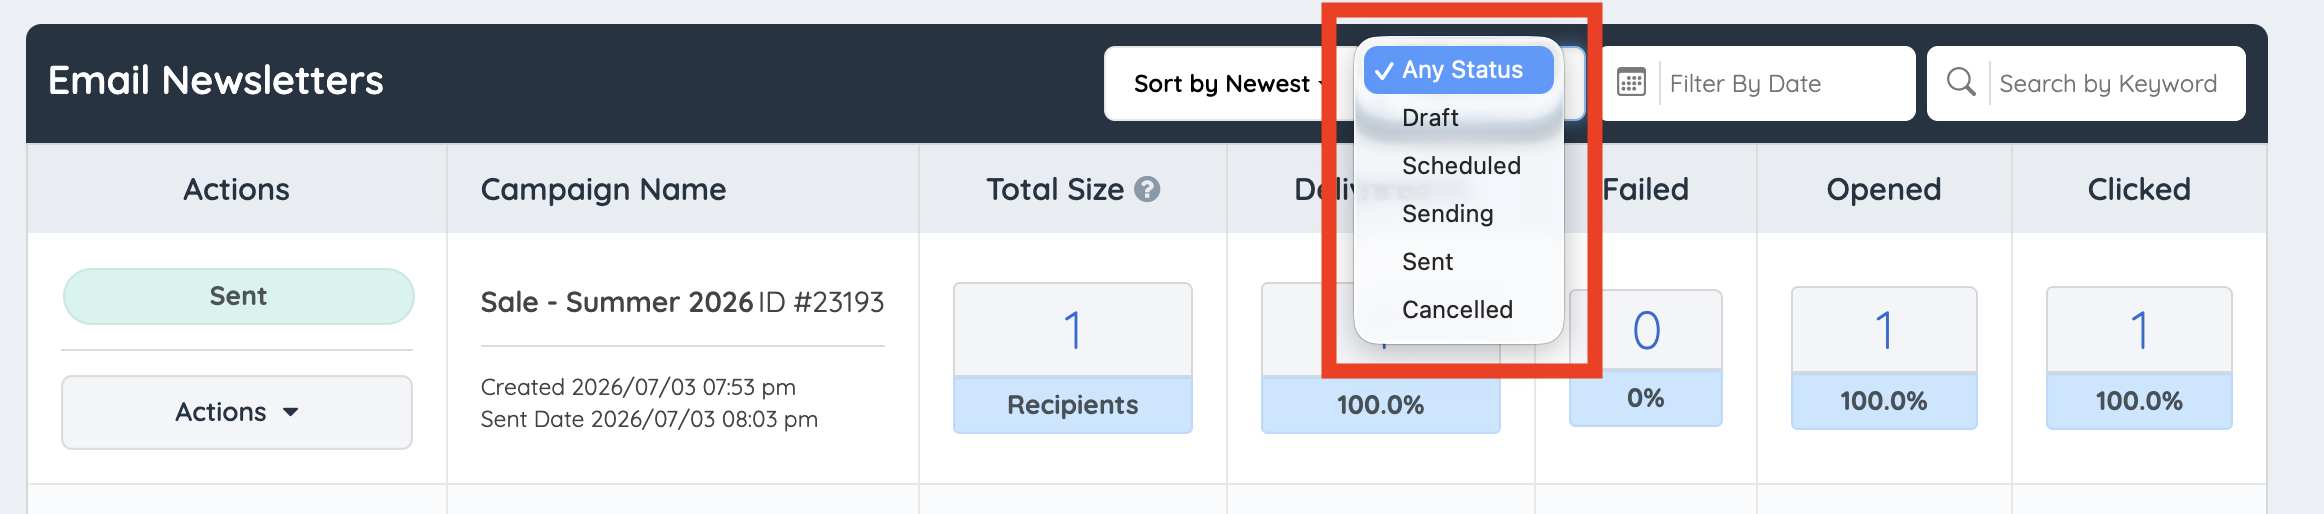
Available status filters may include:
- Any Status
- Draft
- Scheduled
- Sending
- Sent
- Cancelled
Filter by Date
Use the date filter to find newsletters based on a selected date range.
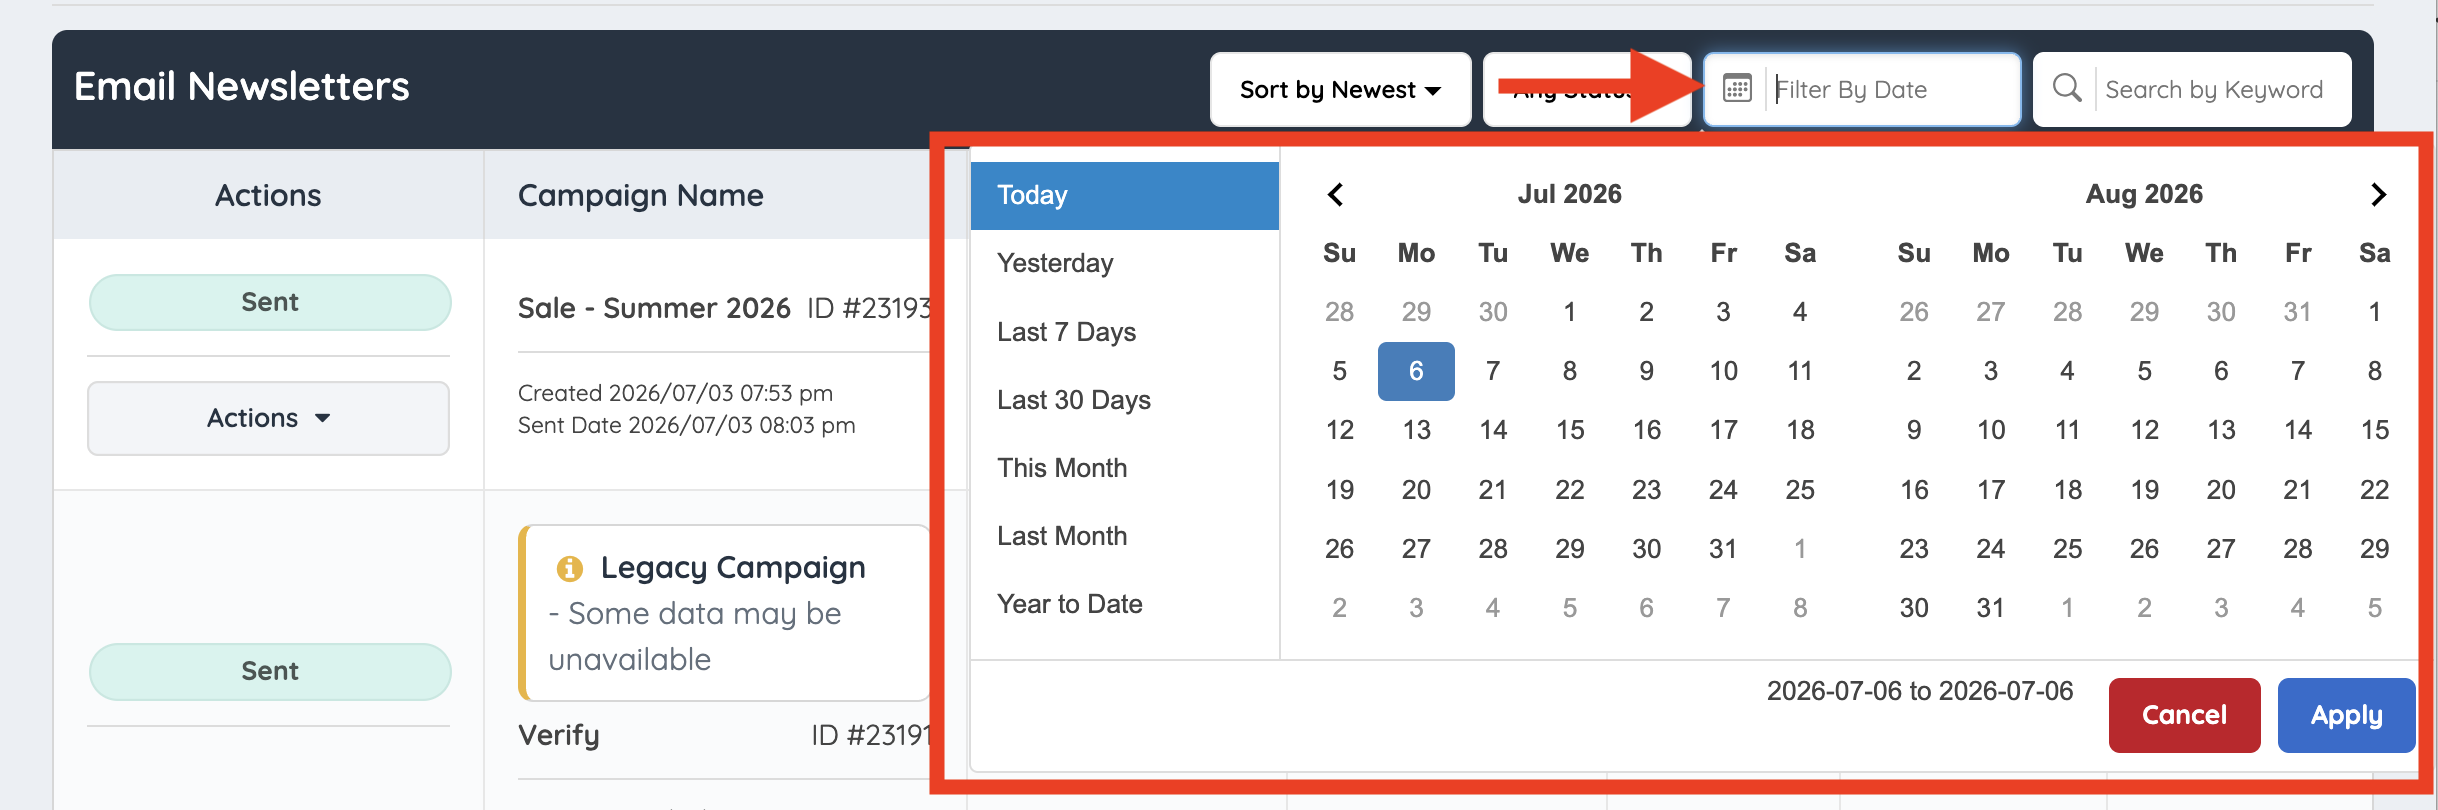
Common date filter options include:
- Today
- Yesterday
- Last 7 Days
- Last 30 Days
- This Month
- Last Month
- Year to Date
A custom date range can also be selected from the calendar. After selecting the date range, click Apply to filter the newsletter table.
Search by Keyword
Use the Search by Keyword field to search for a specific newsletter campaign by keyword.
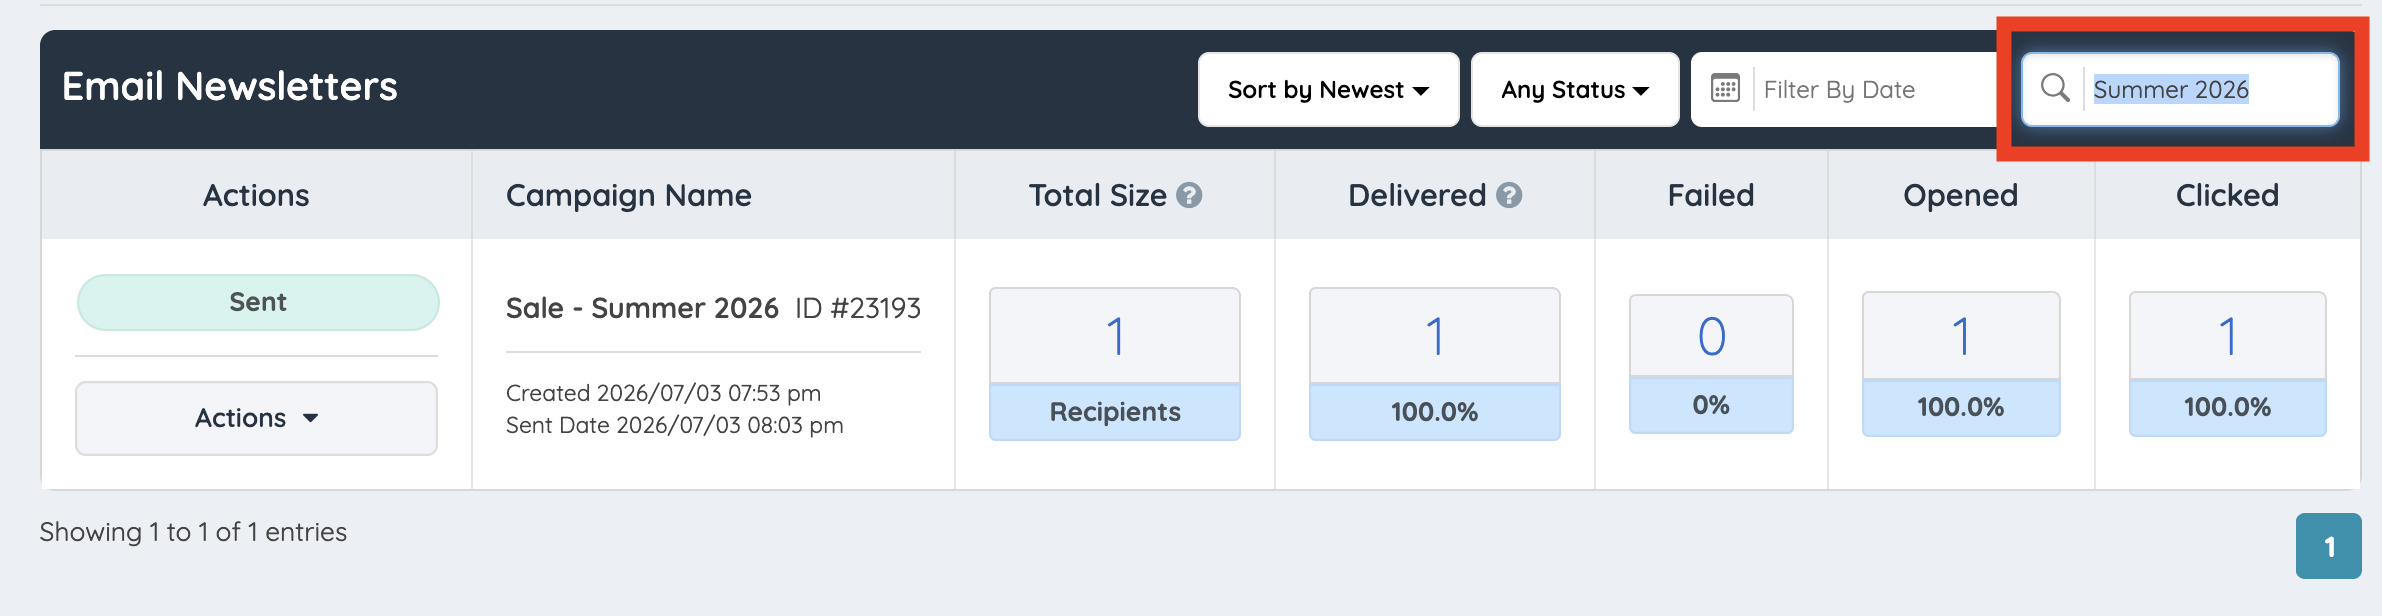
This is useful when searching by campaign name, subject, or other visible campaign details.
