
Import 301 Redirects via CSV file
Link: https://support.brilliantdirectories.com/support/solutions/articles/12000088694
When migrating a website to a new platform, URL structures often change. It is best practice to implement permanent (301) redirects from the previous URLs of important pages to their corresponding new destinations.
The platform supports bulk import of redirect rules using a CSV file.
Preparing the Import File
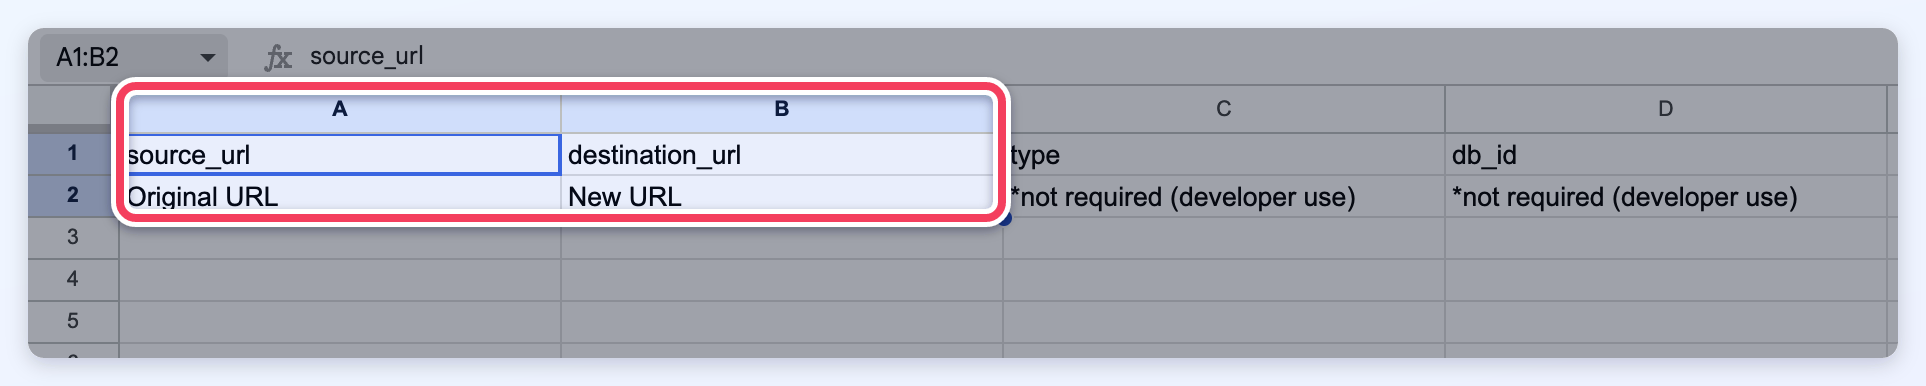
Create a CSV file containing each redirect to be applied. At minimum, this file must include two columns:
- source_url — the original URL that requires redirection
- destination_url — the target URL to which the original should redirect
The CSV may include additional optional columns intended for developer reference only (e.g., type, db_id). These are not required for successful import.
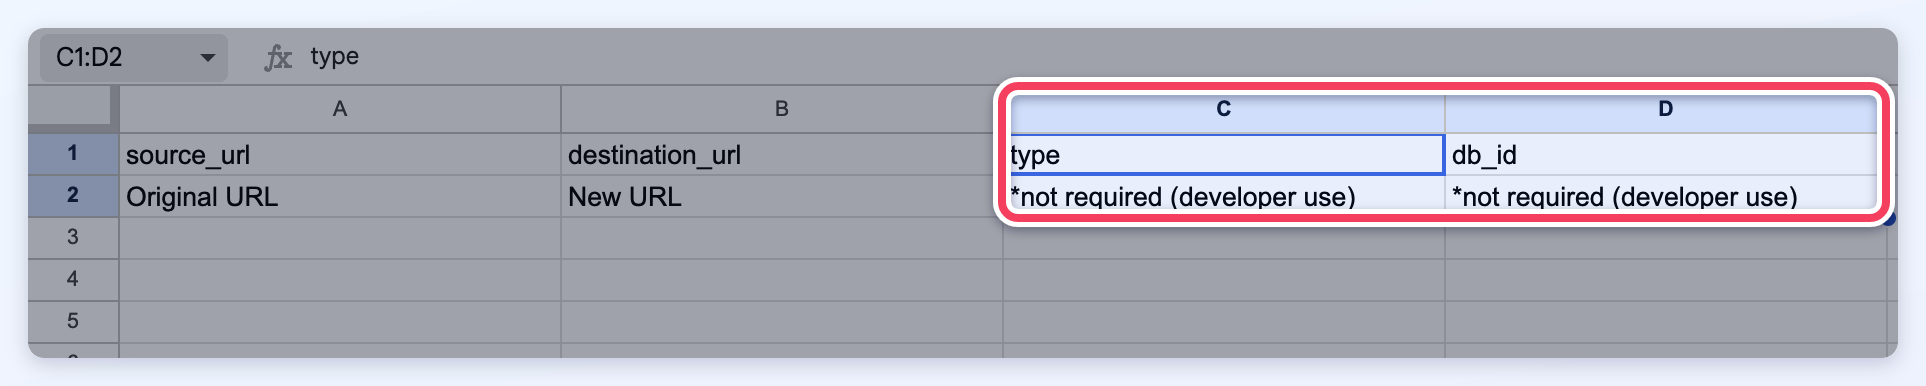
Examples of values used by the optional type column include:
| "type" | Field Description |
|---|---|
| admin | Manually created 301 redirects through the admin dashboard. |
| data_post | Single Image Post Type redirect |
| list_services | Sub/sub-sub category page redirect |
| list_professions | Top category page redirect |
| photo_group | Multiple Image Post Type redirect |
| profile | Member Profile redirect |
Important Note: For type "import" can also be specified to identify which redirects were imported and which ones were created by the system.
Please see the sample CSV file attached here.
Starting From an Export
The Export CSV button on the 301 Redirect Rules page downloads the redirects currently shown, with any search and filters applied, in the same columns the import reads. An export makes a convenient starting file: edit or add rows, then import it.
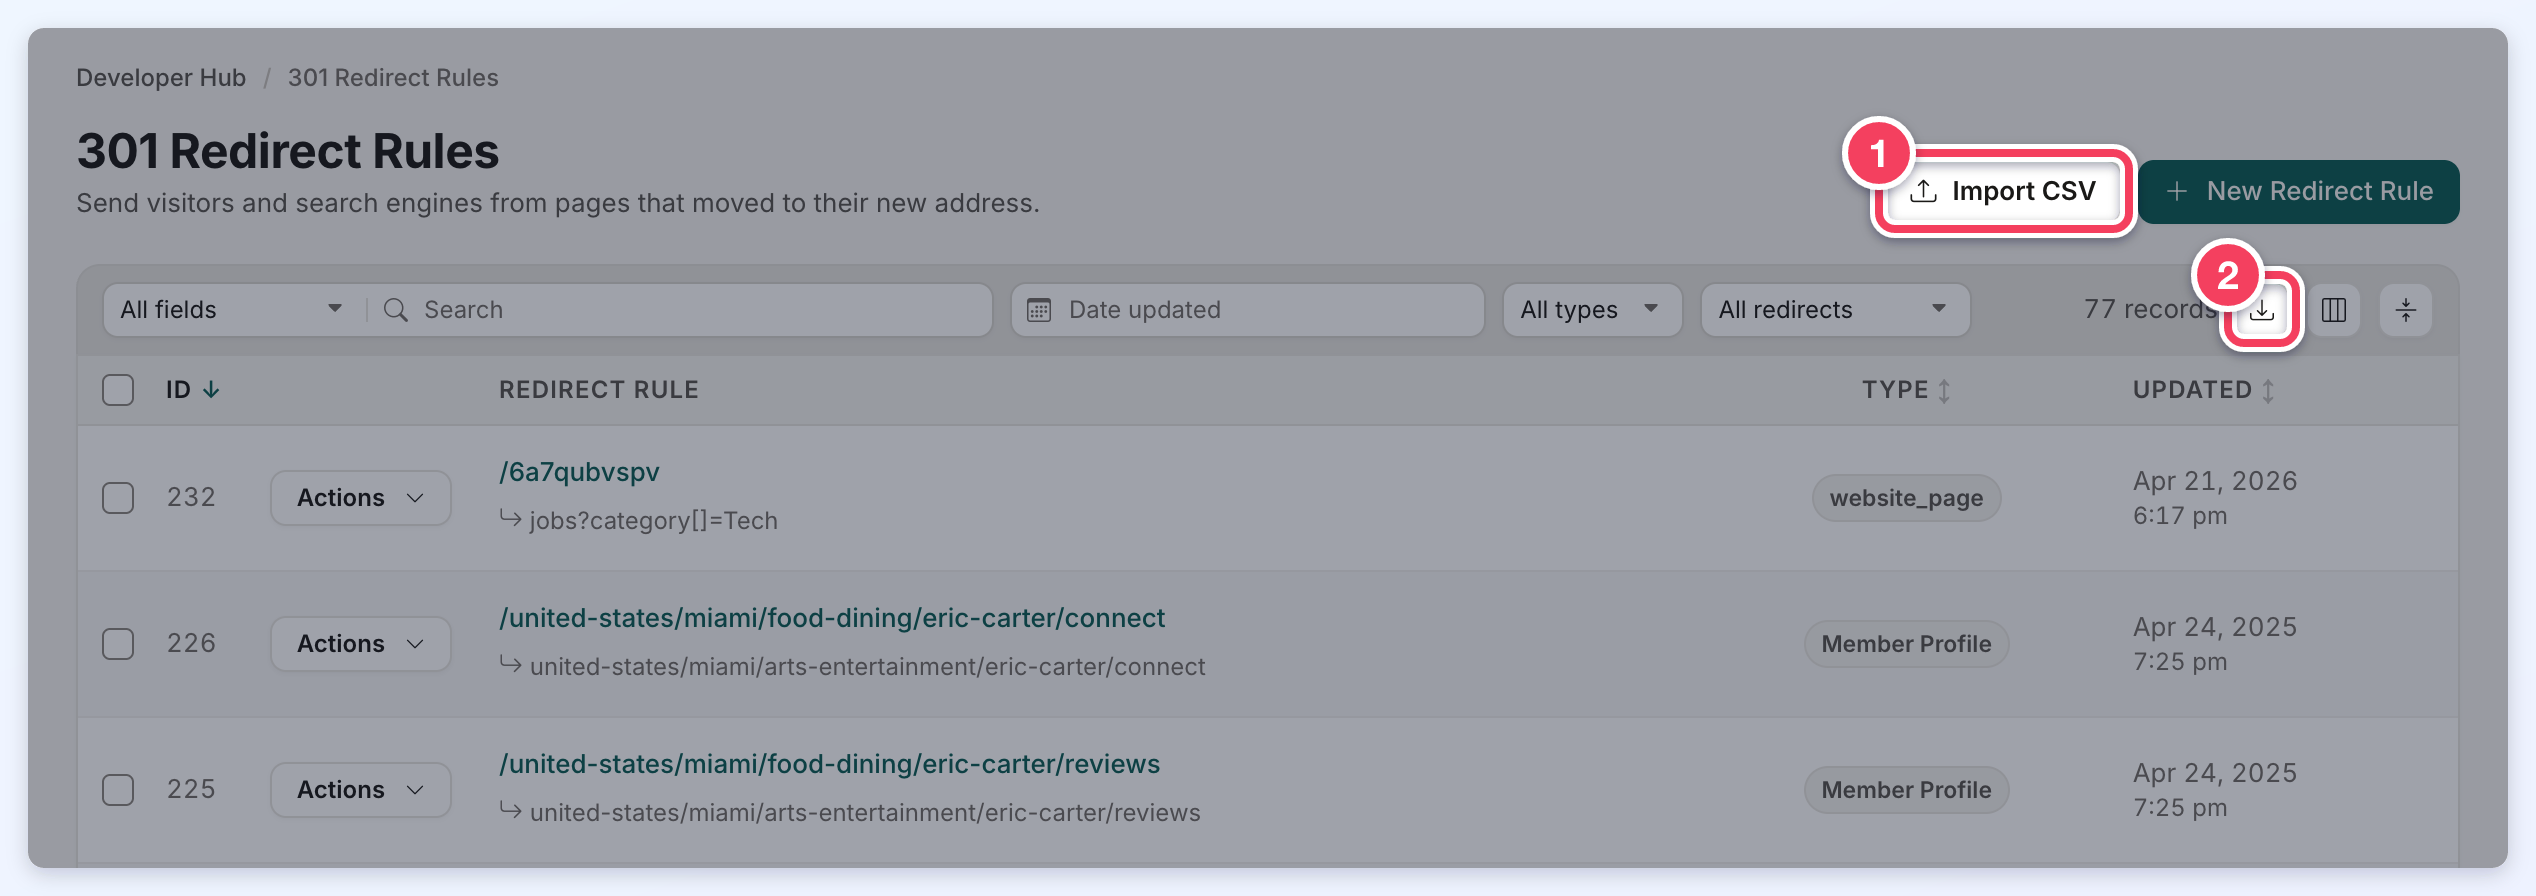
- Import CSV: opens the import dialog.
- Export CSV: downloads the redirects shown in the list as a CSV file.
Uploading the File
- Go to Developer Hub and click Manage Redirects on the 301 Redirect Rules card.
- Click Import CSV. The Import CSV File dialog opens.
- Drag the CSV file onto the dialog, or click browse and choose it. Files up to 10 MB and 50,000 rows are accepted.
- The dialog checks the file before anything is imported and shows its size and number of rows. Replace picks a different file and Remove clears it. If the headings are missing or the file cannot be used, the problem is shown here instead.
- Click Import CSV.
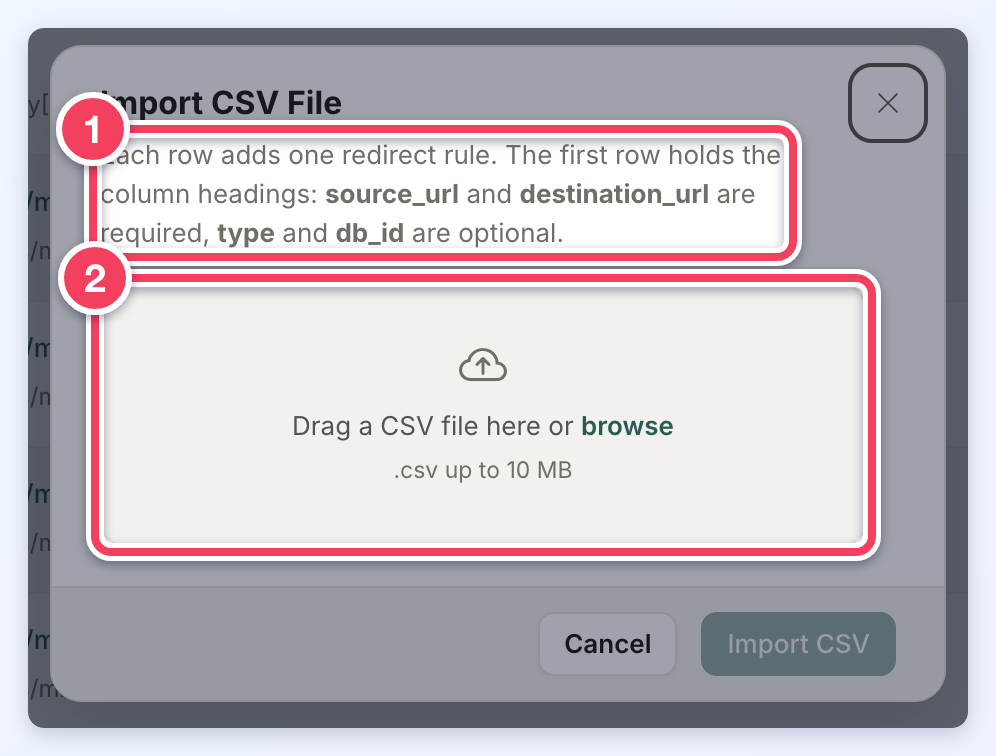
- The column rules: the first row holds the headings, source_url and destination_url are required, and type and db_id are optional.
- The drop area. Click browse to choose the file instead of dragging it.
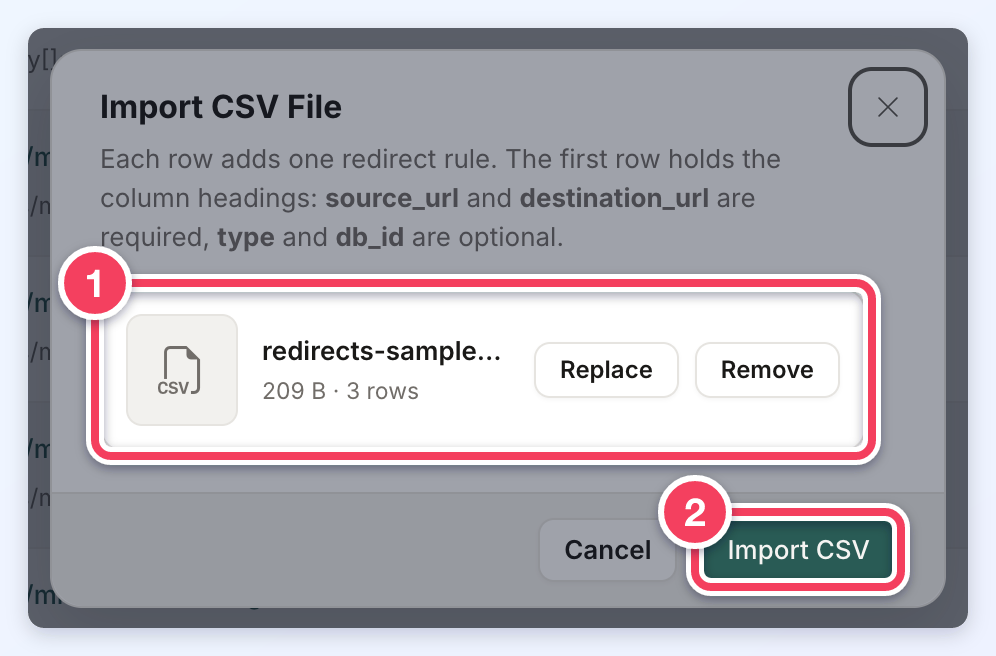
- The checked file, with its size and number of rows.
- Import CSV starts the import. It stays disabled until the file passes the check.
Reading the Import Report
When the import finishes, a report shows how many redirect rules were imported, and the list behind it refreshes. Rows that could not be imported are skipped, and the report gives the reason for each one, EG:
- The source already has a redirect rule (or appears twice in the file).
- source_url or destination_url is empty.
- source_url is a full address instead of a path on the website, like old-page.
- source_url and destination_url are the same.
- The address holds characters a web address cannot contain, such as quotes or angle brackets.
Columns the import does not recognize are ignored, and the report lists them under Columns not imported.
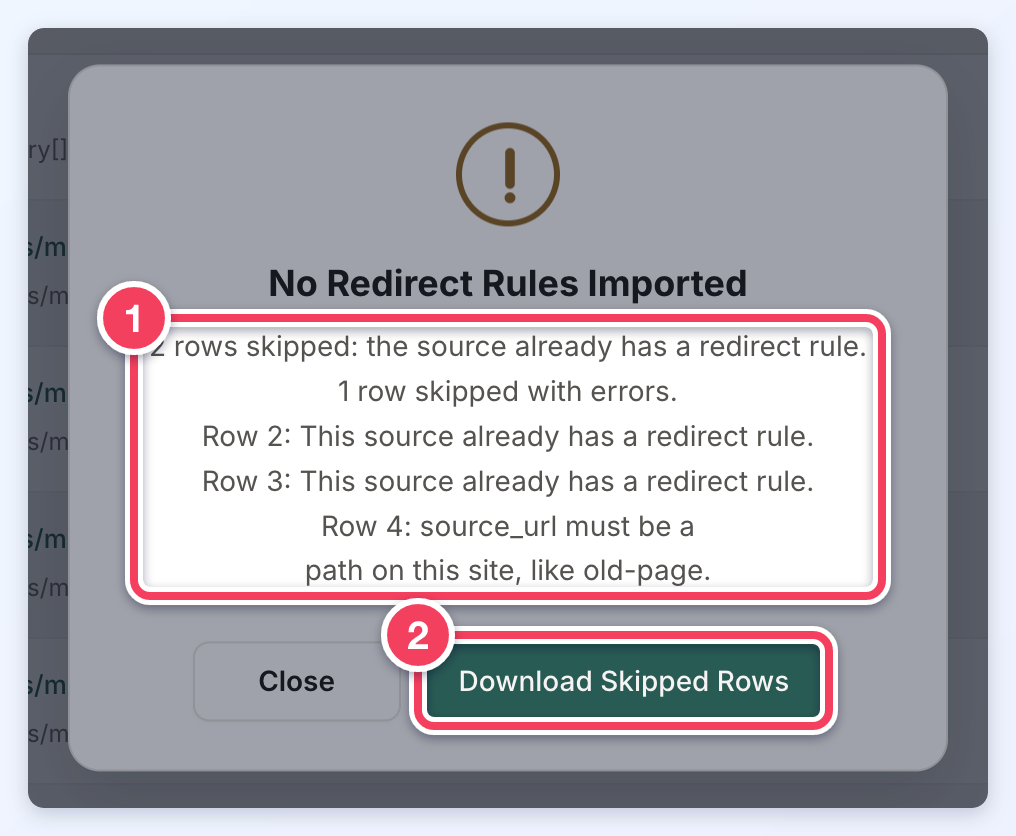
- The reasons rows were skipped, by row number in the file.
- Download Skipped Rows saves a CSV of just the skipped rows (row number, source_url, destination_url and the reason). Fix those rows and import the downloaded file again.
Imported rules with no type in the file are given the type import, which keeps them apart from redirects the system created.
The import runs as one batch: if a row cannot be saved partway through, no rows from that file are added, and the report asks for that row to be checked before the file is imported again.
To verify many redirects at once, an external HTTP status checker such as https://httpstatus.io/ can be used.
