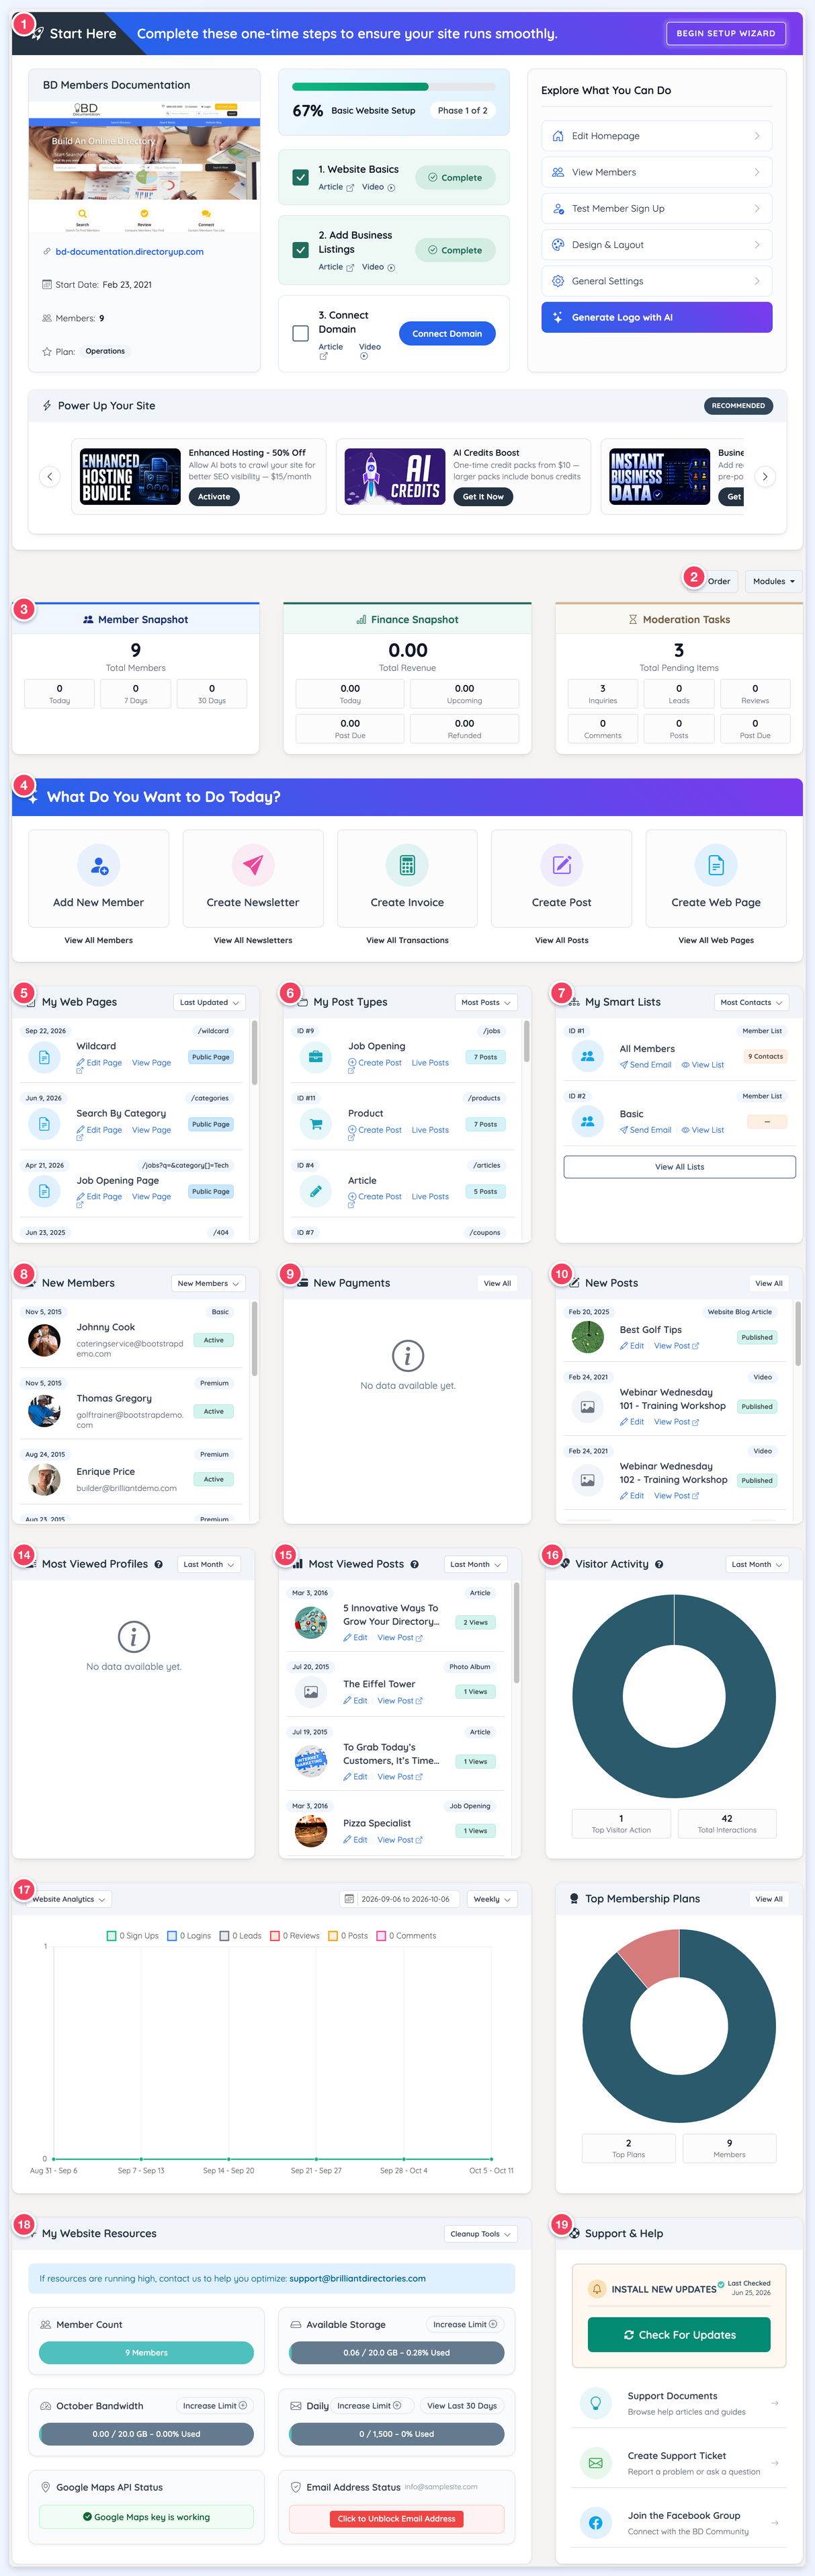
Admin Dashboard Modules
Link: https://support.brilliantdirectories.com/support/solutions/articles/12000049125
This article goes over the different modules available in the Admin Dashboard. The numbers in the screenshot below match the sections of this article. Sections 11 to 13 are hidden by default (see Modules Organization), and sections 19 to 21 share the Support & Help module.
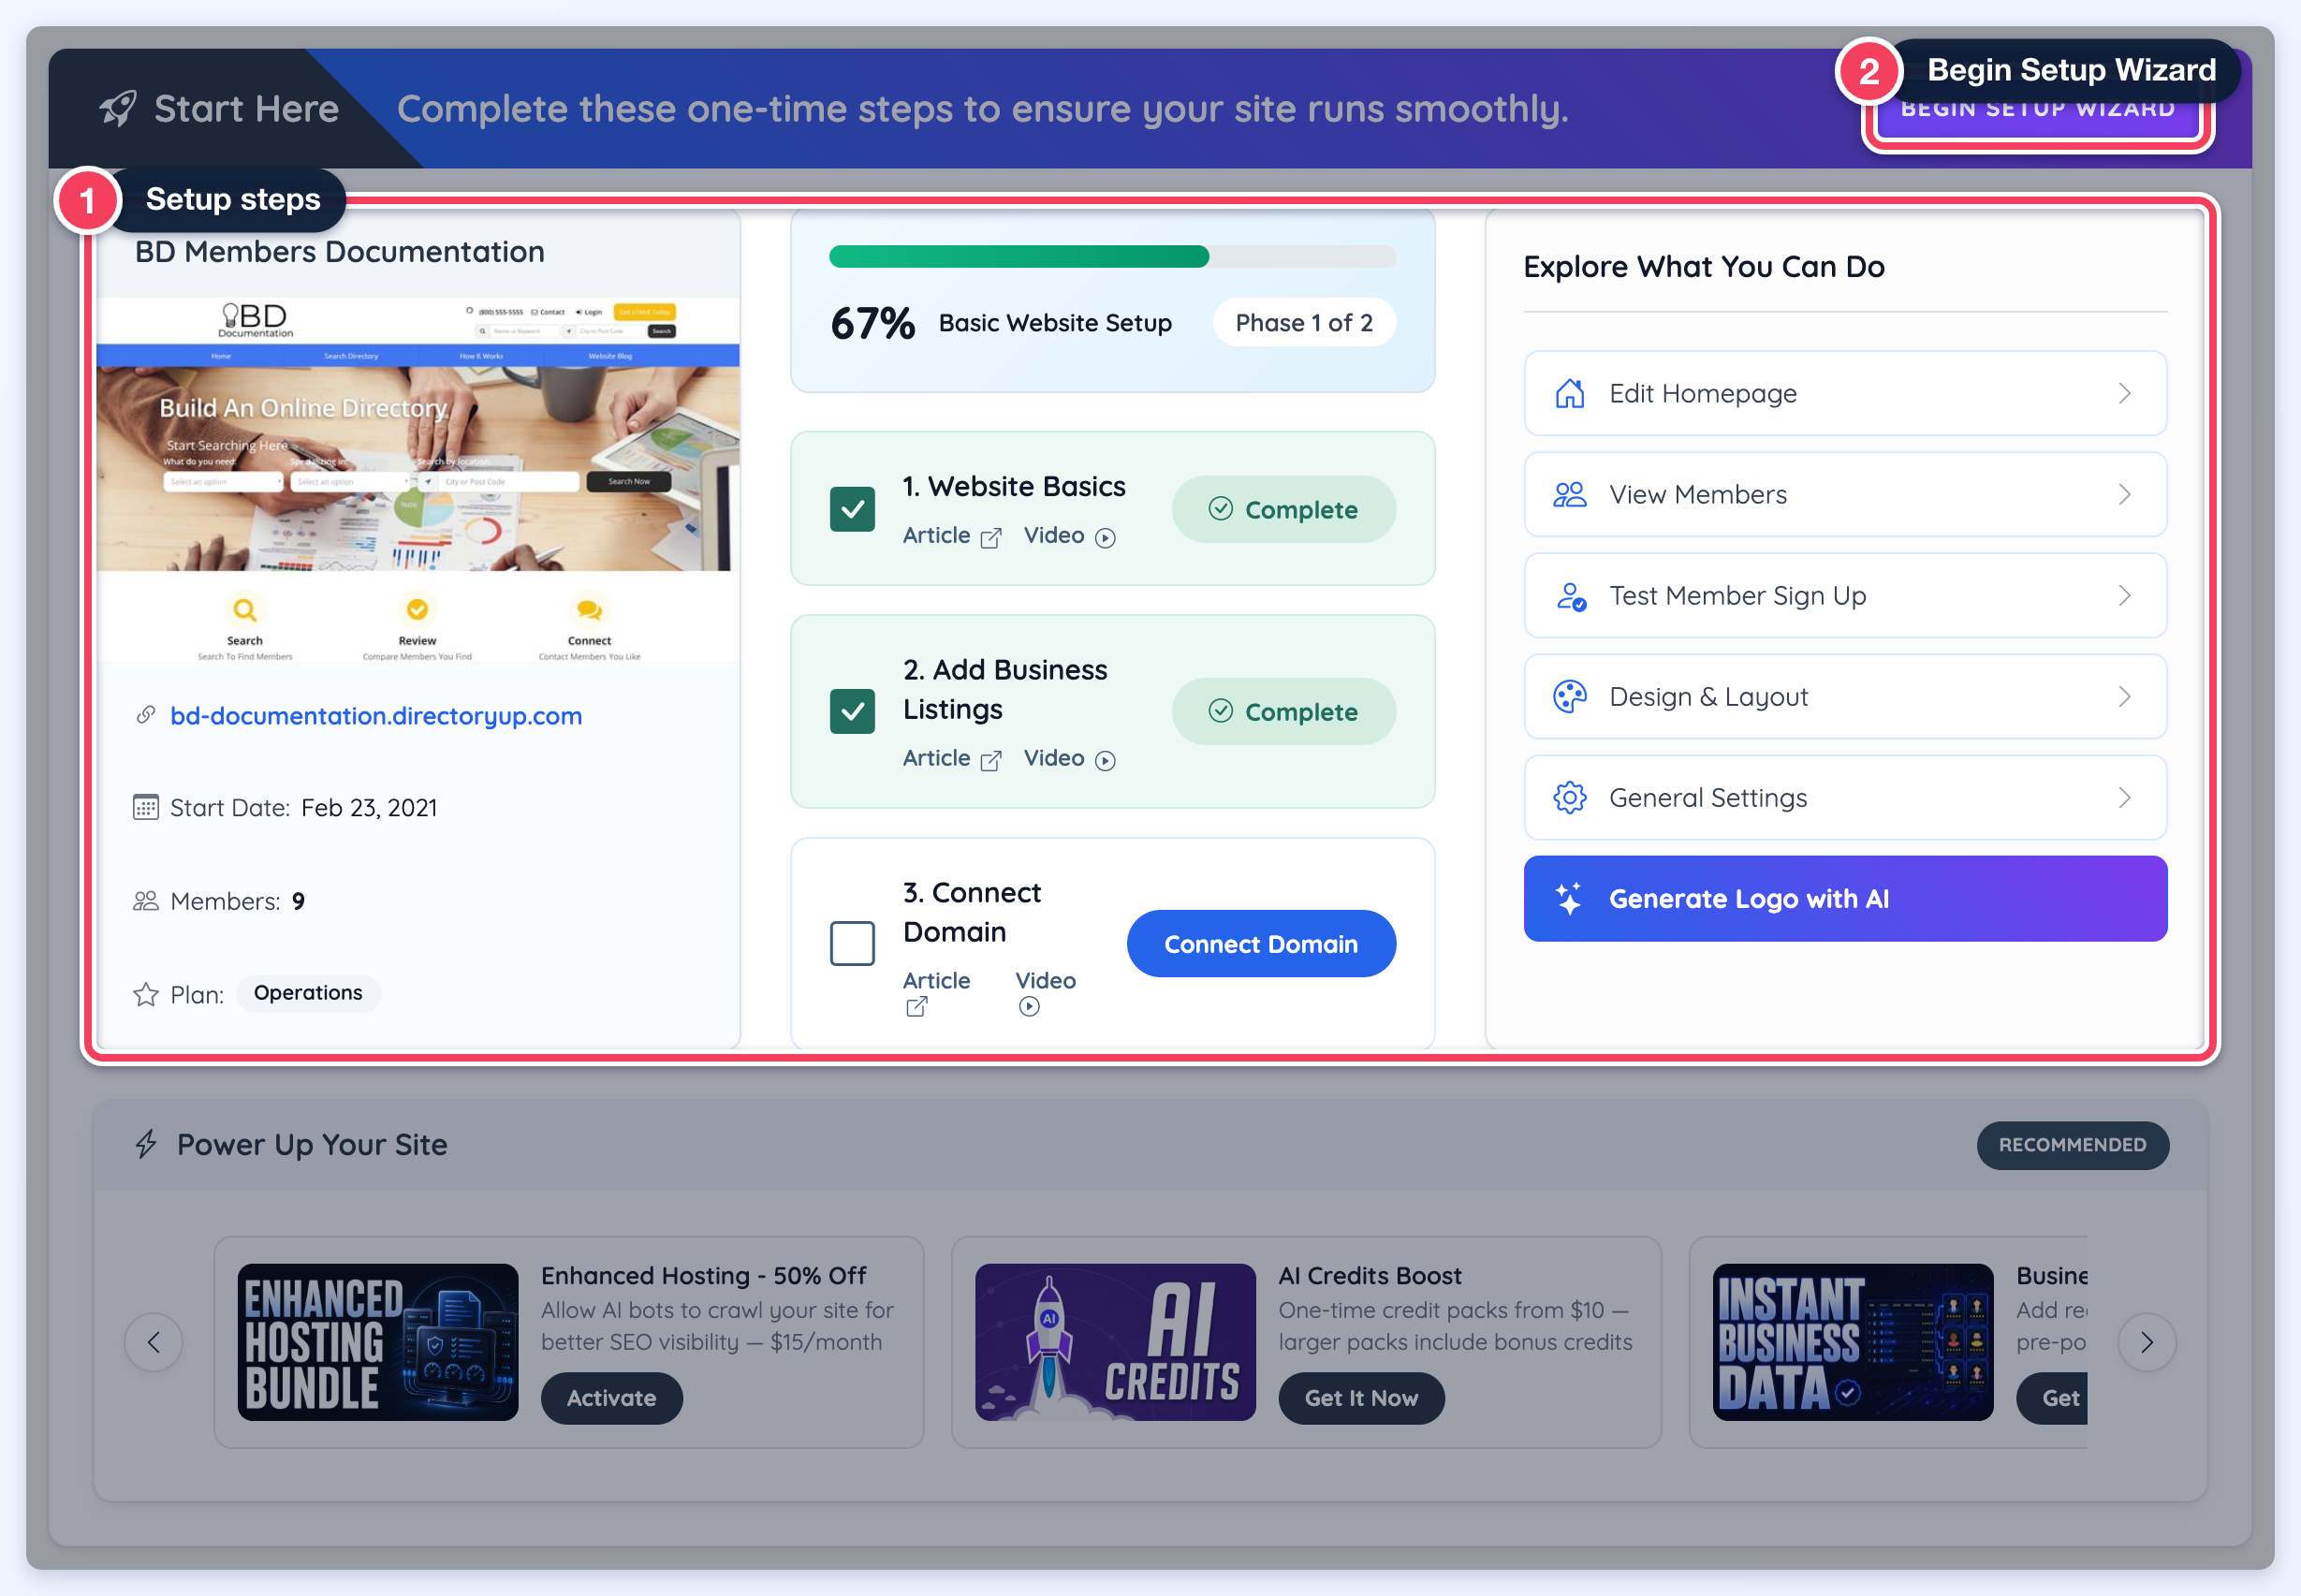
1. Setup Wizard
The Start Here module lists the essential setup steps every directory website should complete for its basic configuration. Click Begin Setup Wizard to work through them.
This module will remain visible until all steps are finished. Once completed, it will automatically disappear. Watching the videos provided is also a great way to get the website up and running smoothly.
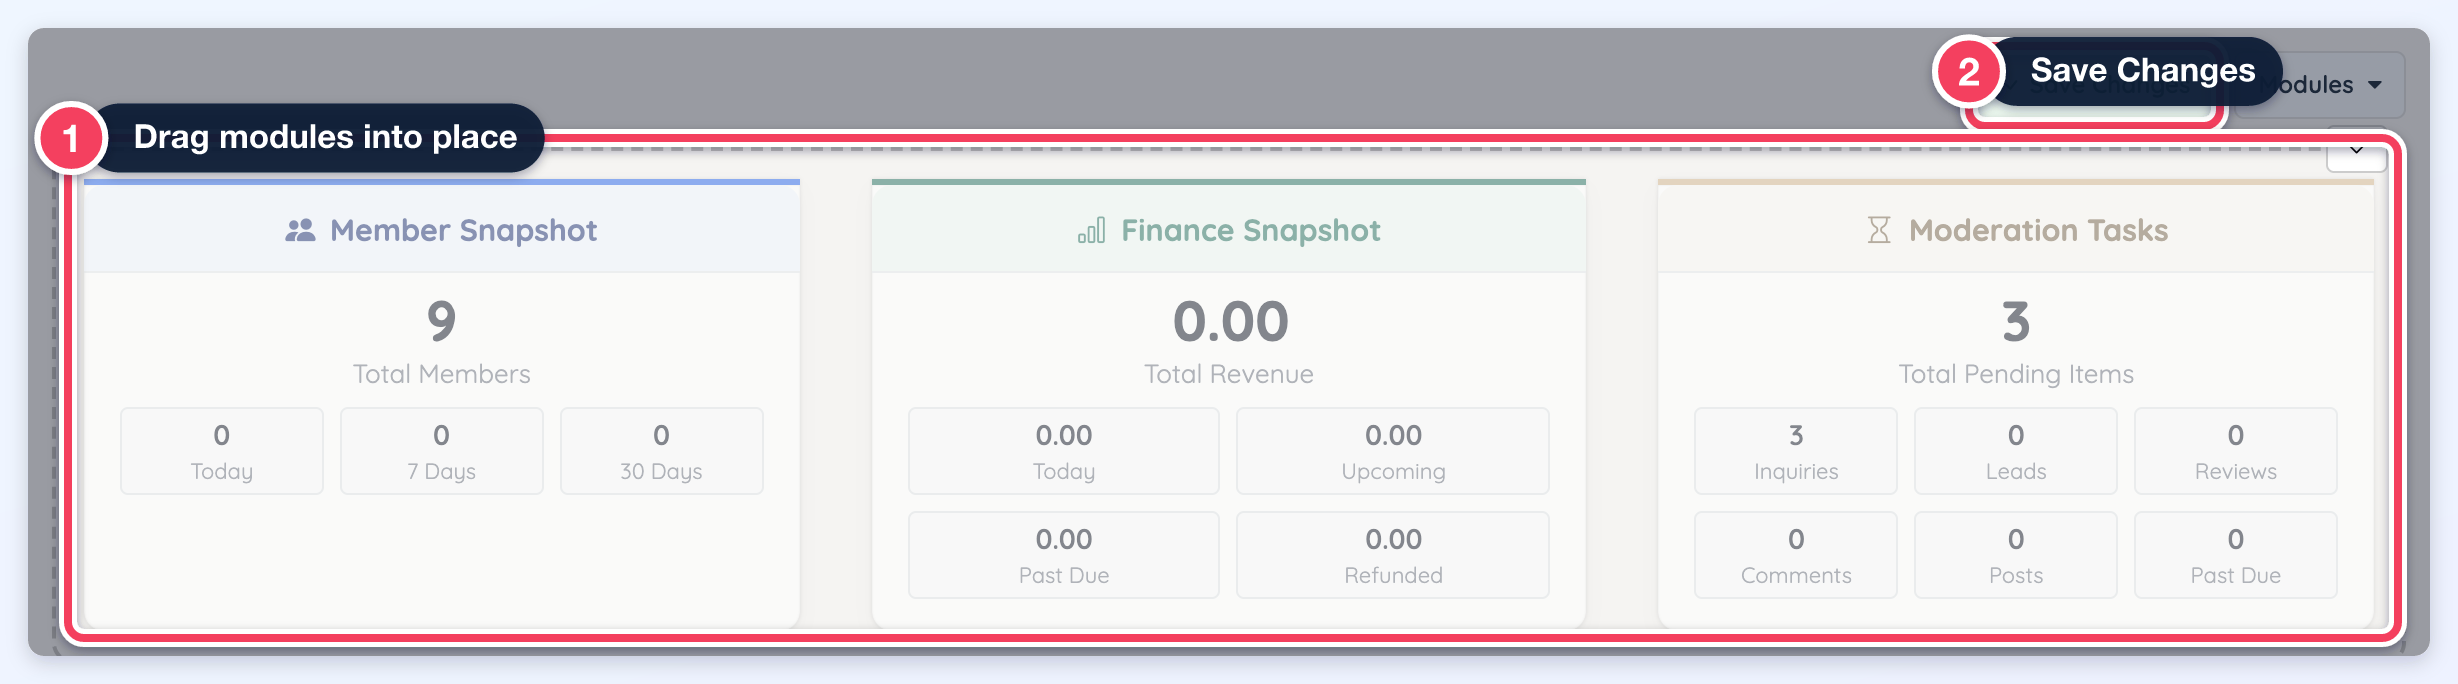
2. Modules Organization
The admin is able to reorganize the modules from the Admin Dashboard by clicking the Order button, dragging the modules into place, and clicking Save Changes:
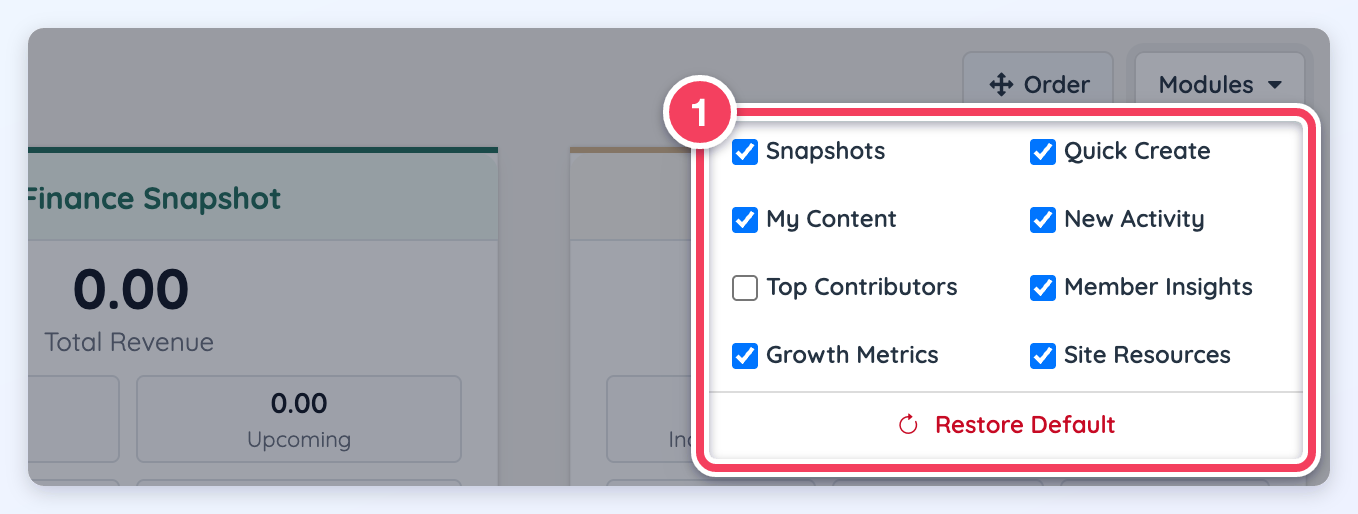
The admin is also able to select which modules to display by ticking them in the Modules menu. Restore Default at the bottom of the menu puts back the original modules and order:
3. Information Bar
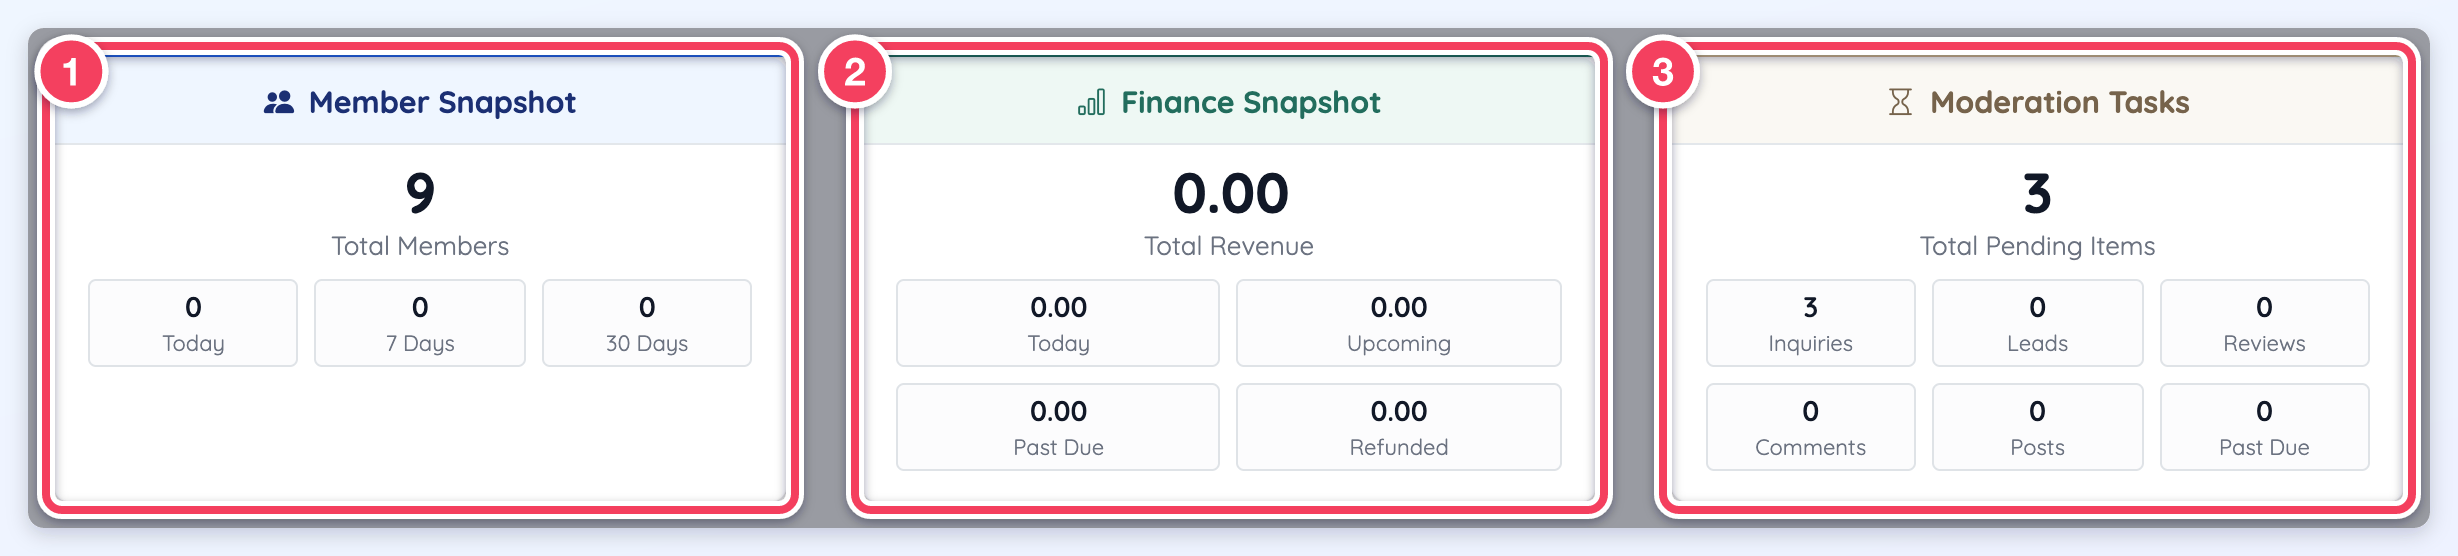
The information bar will display basic member information from the site.
Member Snapshot
The Member Snapshot displays the total members and the recently registered members for today, the past 7 days, and the past 30 days.
Financial Snapshot
The Financial Snapshot shows a summary of the Finance section, including received, upcoming, past due, and refunded payments.
Moderation Tasks
The New Moderation Tasks section displays a list of pending inquiries, leads, reviews, comments, posts, past-due members, and the total count of pending items.
4. Quick Links
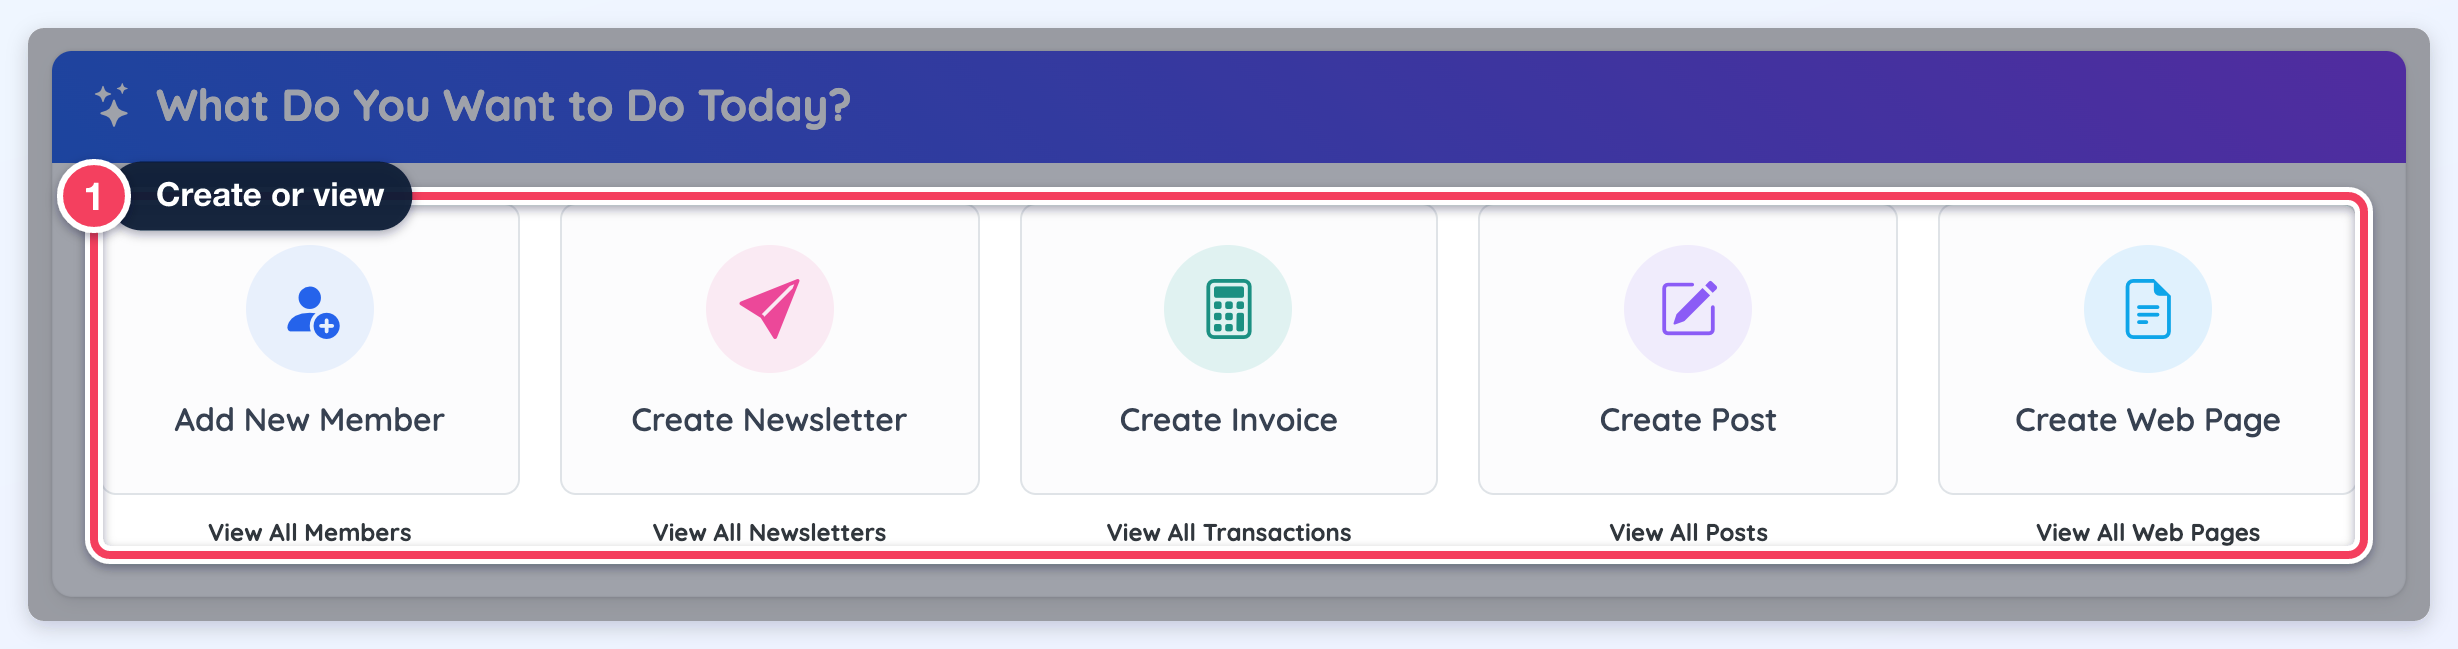
Find highly used sections of the software in the What Do You Want to Do Today? module. From here, the Admin will be able to:
- Add New Member / View All Members
- Create Newsletter / View All Newsletters
- Create Invoice / View All Transactions
- Create Post / View All Posts
- Create Web Page / View All Web Pages
5. My Web Pages
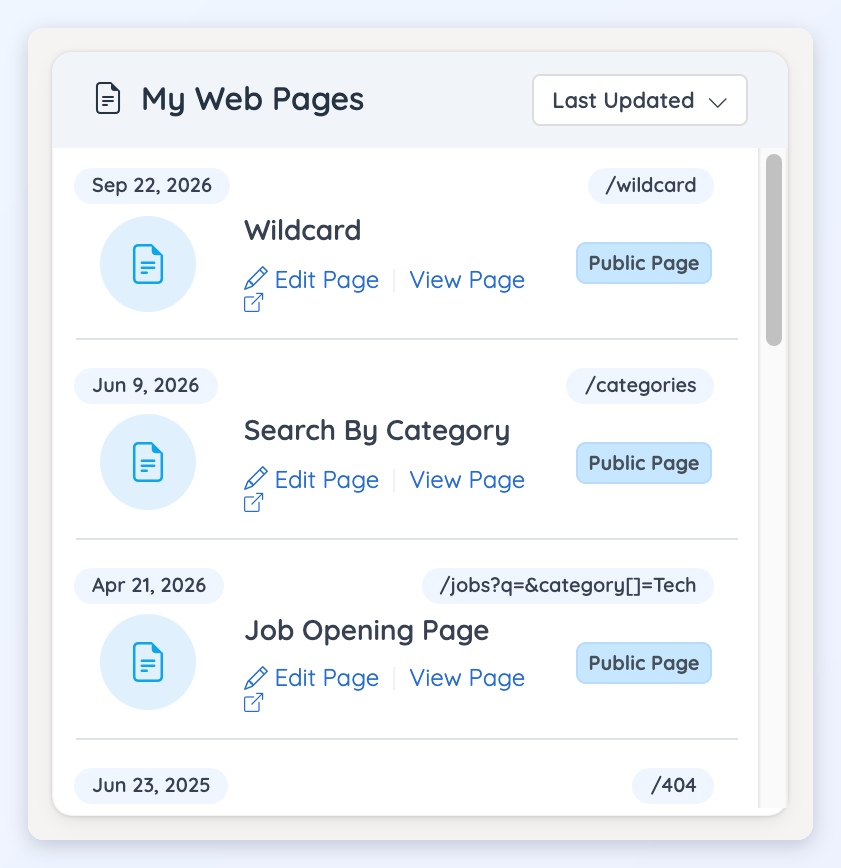
In this section, the admin will be able to see the most recently updated Static Pages. From here the admin can decide to edit or view the web page.
6. My Post Types
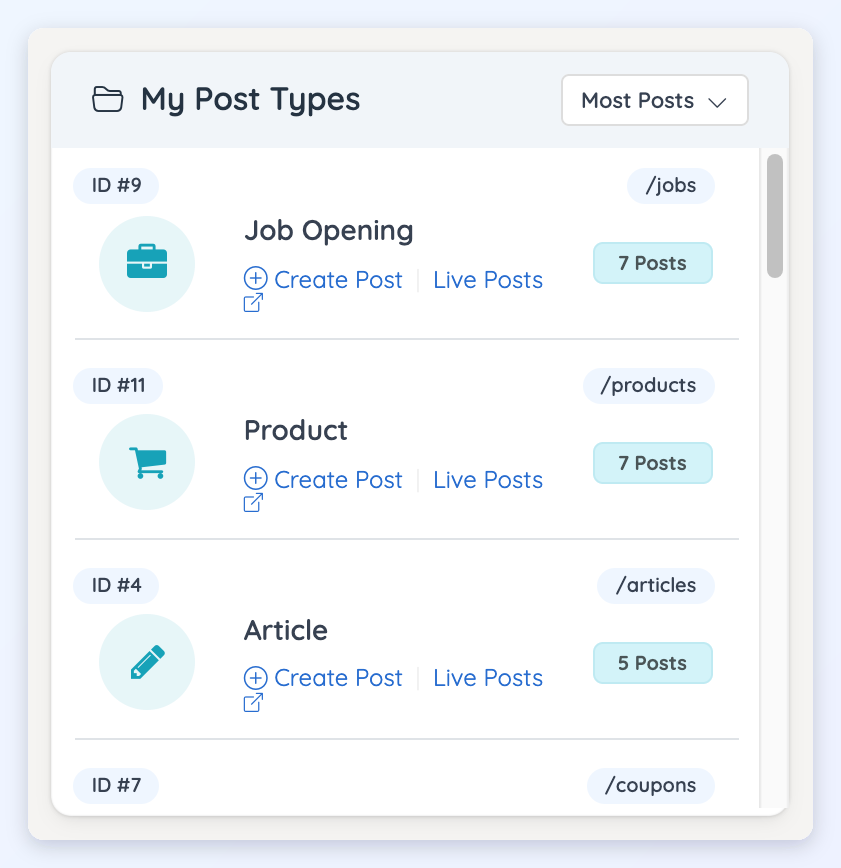
In this section, the admin will the the post types available on their site . From here the admin can create a new post or view the search results page of each post type.
7. My Smart Lists
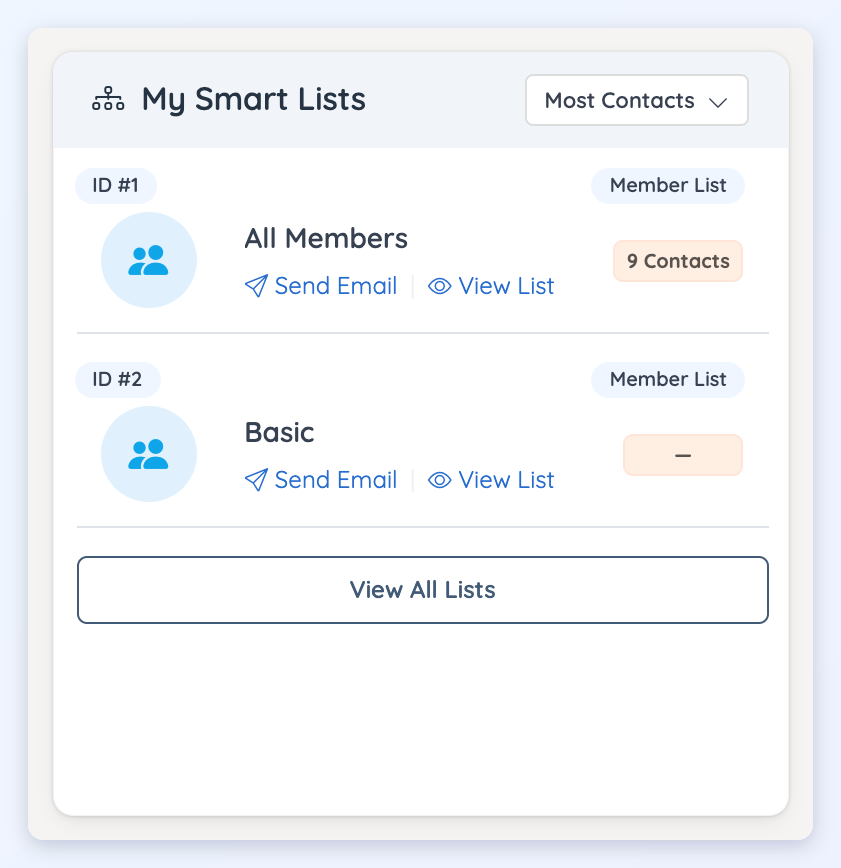
In this section, the admin will be able to see the Smart Lists organized by most contacts . From here the admin will be able to send a newsletter to the selected Smart list and also view the list of member in the Smart list.
8. Recent Logins / New Members
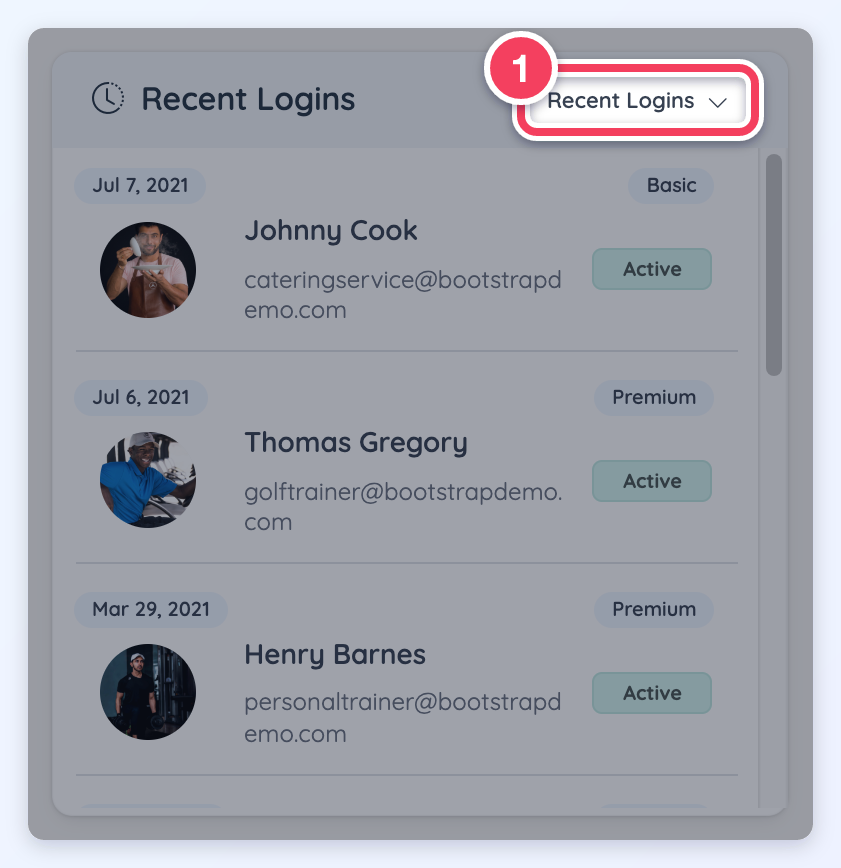
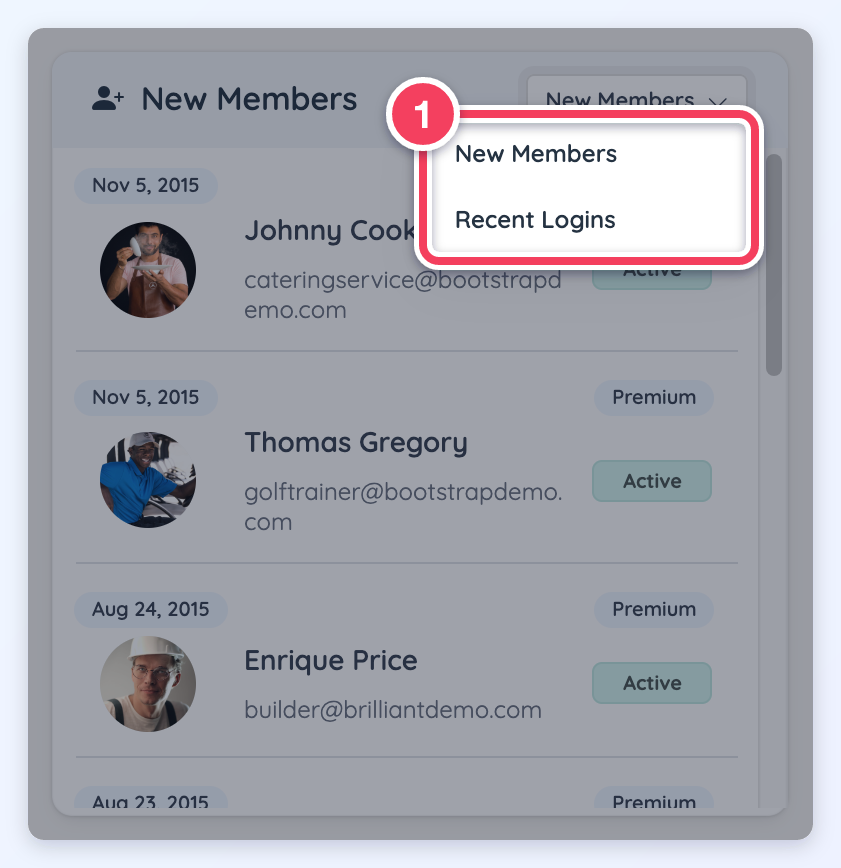
Find out which members have accessed the site recently by choosing Recent Logins from the menu at the top right of the New Members module.
The same menu switches back to the newest members on the site:
9. New Payments
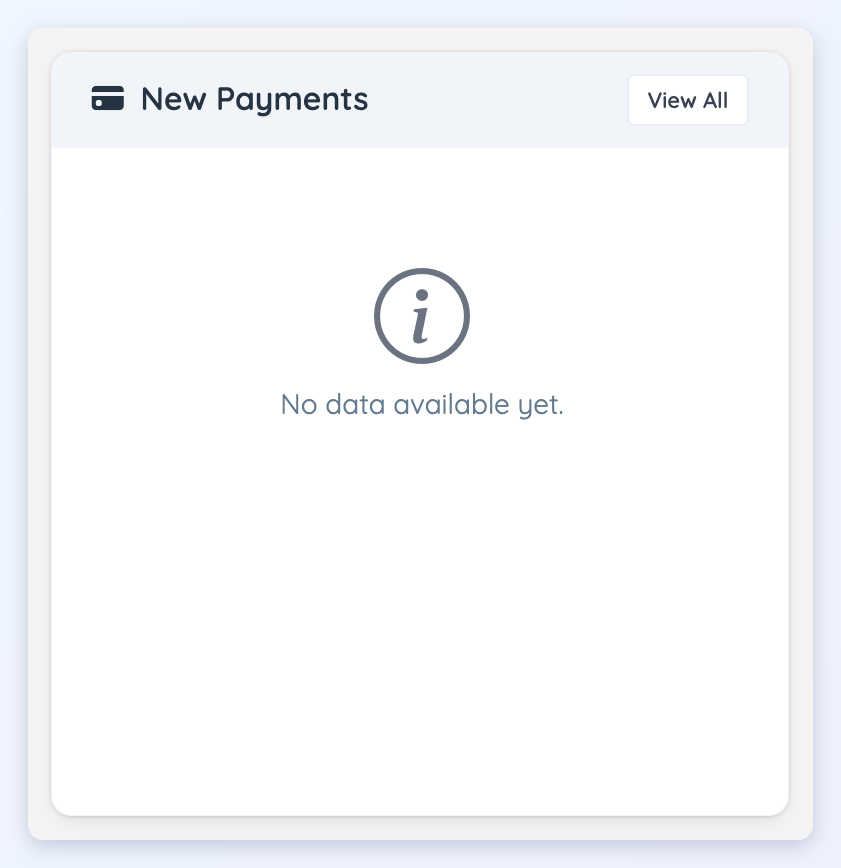
In this section, the admin will be able to see the most recent payments. This will show the latest 10 payments received.
10. New Posts
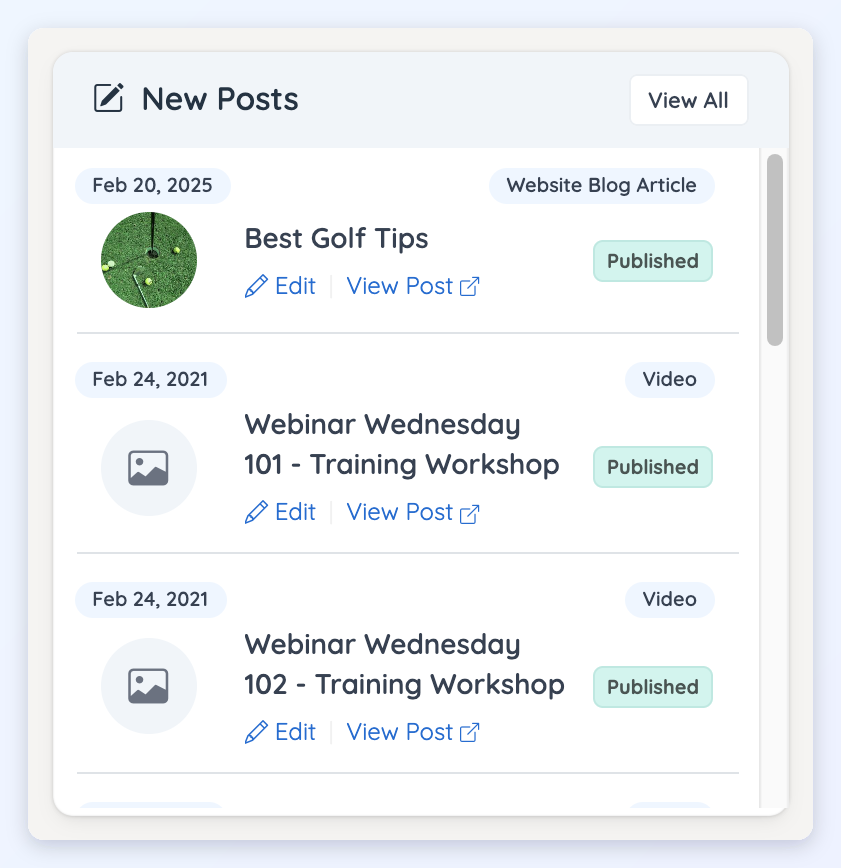
In this section the admin will be able to see the latest posts that have been created by members of the site. Each item will show which post type it is, the published status and it will display the last 10 posts created on the site.
11. New Form Inquiries
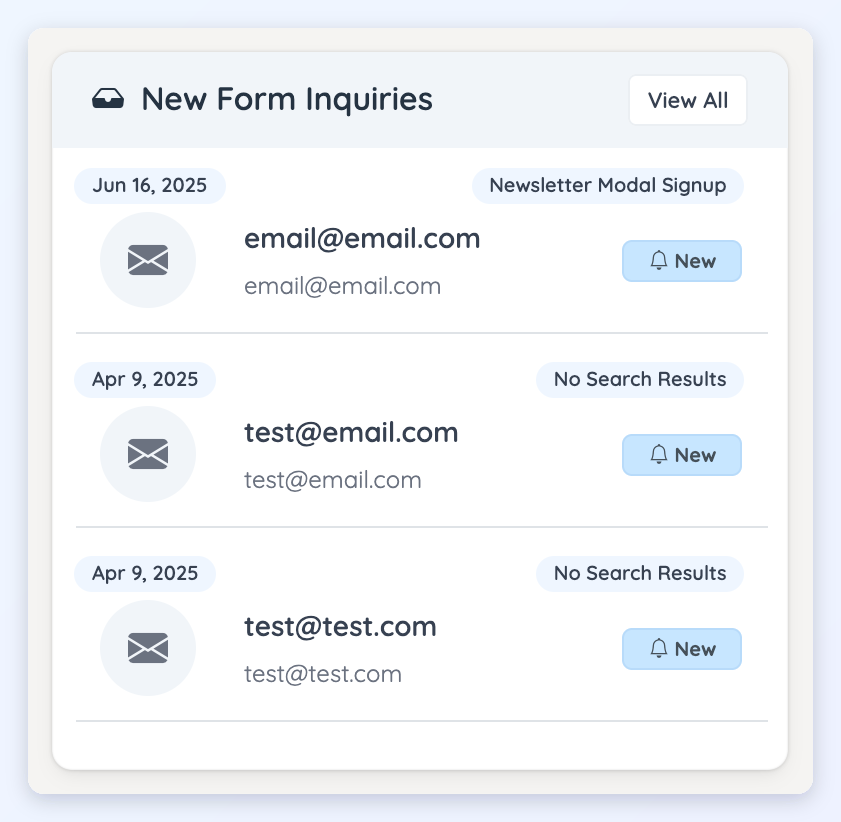
In this section the admin will be able to see the latest messages received via the forms on the site.
New Form Inquiries, Top Revenue Contributors and Top Publishers belong to the Top Contributors group of modules, which is hidden by default. Tick Top Contributors in the Modules menu to show them.
Each item will have the details of the form that was filled:
12. Top Revenue Contributors
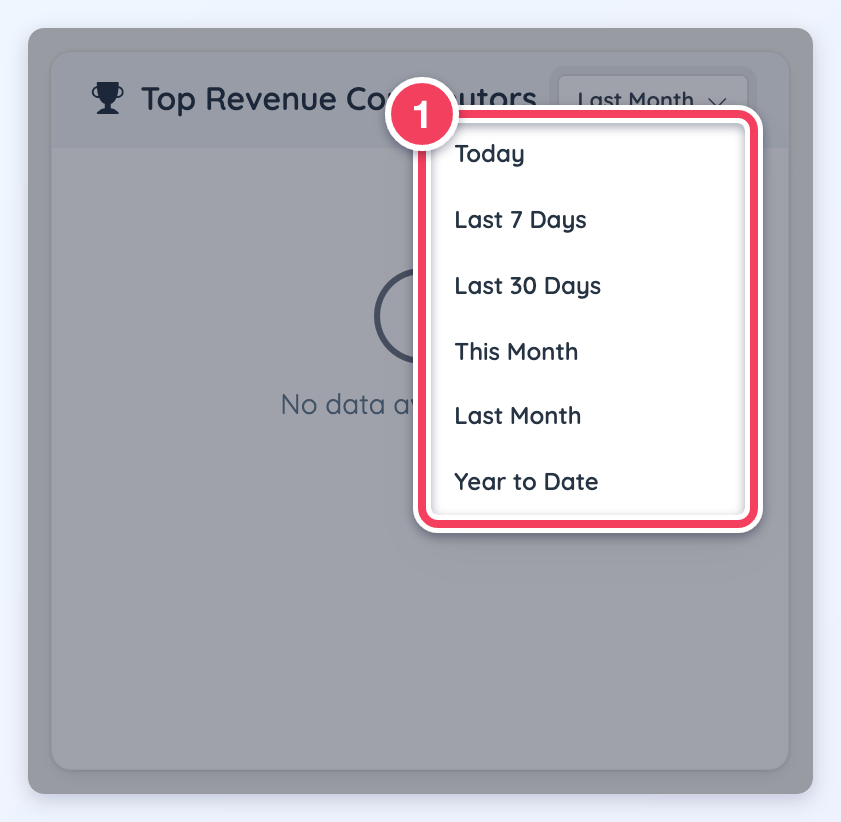
In this section, the admin will be able to see which members have generated the most revenue. It displays for each member how many payments they have made. The sorting is done by the amount of total revenue received and the admin has the ability to choose the date range.
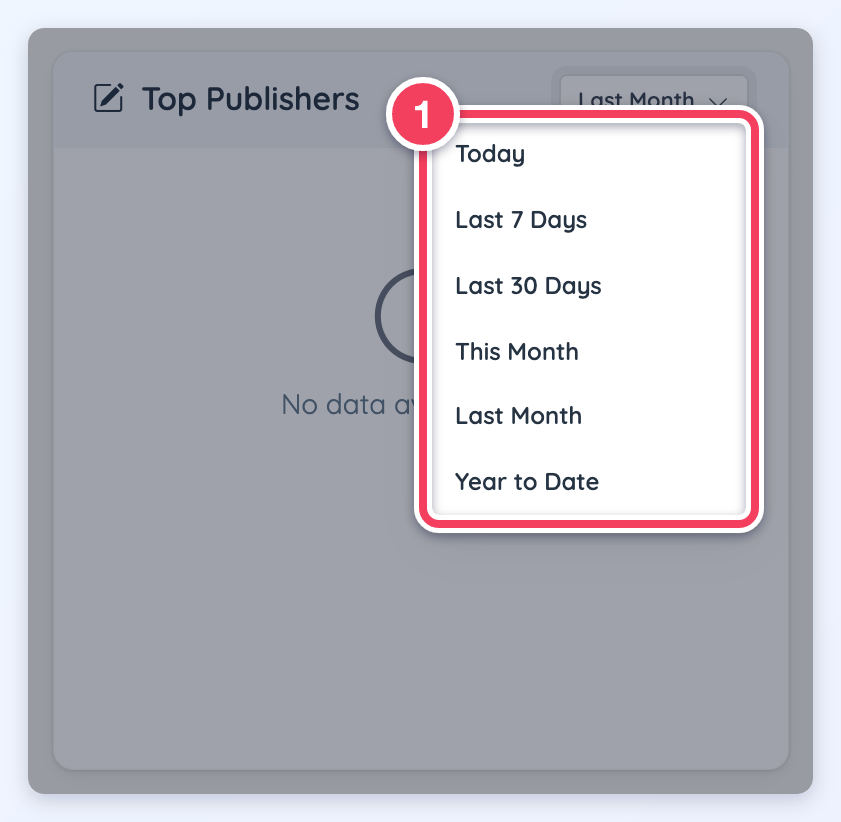
13. Top Publishers
In this section, the admin will be able to see who are the members that are creating the most posts.
The admin can filter by different timeframes.
14. Most Viewed Profiles
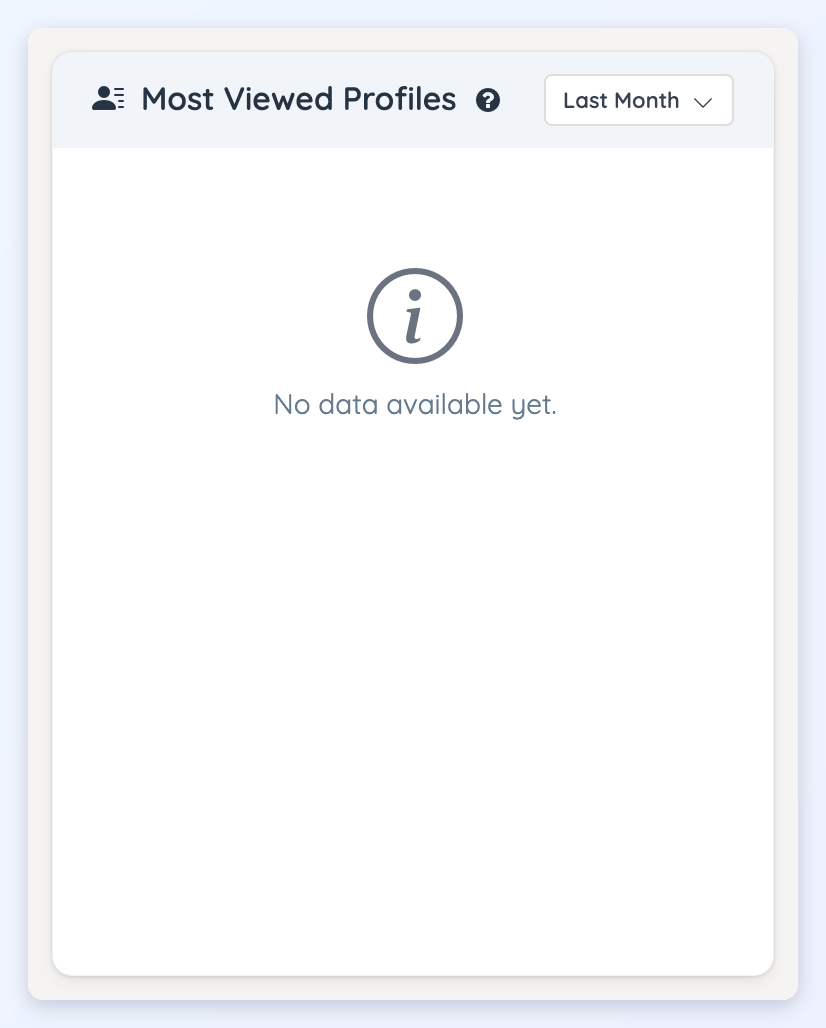
In order for these stats to show, the site will need to have the Member Profile Analytics add-on.
In this section, the admin will be able to see which members have the most profile views on the site and will have the ability to filter by different timeframes. This section will display the 10 most viewed profiles.
15. Most Viewed Posts
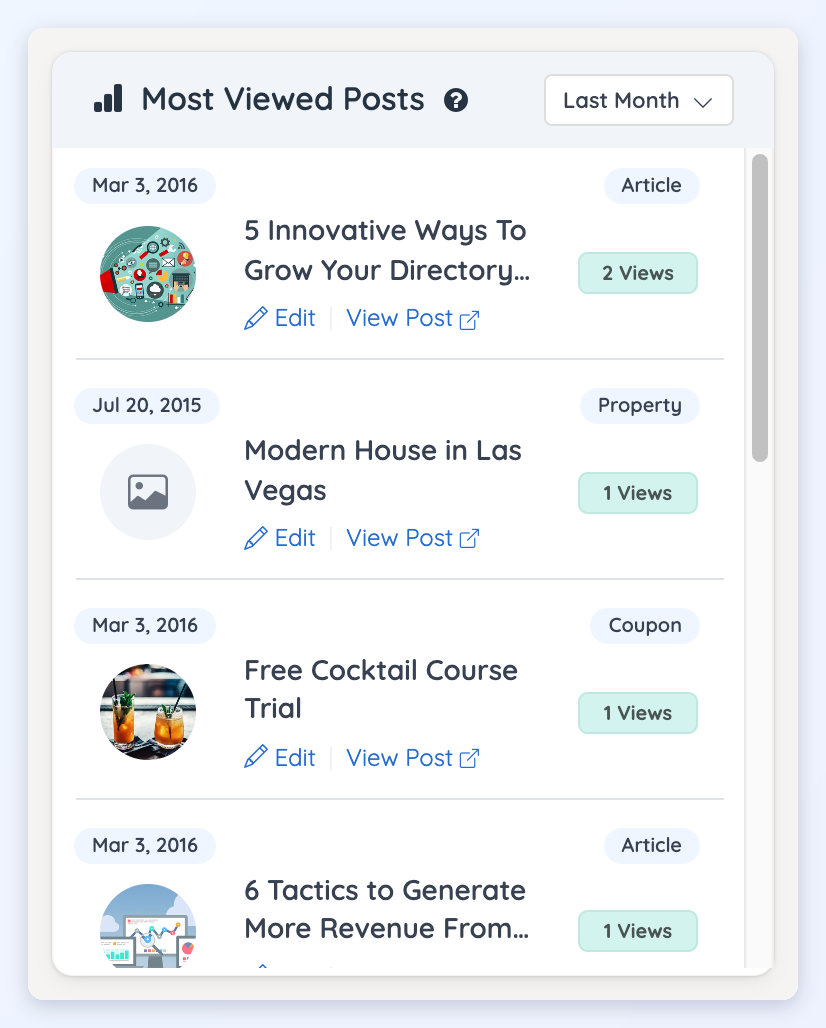
In order for these stats to show, the site will need to have the Member Profile Analytics add-on.
In this section, the admin will be able to see which posts have the most views on the site and will have the ability to filter by different timeframes. This section will display the 10 most viewed posts.
16. Visitor Activity
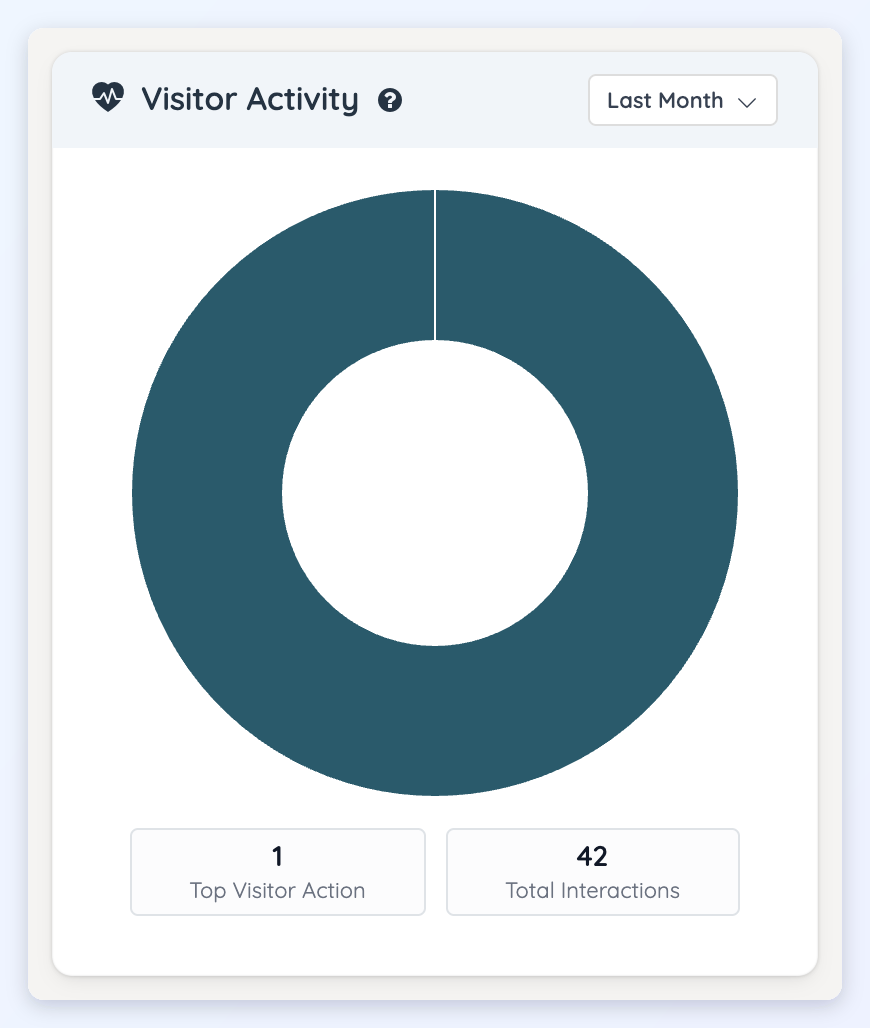
In order for these stats to show, the site will need to have the Member Profile Analytics add-on.
In this section, the admin will be able to see the top 10 ways visitors engage with members who have Profile Statistics enabled, with the total number of interactions, and will have the ability to filter by different timeframes.
17. Website Analytics
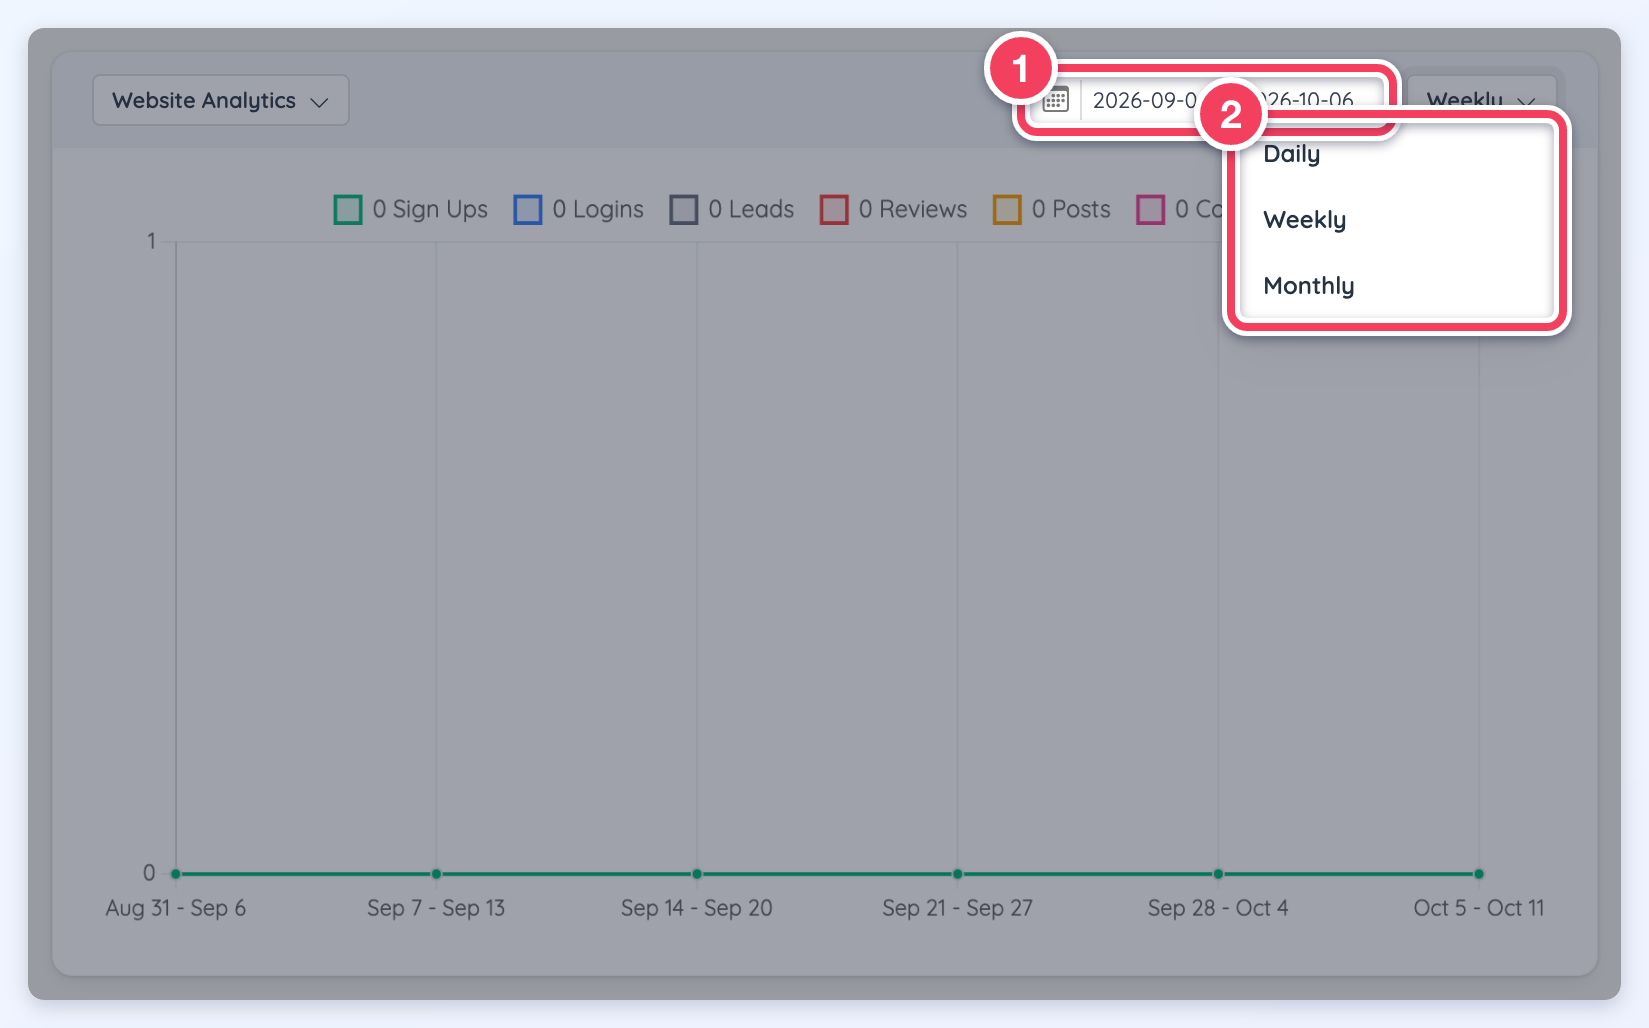
The website analytics section will display analytics such as signups, logins, leads, reviews, posts, and comments.
The admin will be able to select a timeframe and whether the results should be displayed daily, weekly, or monthly.
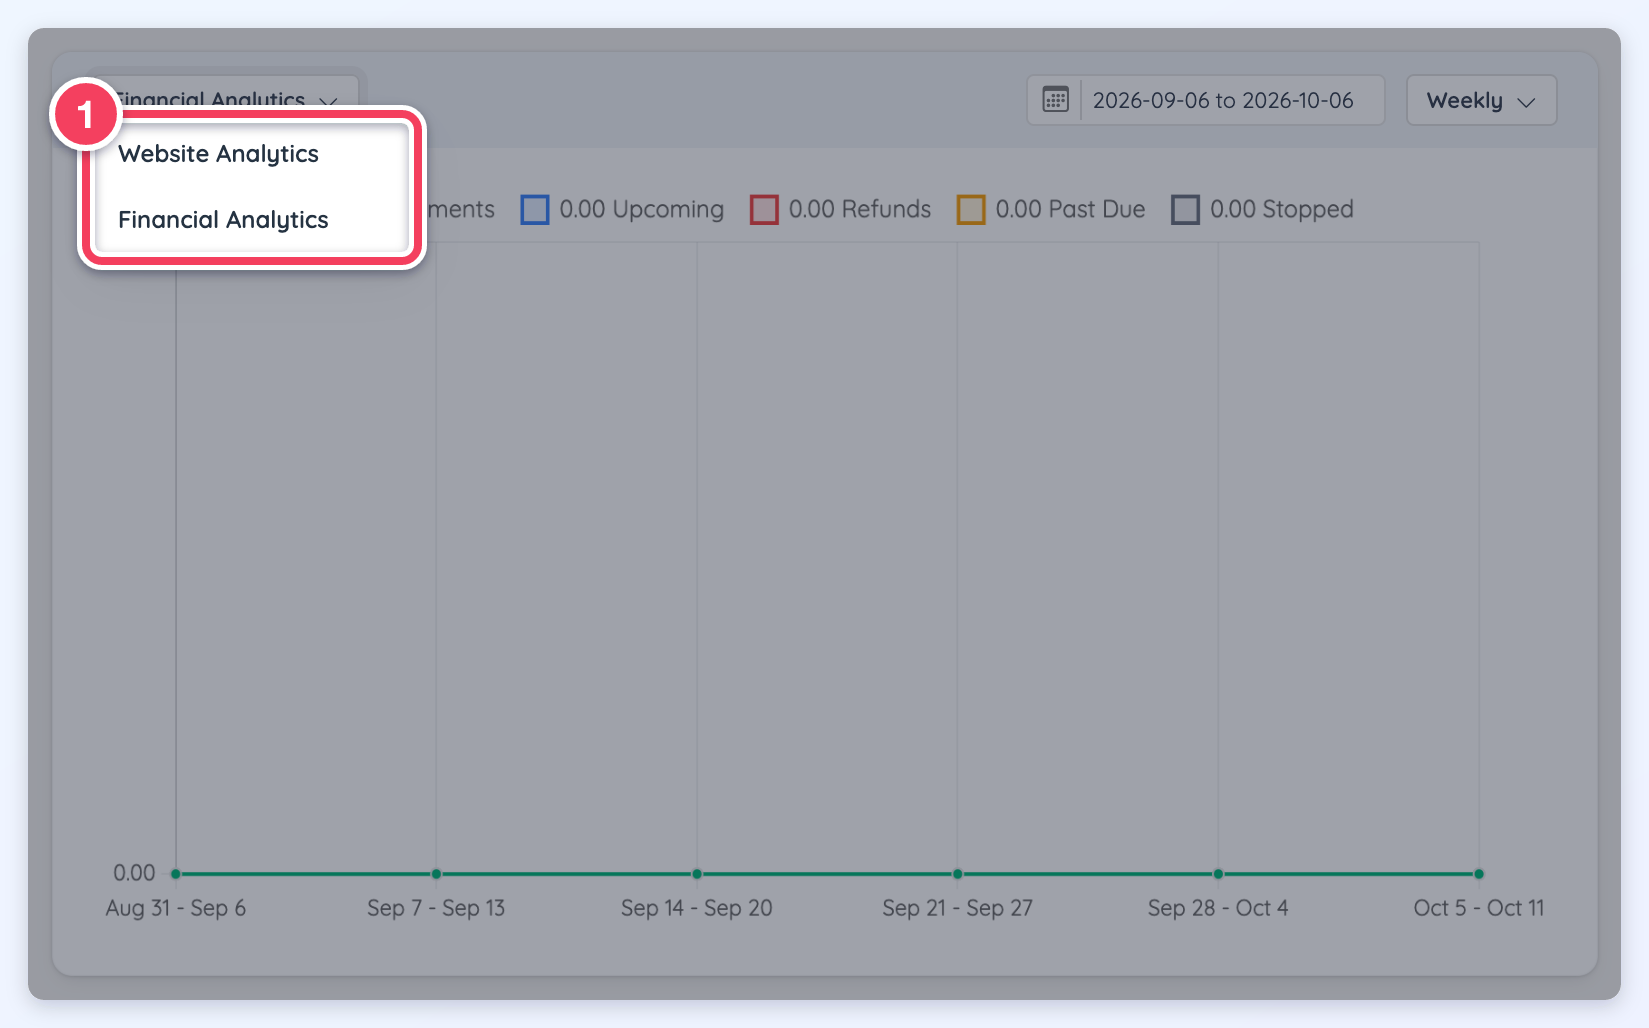
The admin will be able to choose between the Website Analytics and the Financial Analytics. The Financial Analytics includes information such as Payments, Refunds, Upcoming, Past Due and Stopped.
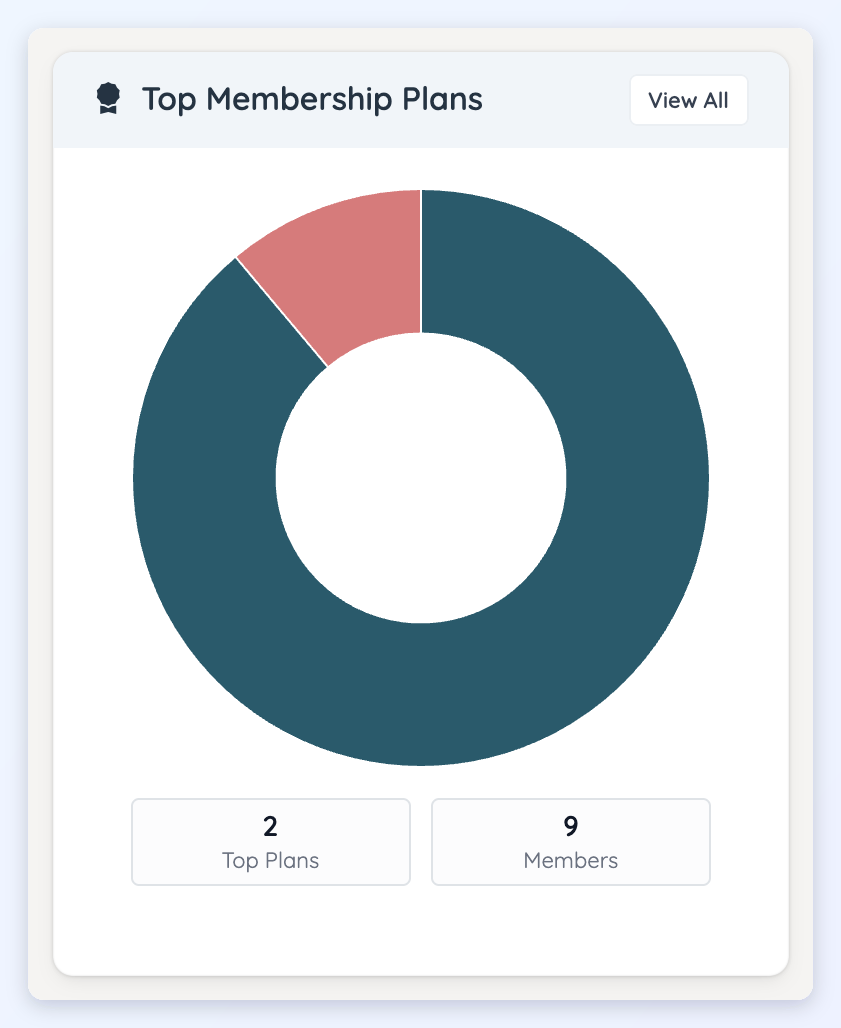
The Top Membership Plans section shows all the membership plans and how many members are in each membership plans:
18. My Website Resources
This section keeps track of the website resources such as storage, bandwidth, email limits, and much more!
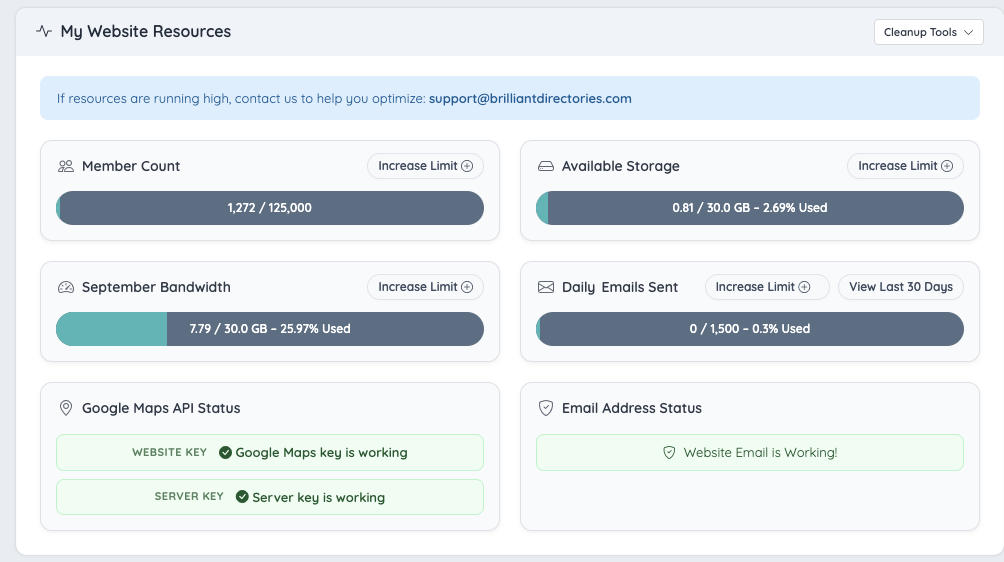
Member Count
Indicates the number of members in the directory.
Available Storage Space
The website includes 5GB–10GB of free storage space and monthly bandwidth, depending on the plan selected. The Disk space is the data stored in the site which includes images, files, database, etc. Adding more images or data takes space in your disk usage so deleting some of these, can make the usage go down. If the website is reaching the monthly bandwidth and/or storage limits, this add-on will increase both by 10GB: Website Storage Boost.
Monthly Bandwidth Usage
This is the total amount of data – such as images, movies, photos, videos and other files – that are sent (upload) or received (download) over a specific period of time. For further information please see: How Bandwidth And Storage Usage Is Calculated. If the website is reaching its monthly bandwidth and/or storage limits, this add-on will increase both by 10GB: Bandwidth Boost Add-on.
Daily Emails Sent
All Website Plans are allocated 1,500 daily email sends (45,000 free emails each month – for life). If the website is easily reaching the daily limit, this can be increased by acquiring the Email Limit Boost service.
Email Unblock Tool
This message will only display if the default email is blocked. If this message displays, click Click to Unblock Email Address. Make sure that the email account exists as this is the most common reason emails get blocked. When using our default setup if an error message response displays after attempting to unblock, make sure to contact support.
Google Map API Status
This card checks the Google Maps keys and has two rows. Website key covers maps and location search on the website. It is tested with Google from the admin first; when the key is restricted to the website's own domain, the test runs again on the site's live domain, the way visitors use the key, and that result is the one shown. Server key covers member geocoding and imports and is tested from the server. Each row shows its own result: green when Google accepts the key, or a specific problem such as Billing problem on your Google project, Google does not recognise this key, Maps JavaScript API is not enabled, or a domain restriction problem.
Red means Google reported a real problem with the key. Amber (Maps blocked on this admin page) appears only when Google refused the key on the admin address and the live-domain test could not run, because the site has no connected live domain or the domain could not be reached; check the website's own maps directly in that case. Otherwise a restricted key shows a definite green (Maps work on your website) or red (such as Google refuses your key on your website). Clicking a row opens a details window with the explanation, numbered fix steps, and Google Cloud Console and Test key buttons. The keys and the Use Places API (New) switch can also be edited there and are tested with Google before saving. A red result also shows a Google Maps Error button at the top of every admin page, which clears itself once the key works. For the full list of results and fixes, see Google Maps Issues: Index and the Google Maps Troubleshooting folder.
Cleanup Tools
The Cleanup Tools menu at the top of the My Website Resources module helps reduce disk and bandwidth usage as well as optimize the website's performance.
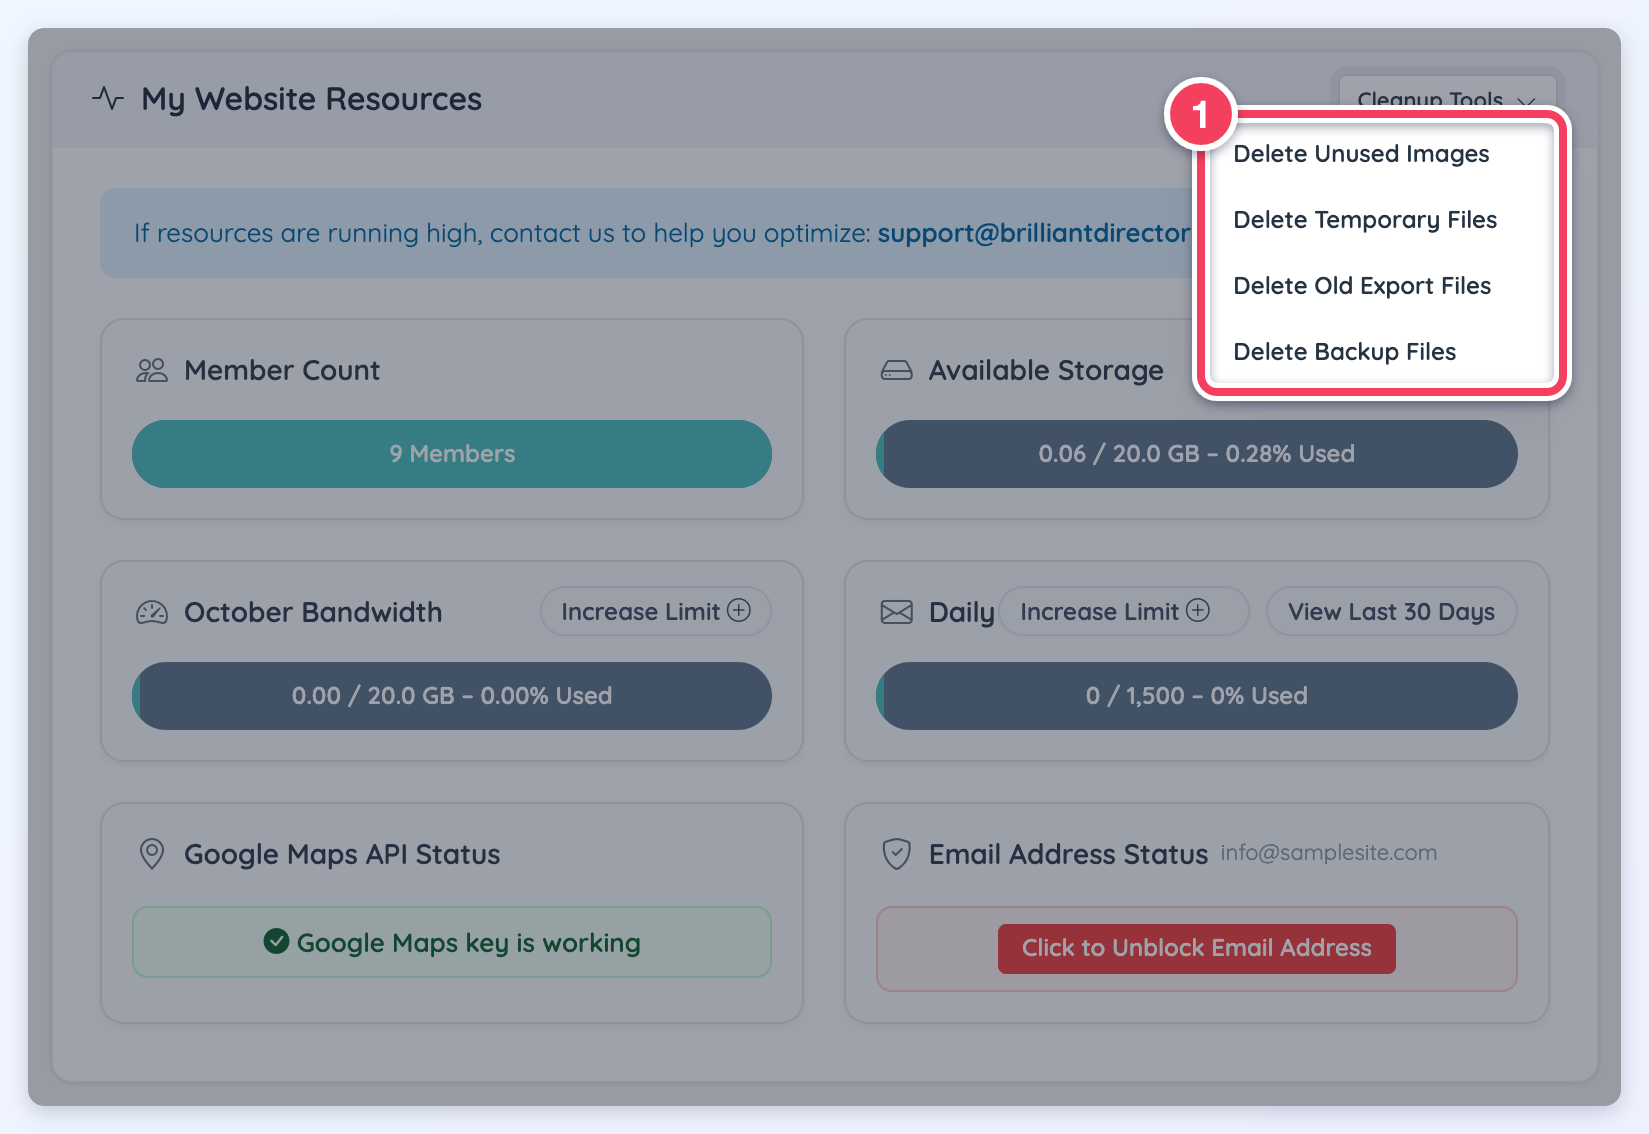
Delete Unused Images
If there are any temporary image files stored on the site that are using up disk space that are no longer needed, clicking this button will remove them.
Delete Temporary Files
If there are any temporary files stored on the site that are using up disk space that are no longer needed, clicking this button will remove them.
Delete Old Export Files
This option appears only when the Export Tool Add-On is active. The tool removes the Exports that the Export Tool Add-On creates.
Delete Backup Files
The tool removes the backups created in cPanel to clean up some space.
19. Software Updates
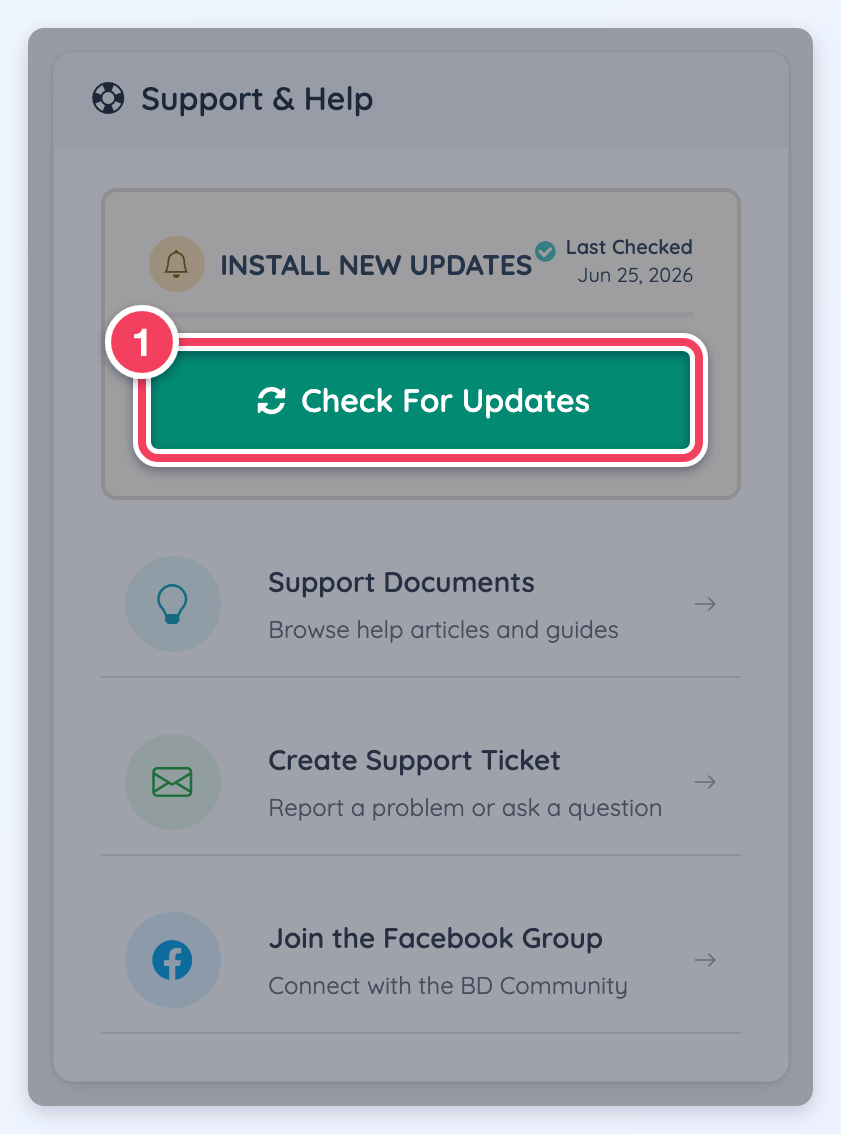
We are updating the platform every day, make sure to update the site frequently. Click on the green "Check For Updates" button to see if there are any updates available to install.
20. Other Help Resources
Quickly access the Solutions Center to find documentation articles that explain how to use the different sections of the software.
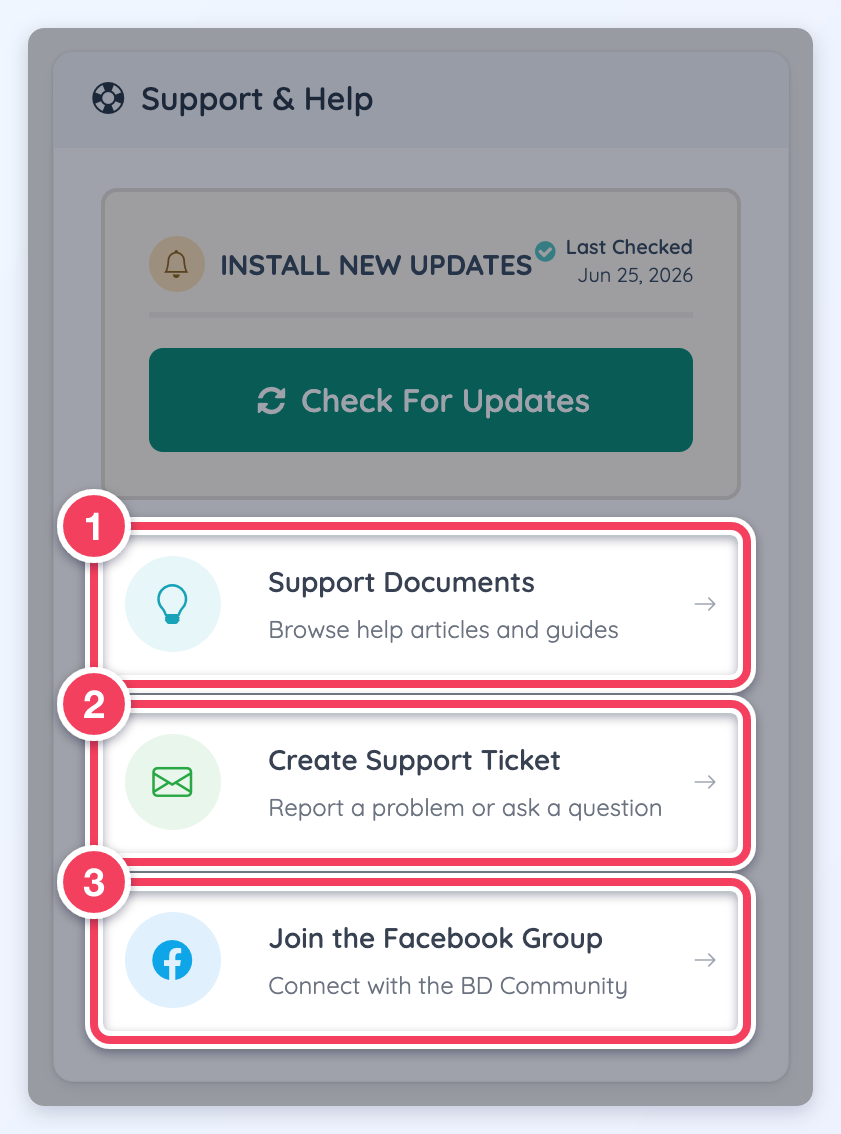
Support Documents
Search the BD knowledge base to quickly find answers. To get the full list of articles visit the Documentation Center.
Create Support Tickets
Our Support Team is here to help, submit a ticket, and get assistance within 24 hours.
Get Immediate Help in the Admin Account Dashboard
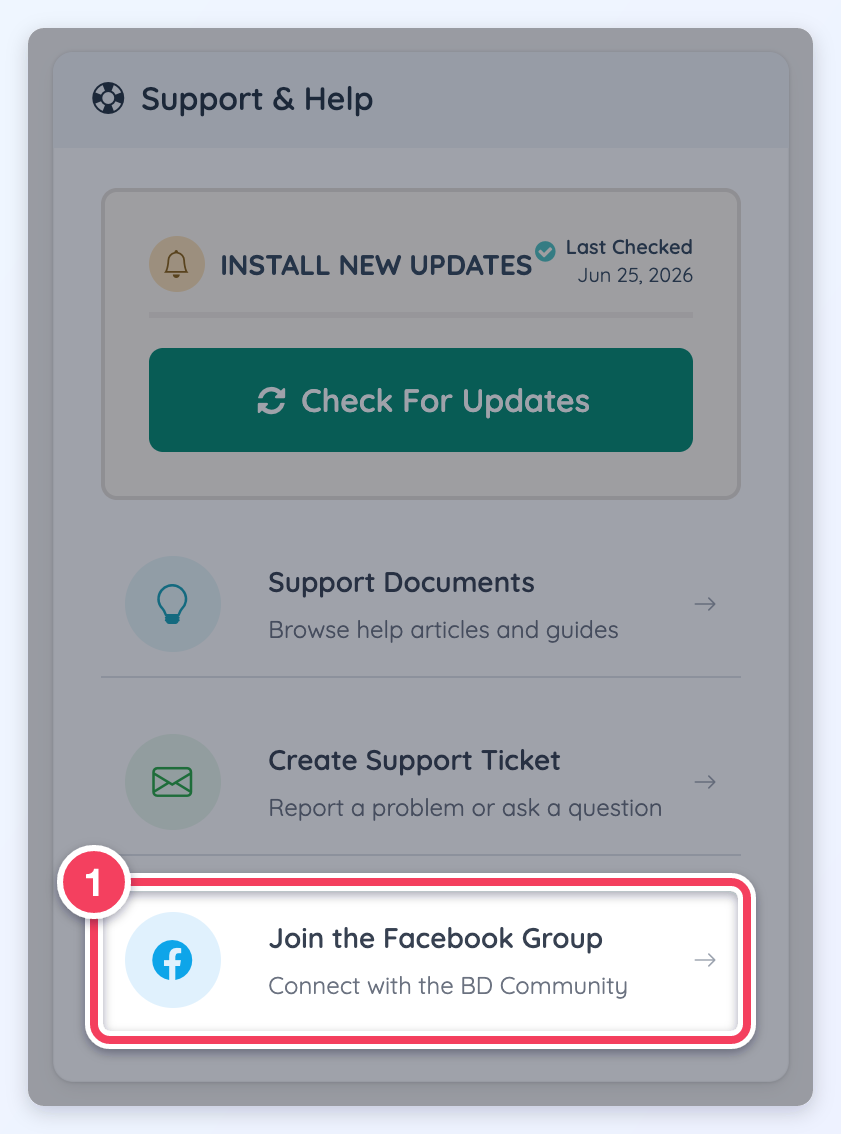
Facebook Group
The Community Forums and Facebook Group are also a great way to connect with other directory owners, get tips, recommendations and workarounds.
21. Facebook Group Access
Join Our Community Experts for Help & Advice. We highly recommend joining our Facebook Group. Connect and talk with different website owners and get their recommendations and help with all sorts of questions, from strategy to marketing and more.
Take advantage of our Free Training Workshops to learn lots of great tips.